28 September 2026
Secrets of Hallmarks and TimePart 2. Surgery on the Hood: From a «Dirty Rebellion» to the Maker’s Mark
Part 2. Surgery on the Hood: From a «Dirty Rebellion» to the Maker’s Mark
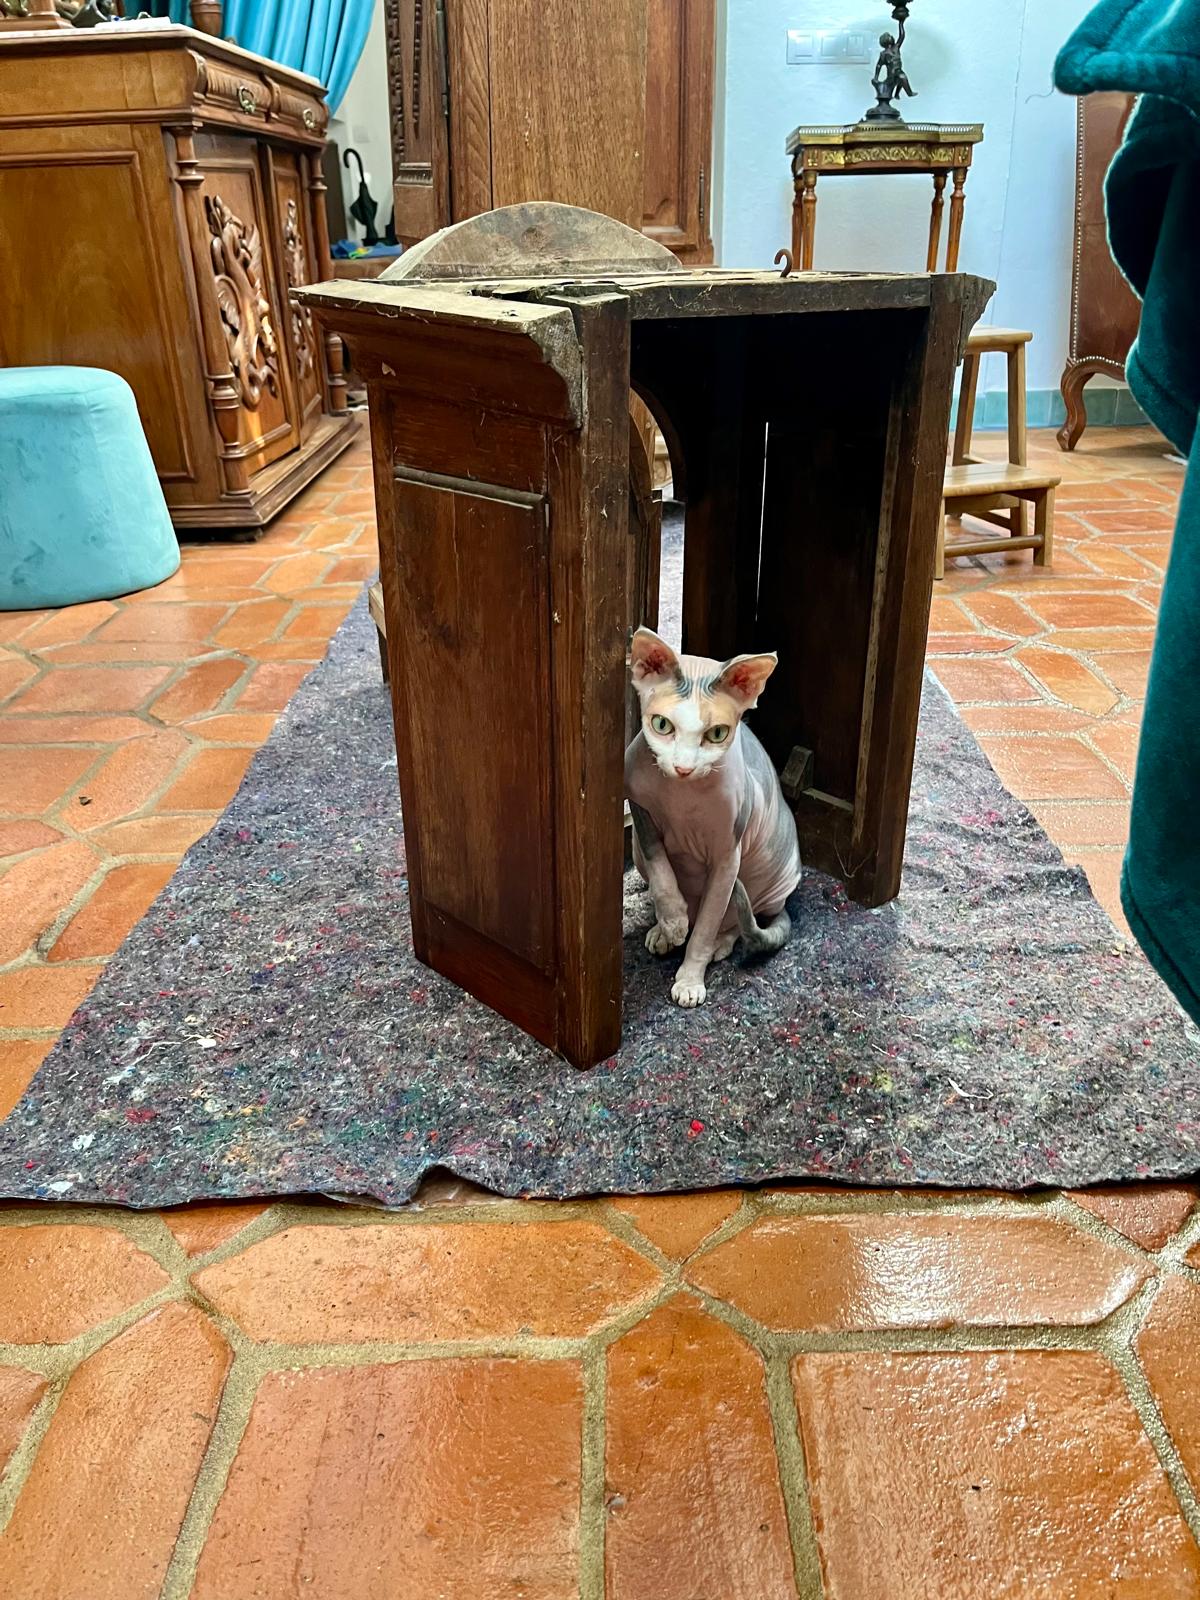
Once the main trunk case of the 1774 Liège clock had been fully cleaned and conserved, our restoration dock moved on to the most complex and intriguing part — the removable wooden hood (or “bonnet”) that protects the clock’s movement. This is where the classic, textbook methods ran straight into harsh practice, forcing us to open a joint research office with the AI Gemini.
Below is the step-by-step operating protocol for conserving the upper assembly — the process that turned the non-standard anomalies of 250-year-old wood into a triumph of engineering thought.
A reminder to readers: we still make no claim to academic expertise — we’re simply sharing clean, hands-on experience, step-by-step techniques, and a few secrets of materials science.
🛠️ Materials and Tools on the Workbench
For manipulations on this scale, our entire four-meter table was converted into a sterile dock. The space had to be perfectly flat, cushioned, and sheeted in film, large enough to hold the door frame, the fragile old glass, the tools, and the brass movement itself, all at once.
- Mechanics and load-bearing parts: a fine needle, quality cotton swabs, toothpicks, 0000 steel wool, surgical blades and a curved Dexter Steel chisel, pliers, tweezers, a household hair dryer.
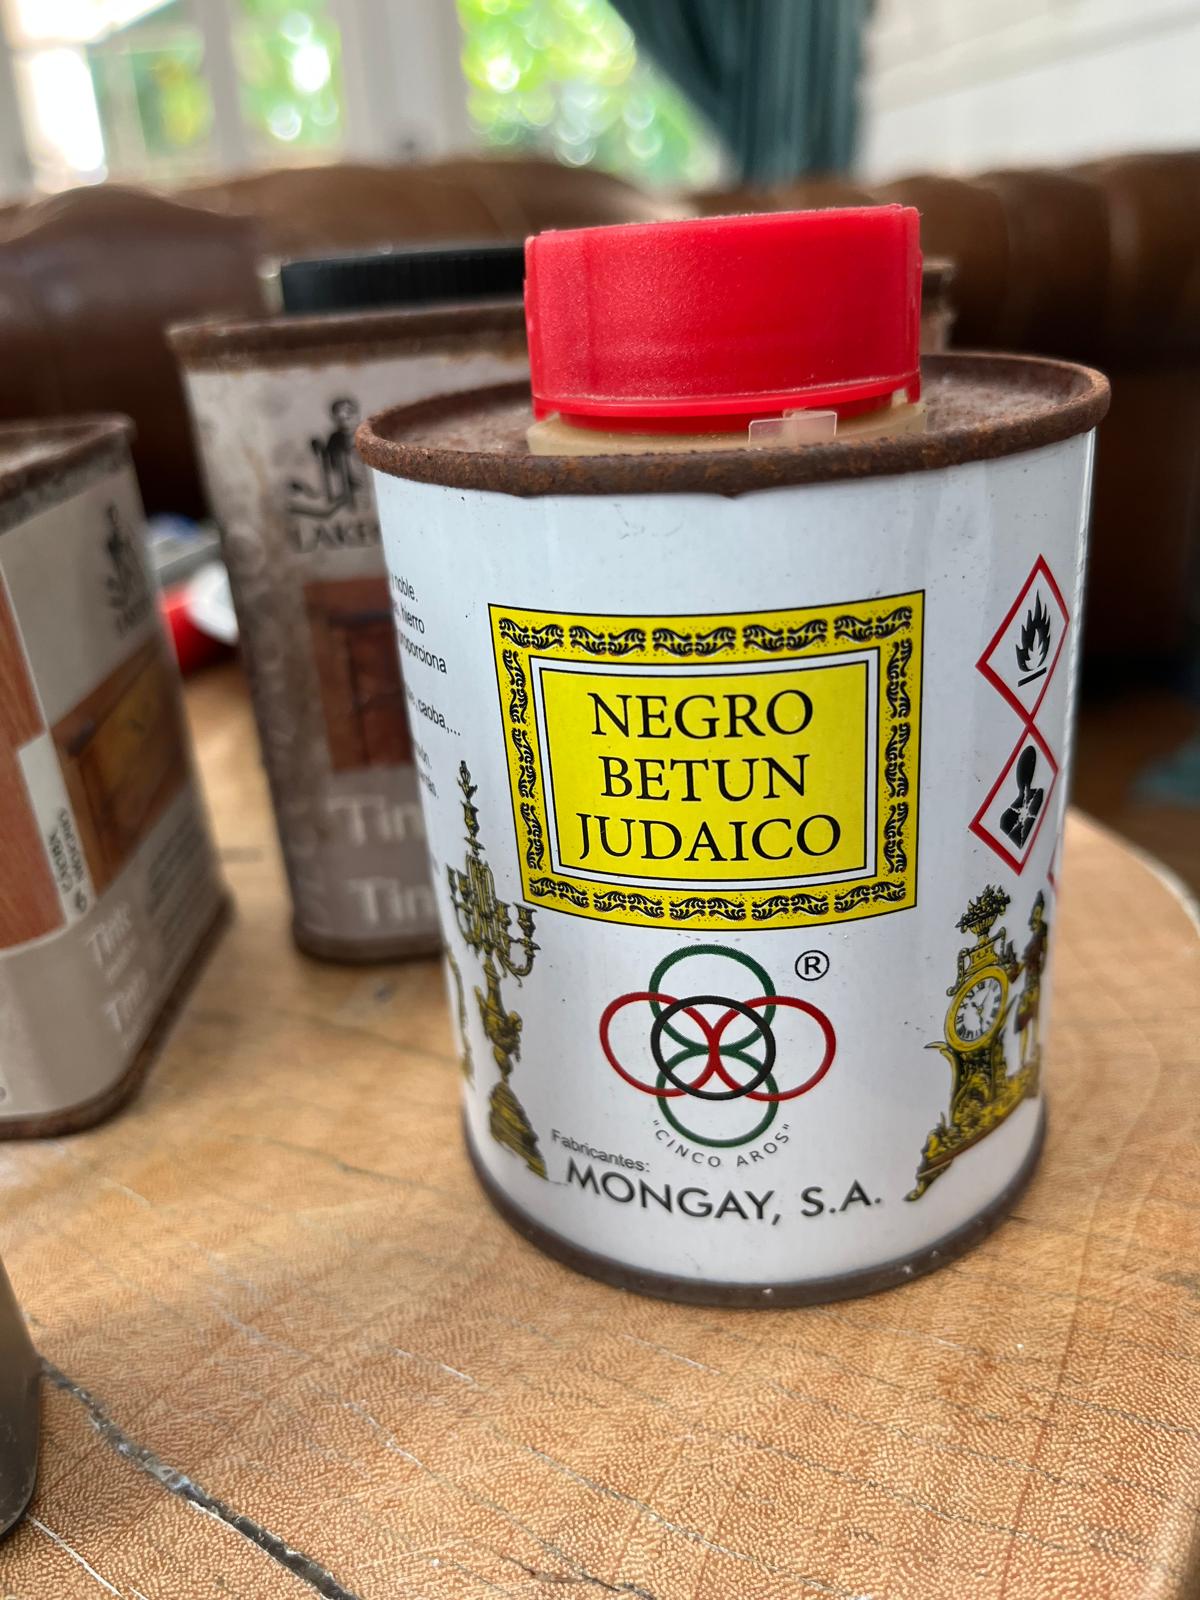
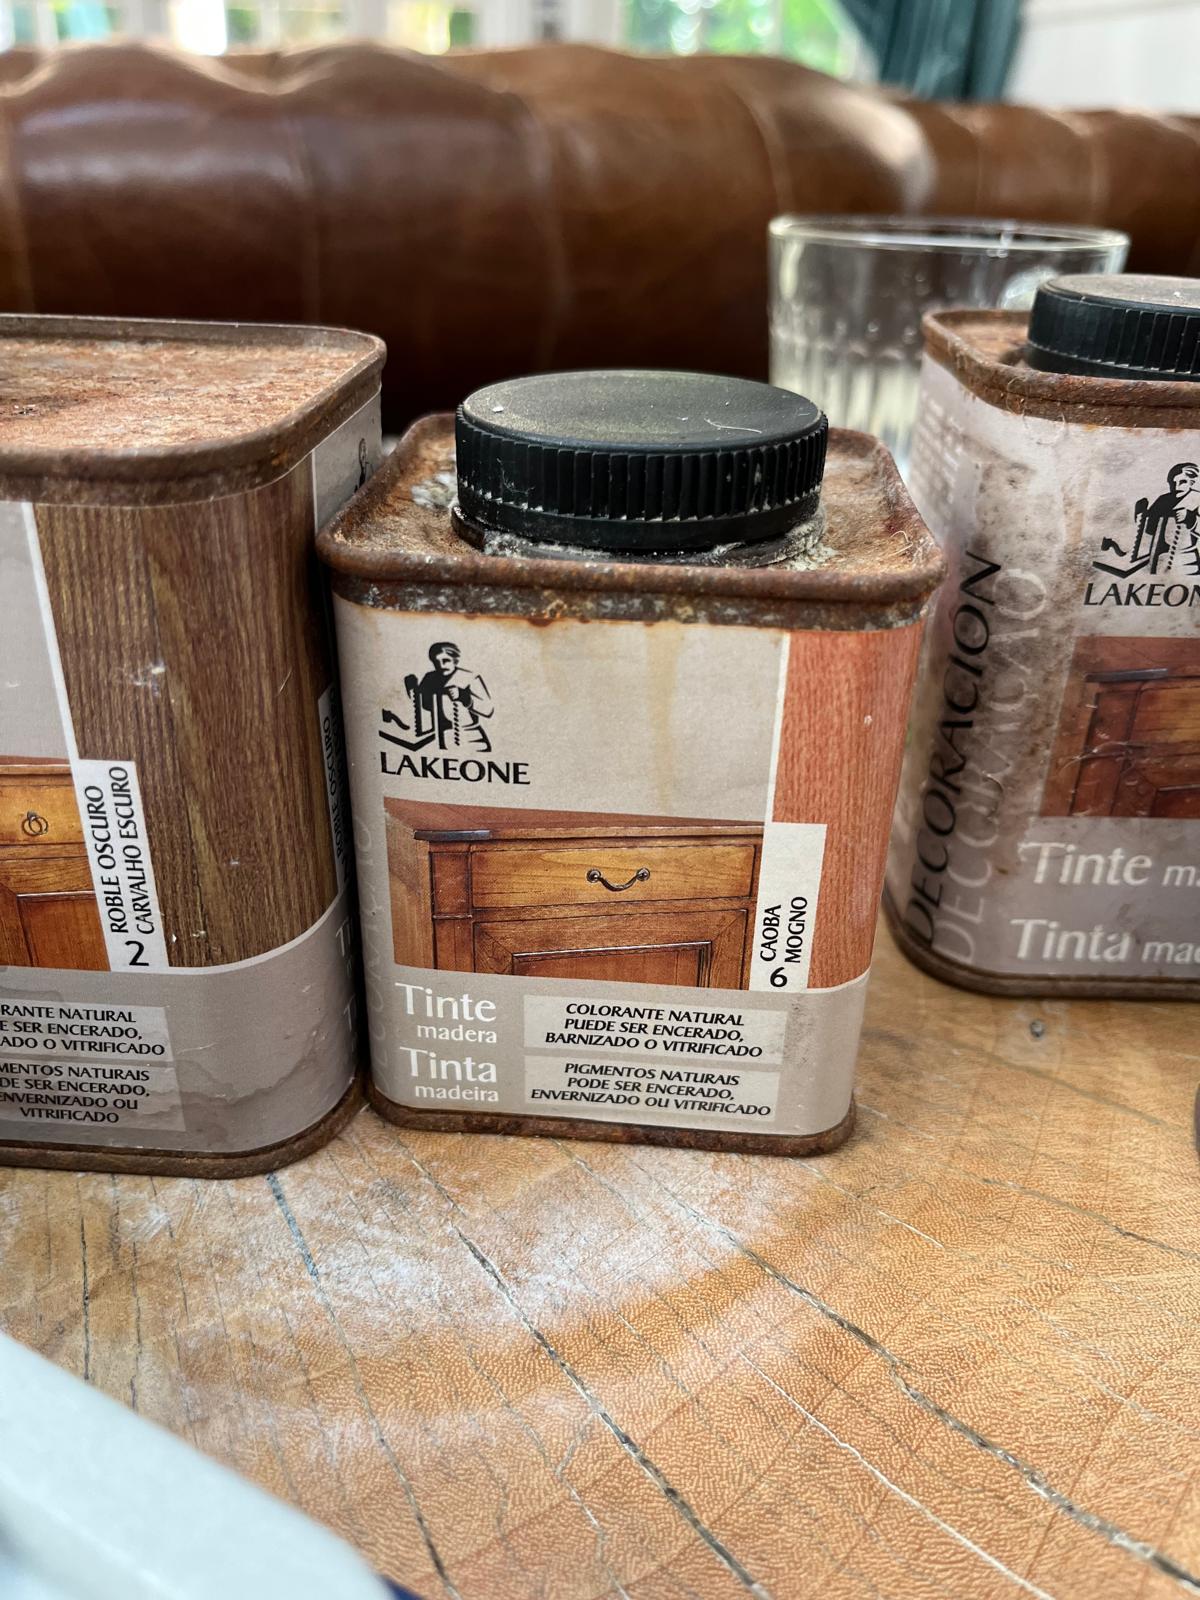
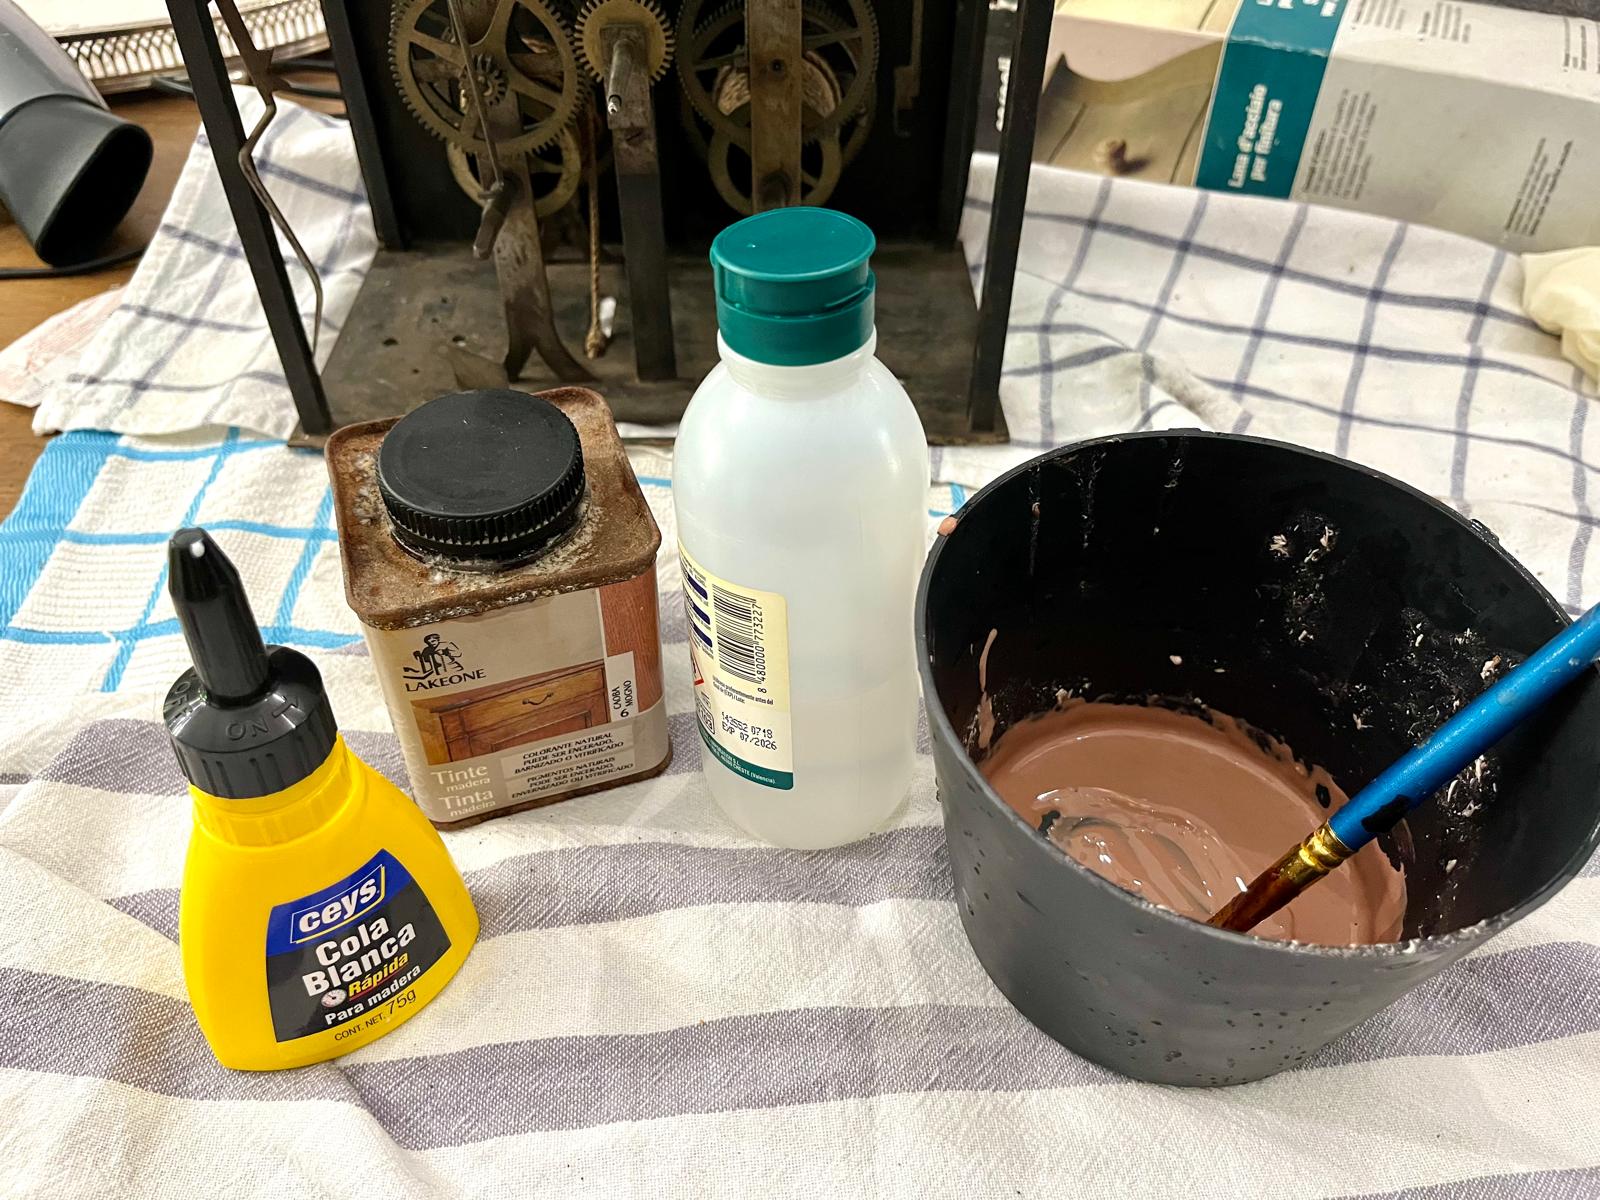
- Chemical wing: purified white spirit, isopropyl alcohol, a special tinted PVA glue (Ceys Cola Blanca), water-based molecular wood dyes from Lakeone (No. 2 Roble Oscuro and No. 14 Roble Carvalho), and original Negro Betun Judaico bitumen varnish from Mongay.
- Consumables: heavy-duty roll kraft paper, cling film, soft rags, a flat No. 5 synthetic brush, smooth microfiber cloth, small jars for the artifacts.
Stage 1: The “Dirty Rebellion” Anomaly and Removing the Glass
Starting to clean the black walnut hood, we ran into an unexpected problem: the natural beeswax that had gone on so perfectly over the main case suddenly began to bubble up and push out a sticky black crust.
Gemini’s engineering explanation — why was the grime bubbling up? The hood is the highest point of the clock. For 250 years, warm air, hearth soot, candle residue, and the movement’s own oil vapors rose there unimpeded. This acidic crust had sealed the wood’s pores solid. The fresh wax (thanks to its turpentine base) acted as a powerful softener: it broke apart the molecular bonds of a century of grime and began pushing it up out of the depths of the cellulose to the surface.
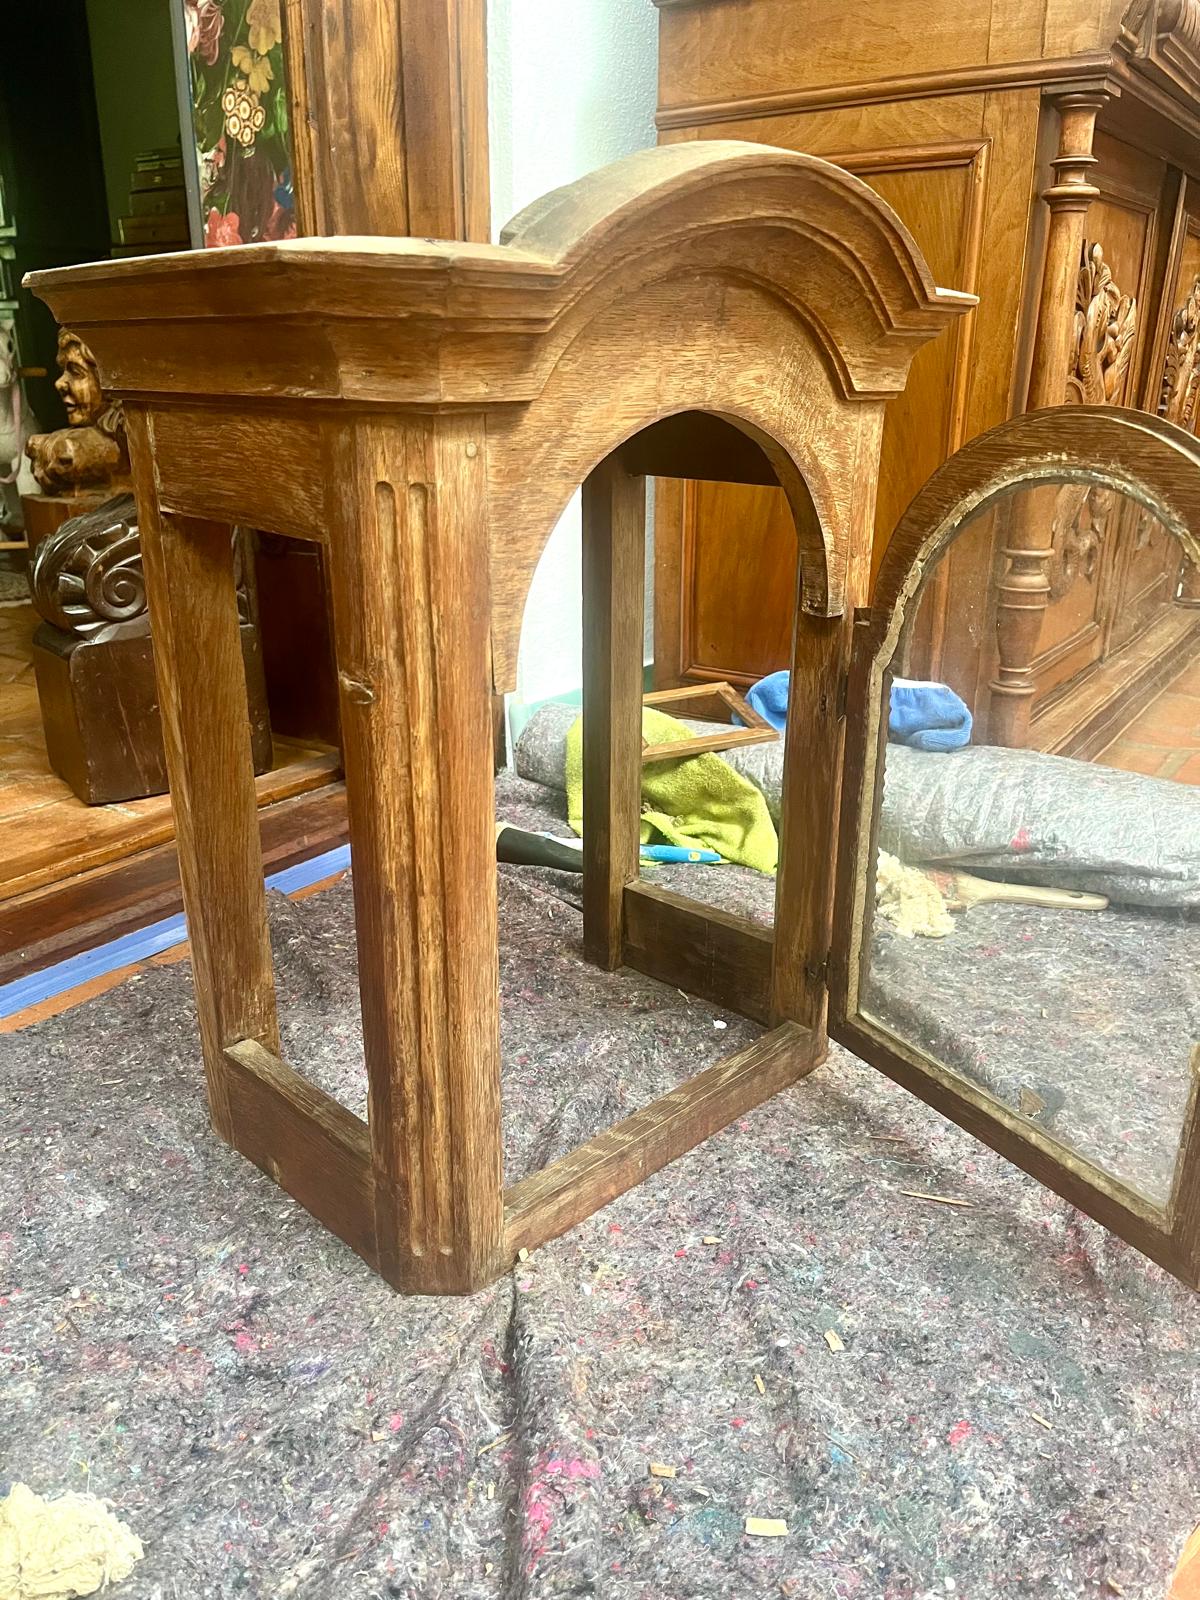
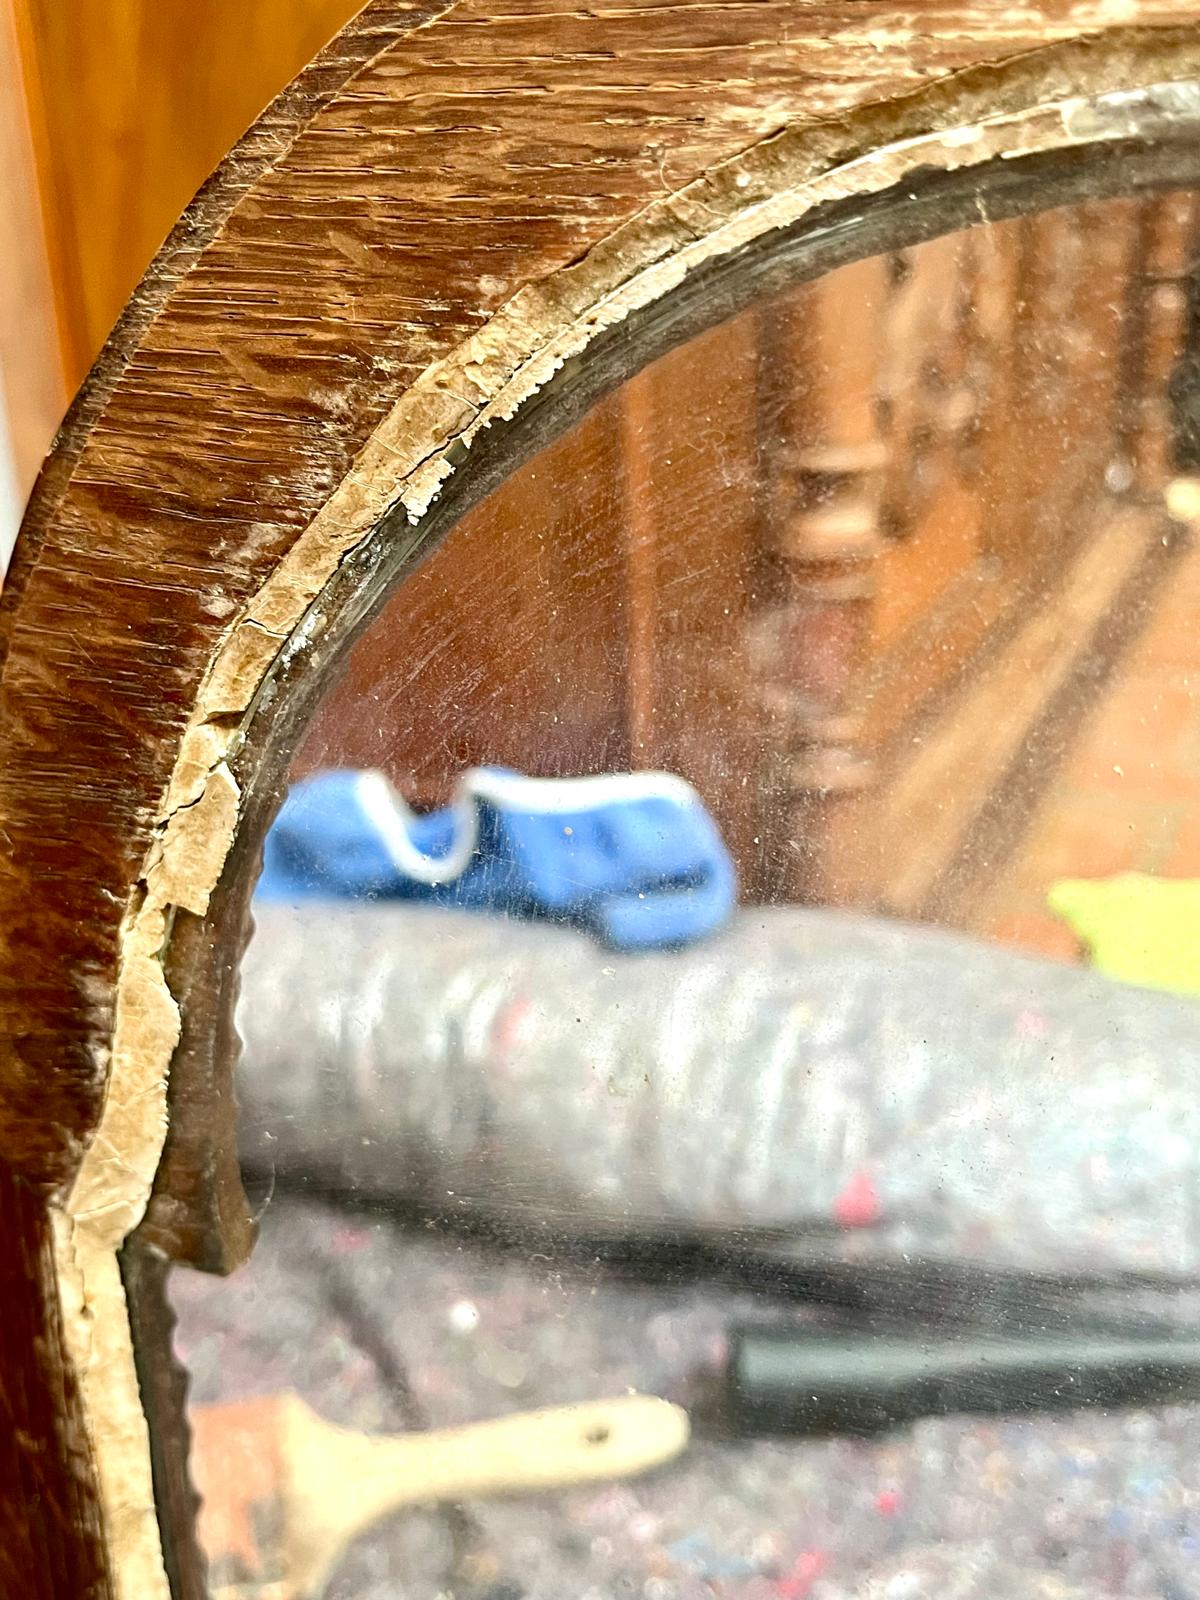
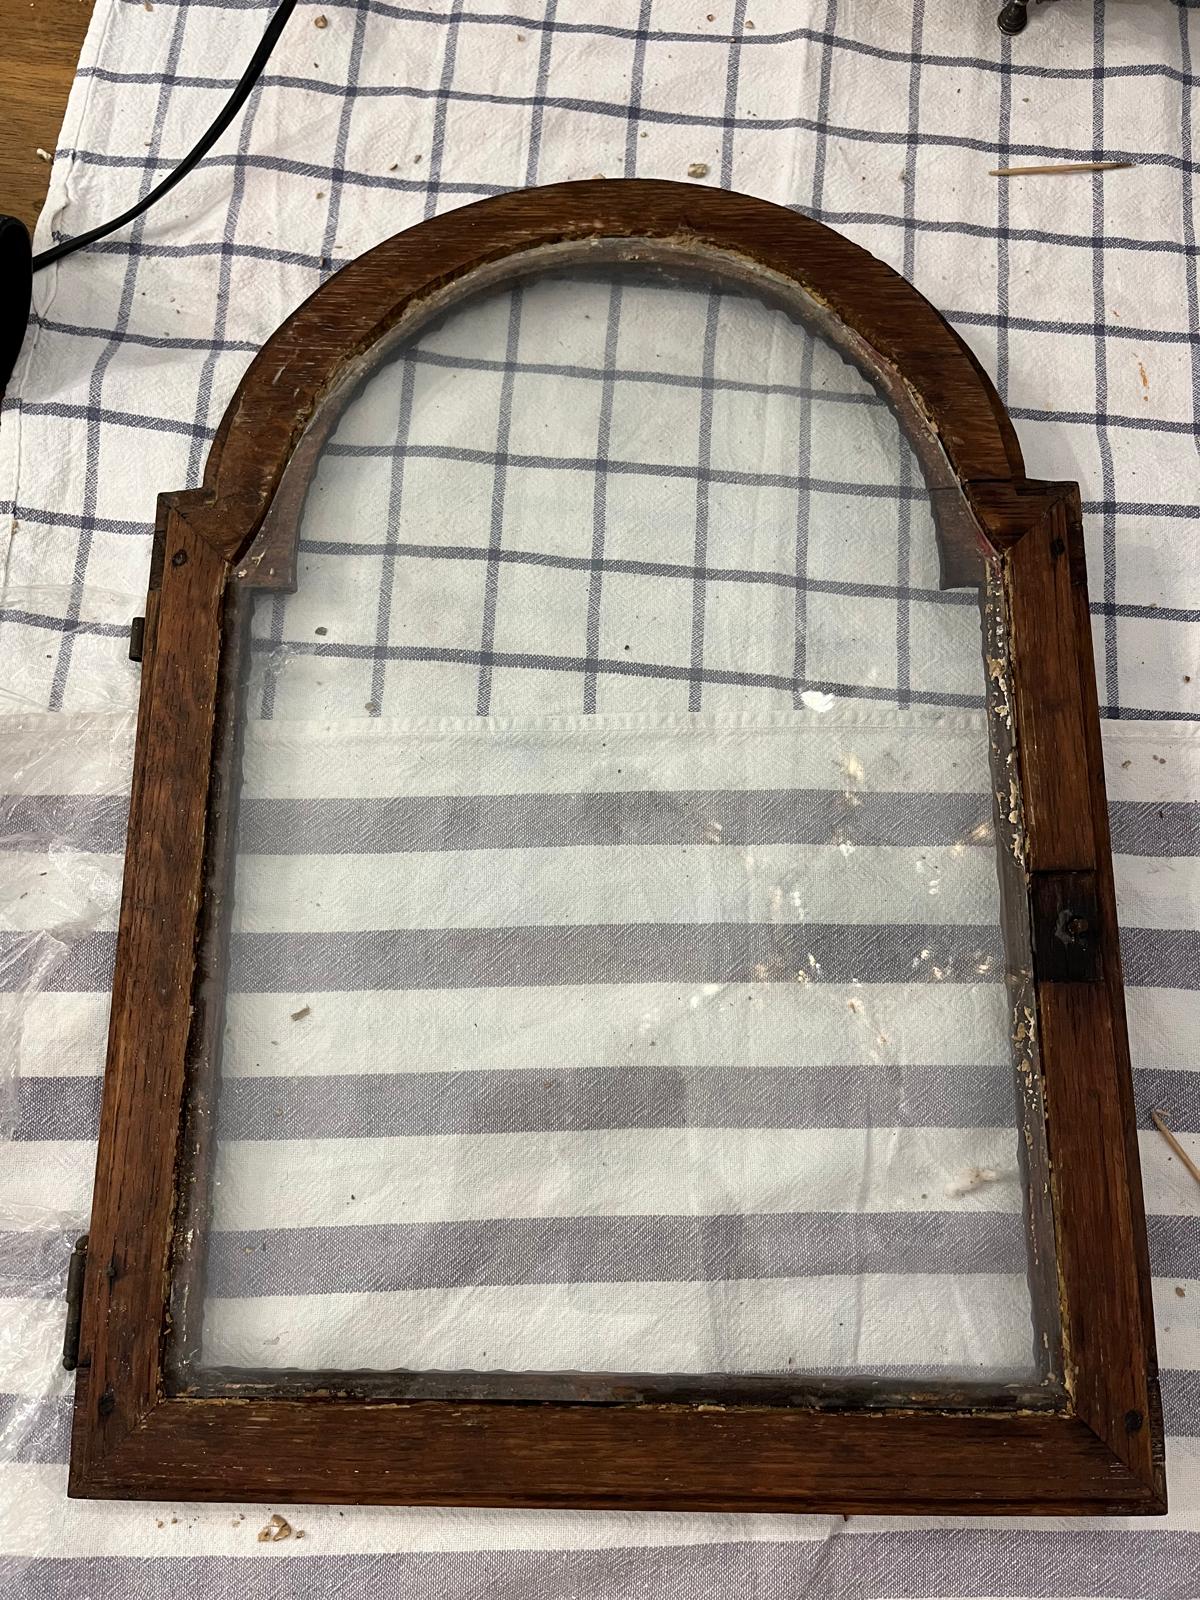
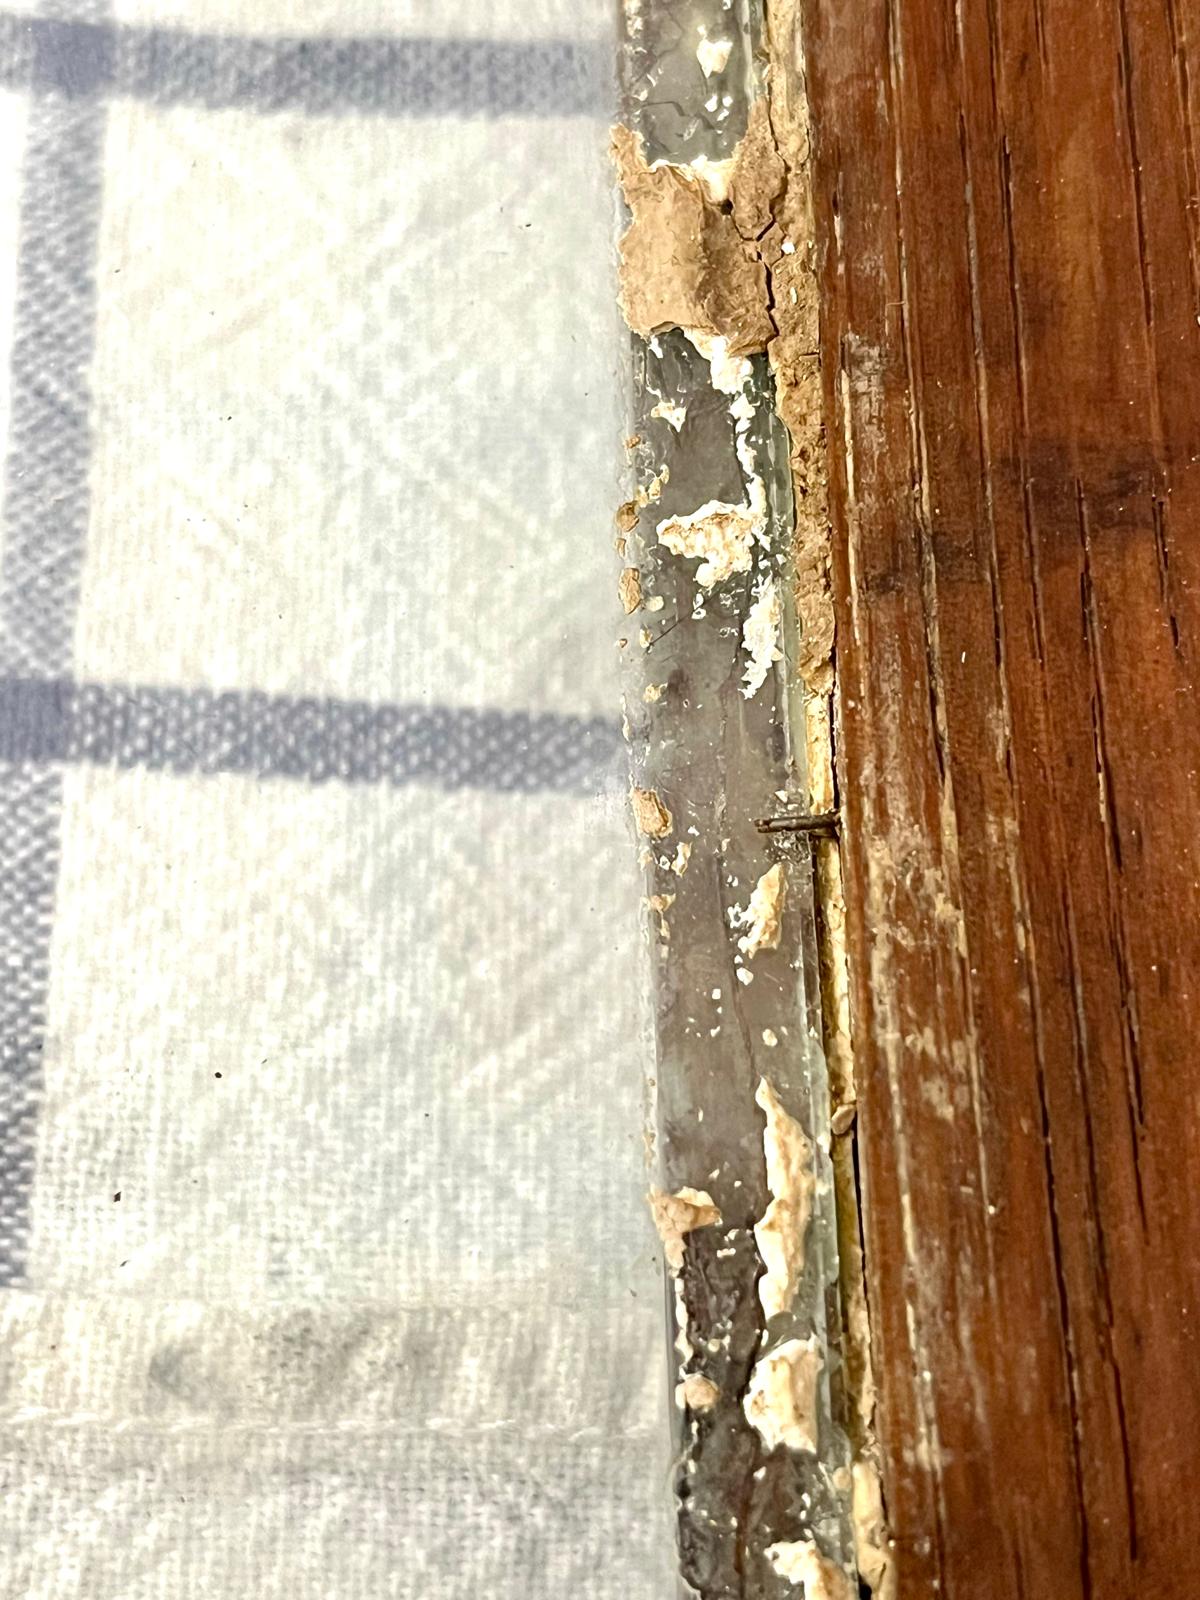
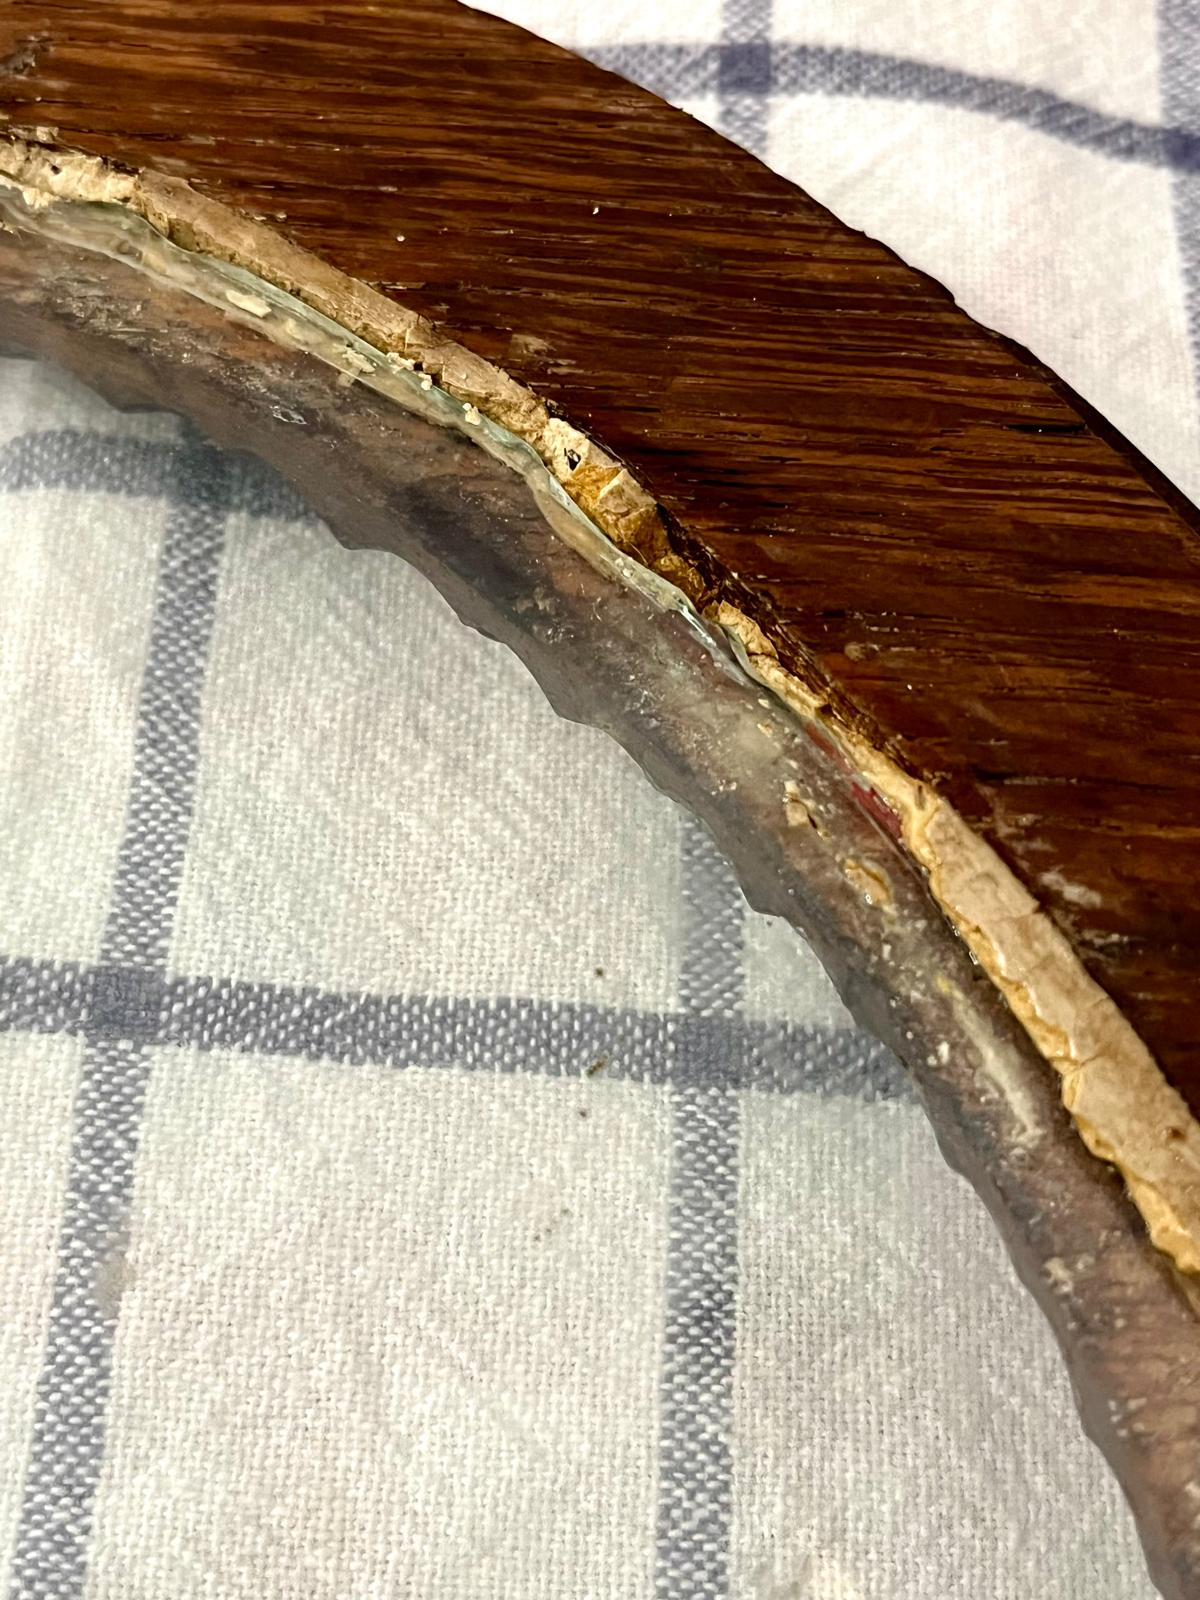
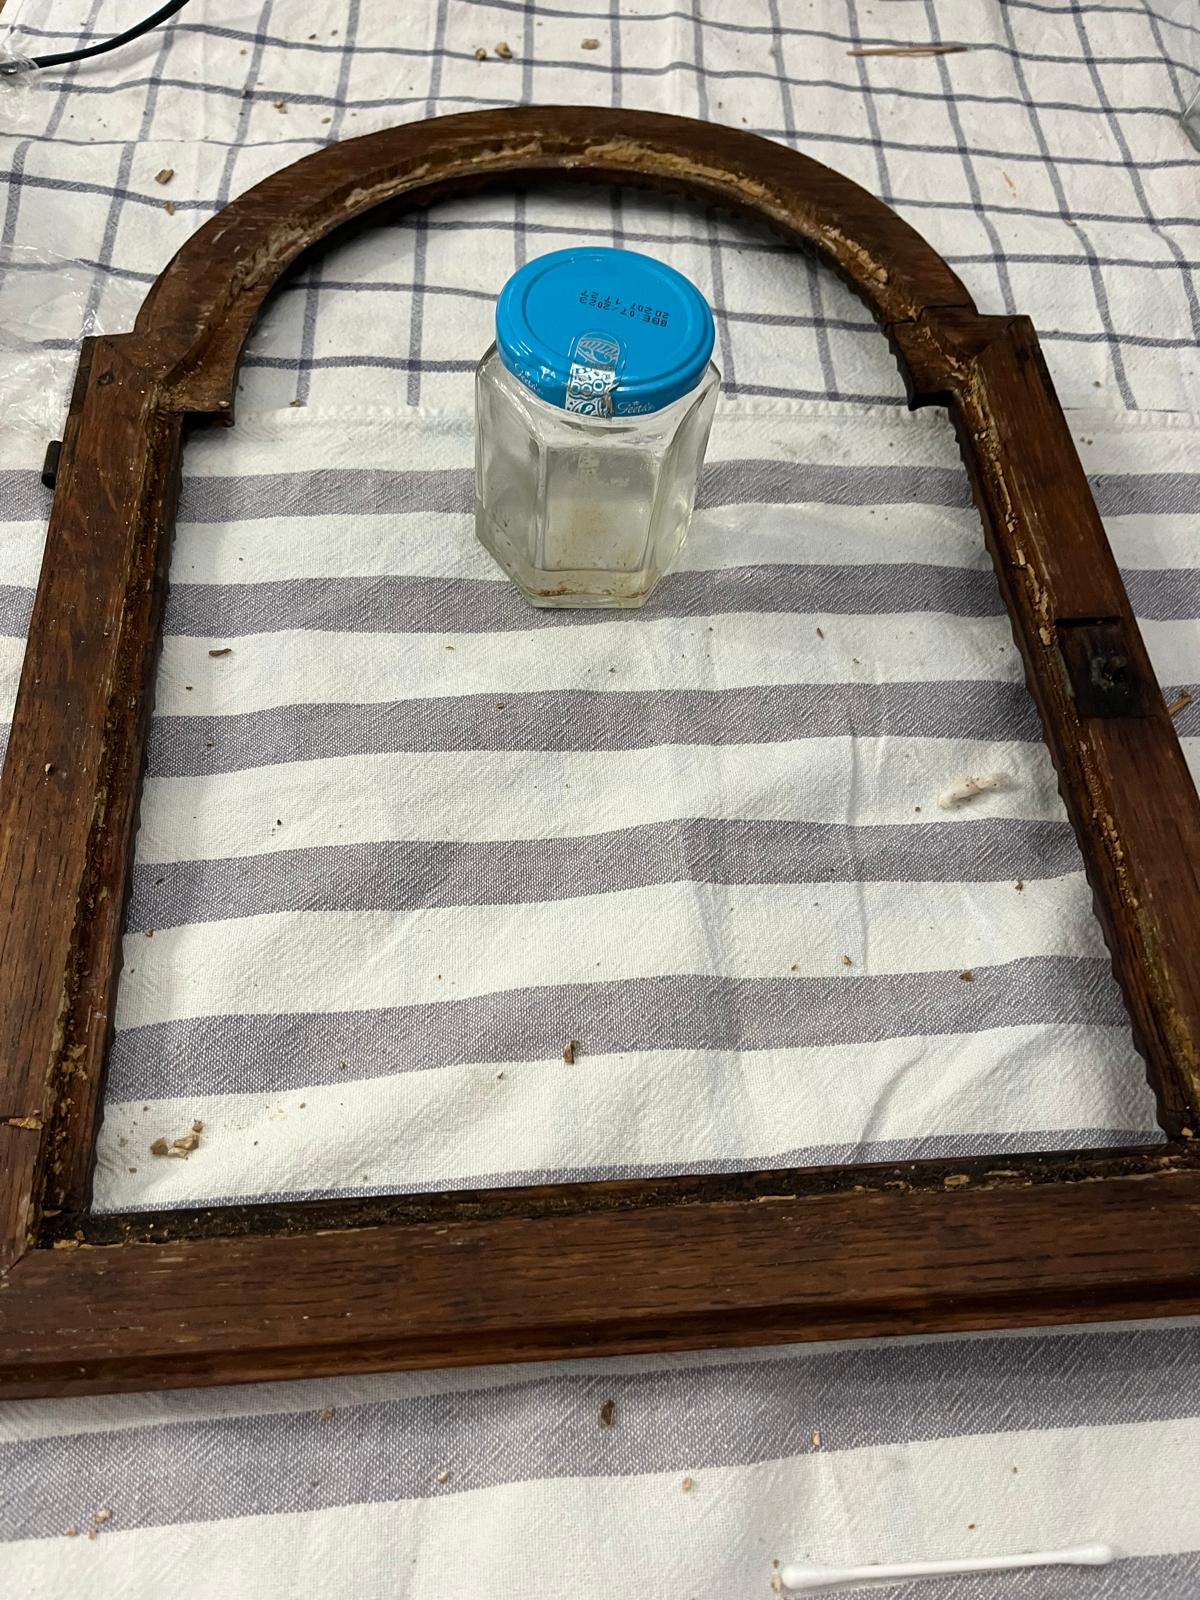
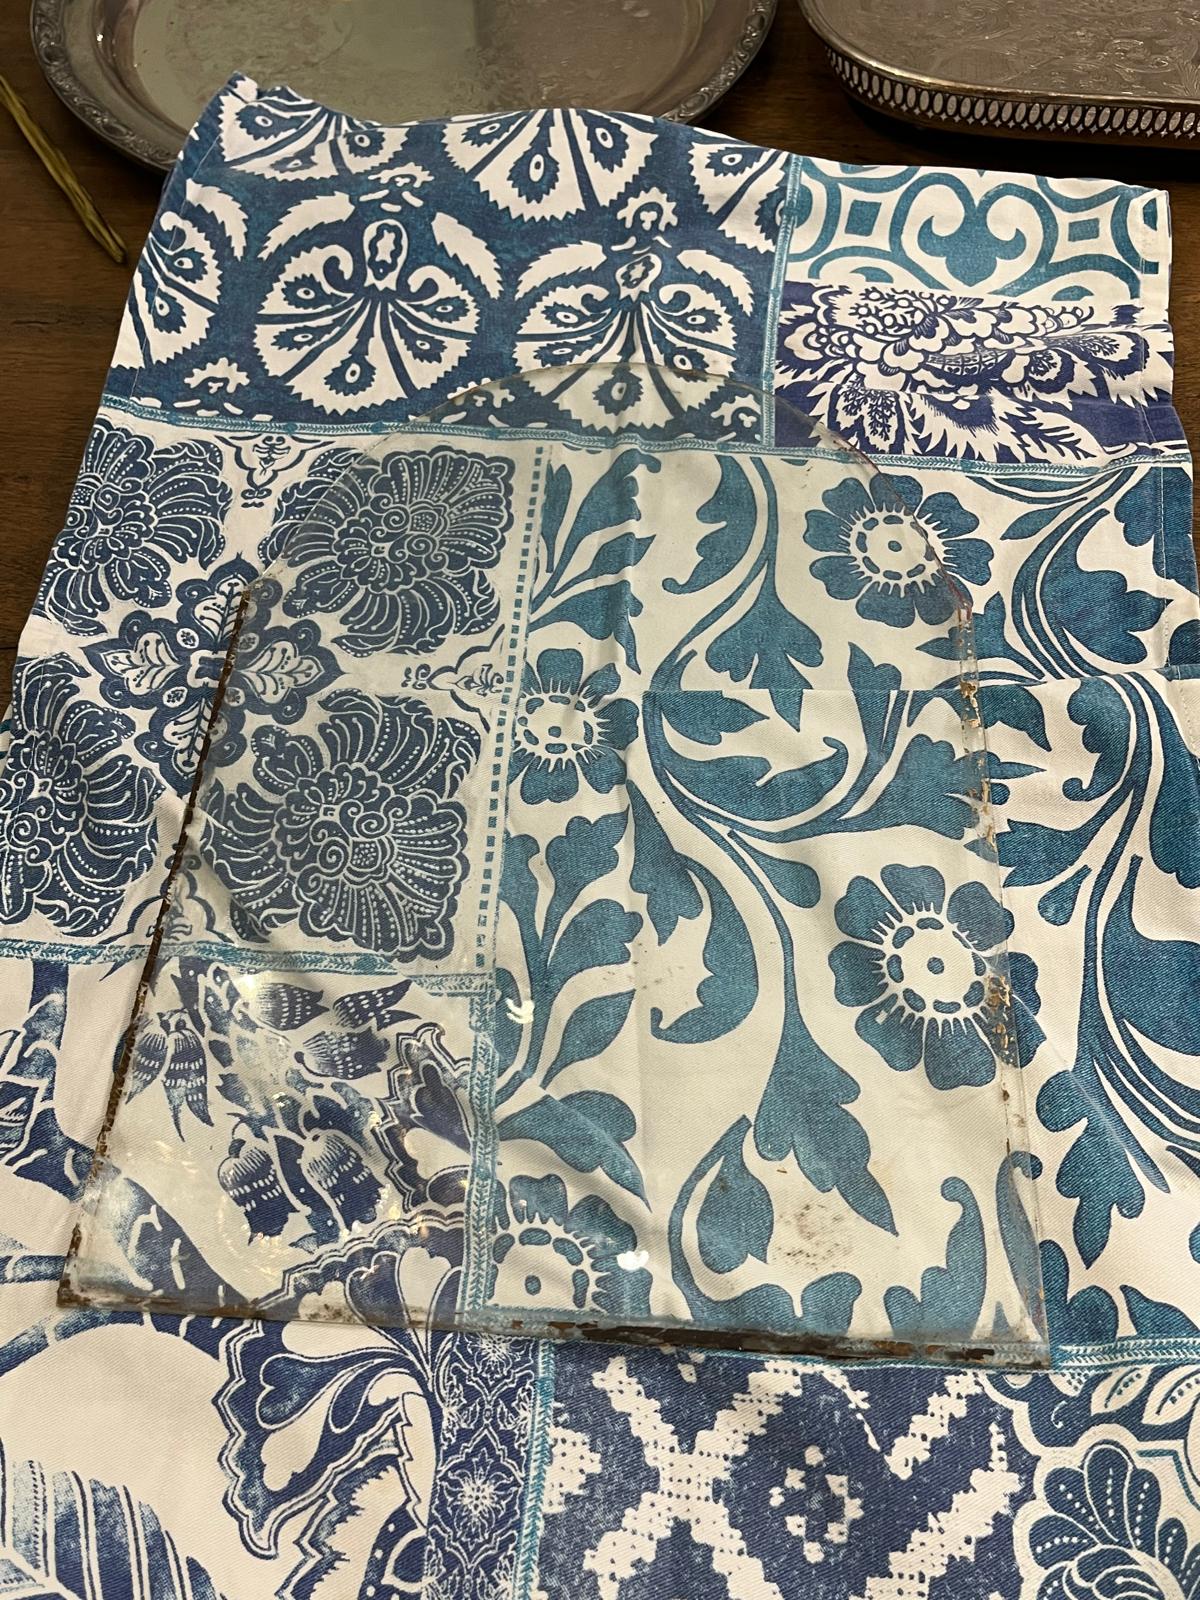
At the same time, the old glazing putty was falling apart — it turned to dust at the slightest touch. To save the extremely thin, “wavy” hand-blown glass, we used a chemical-compress method: the rebates were soaked generously in white spirit, wrapped tightly in cling film for half an hour, then locally warmed with a hair dryer. The old linseed-oil putty softened, letting us fully clean out the grooves with toothpicks.
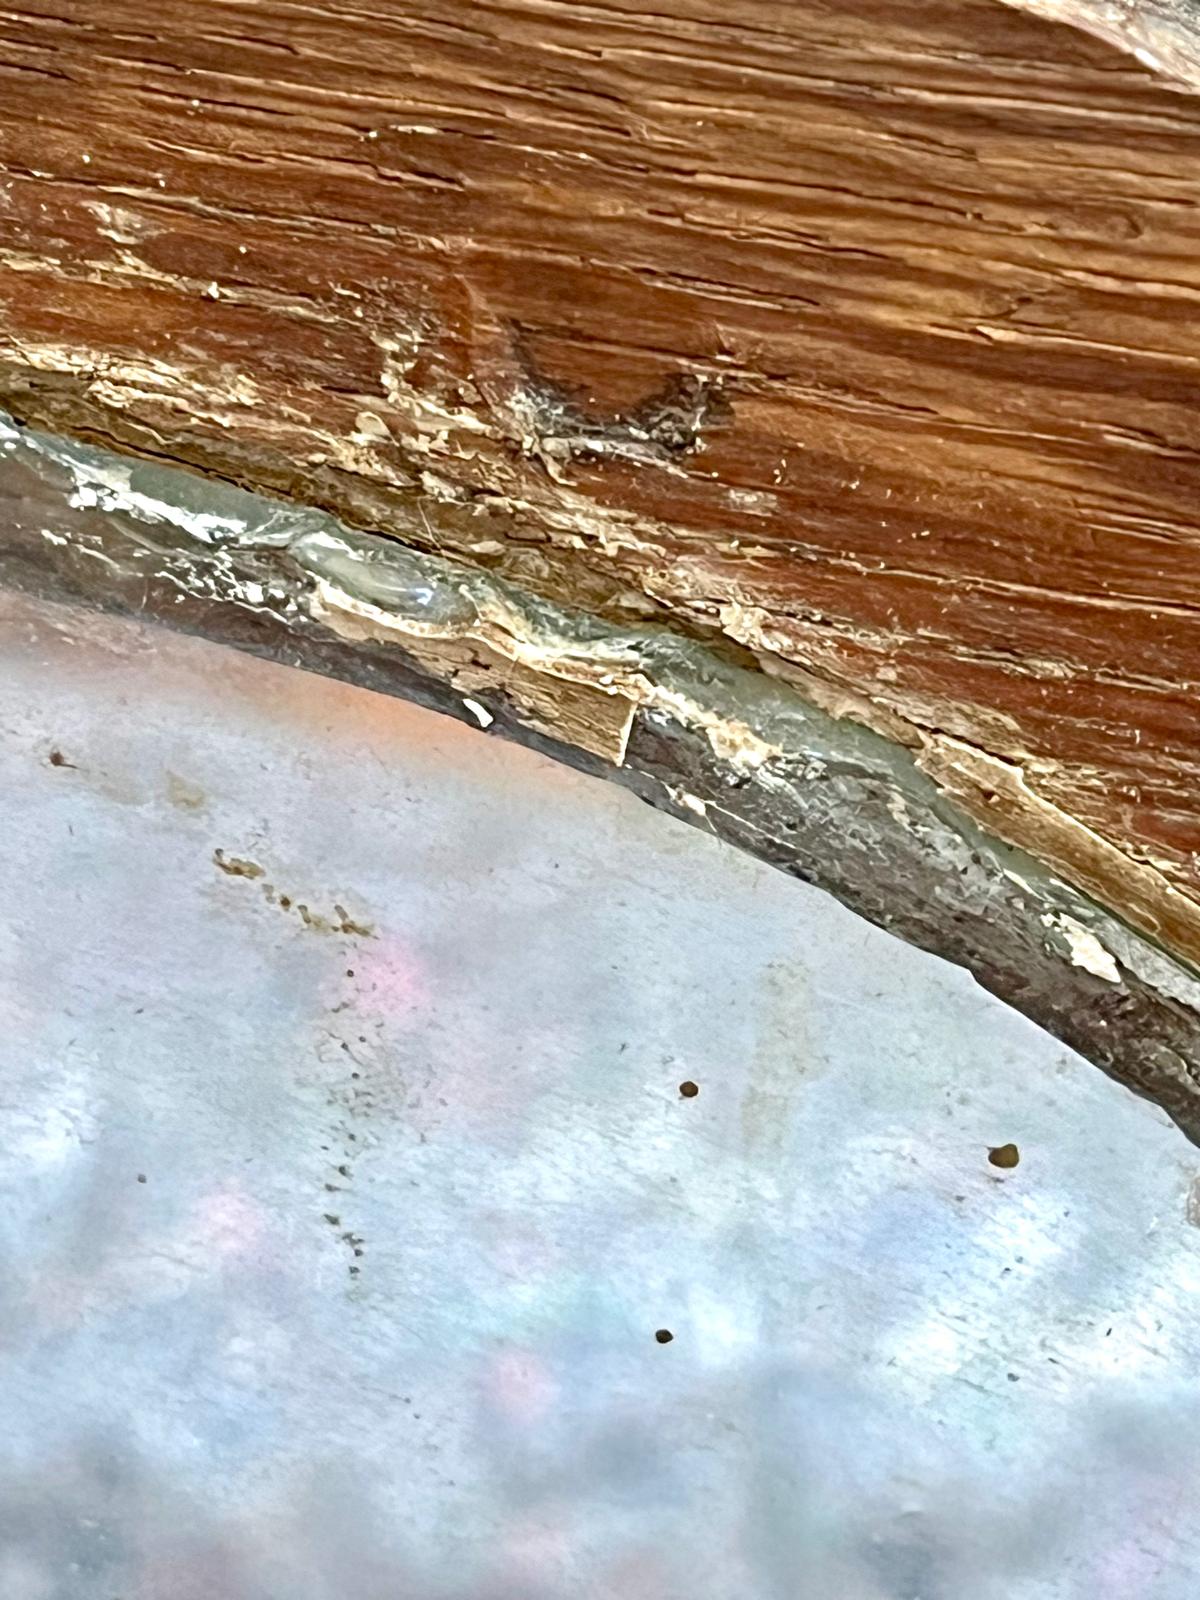
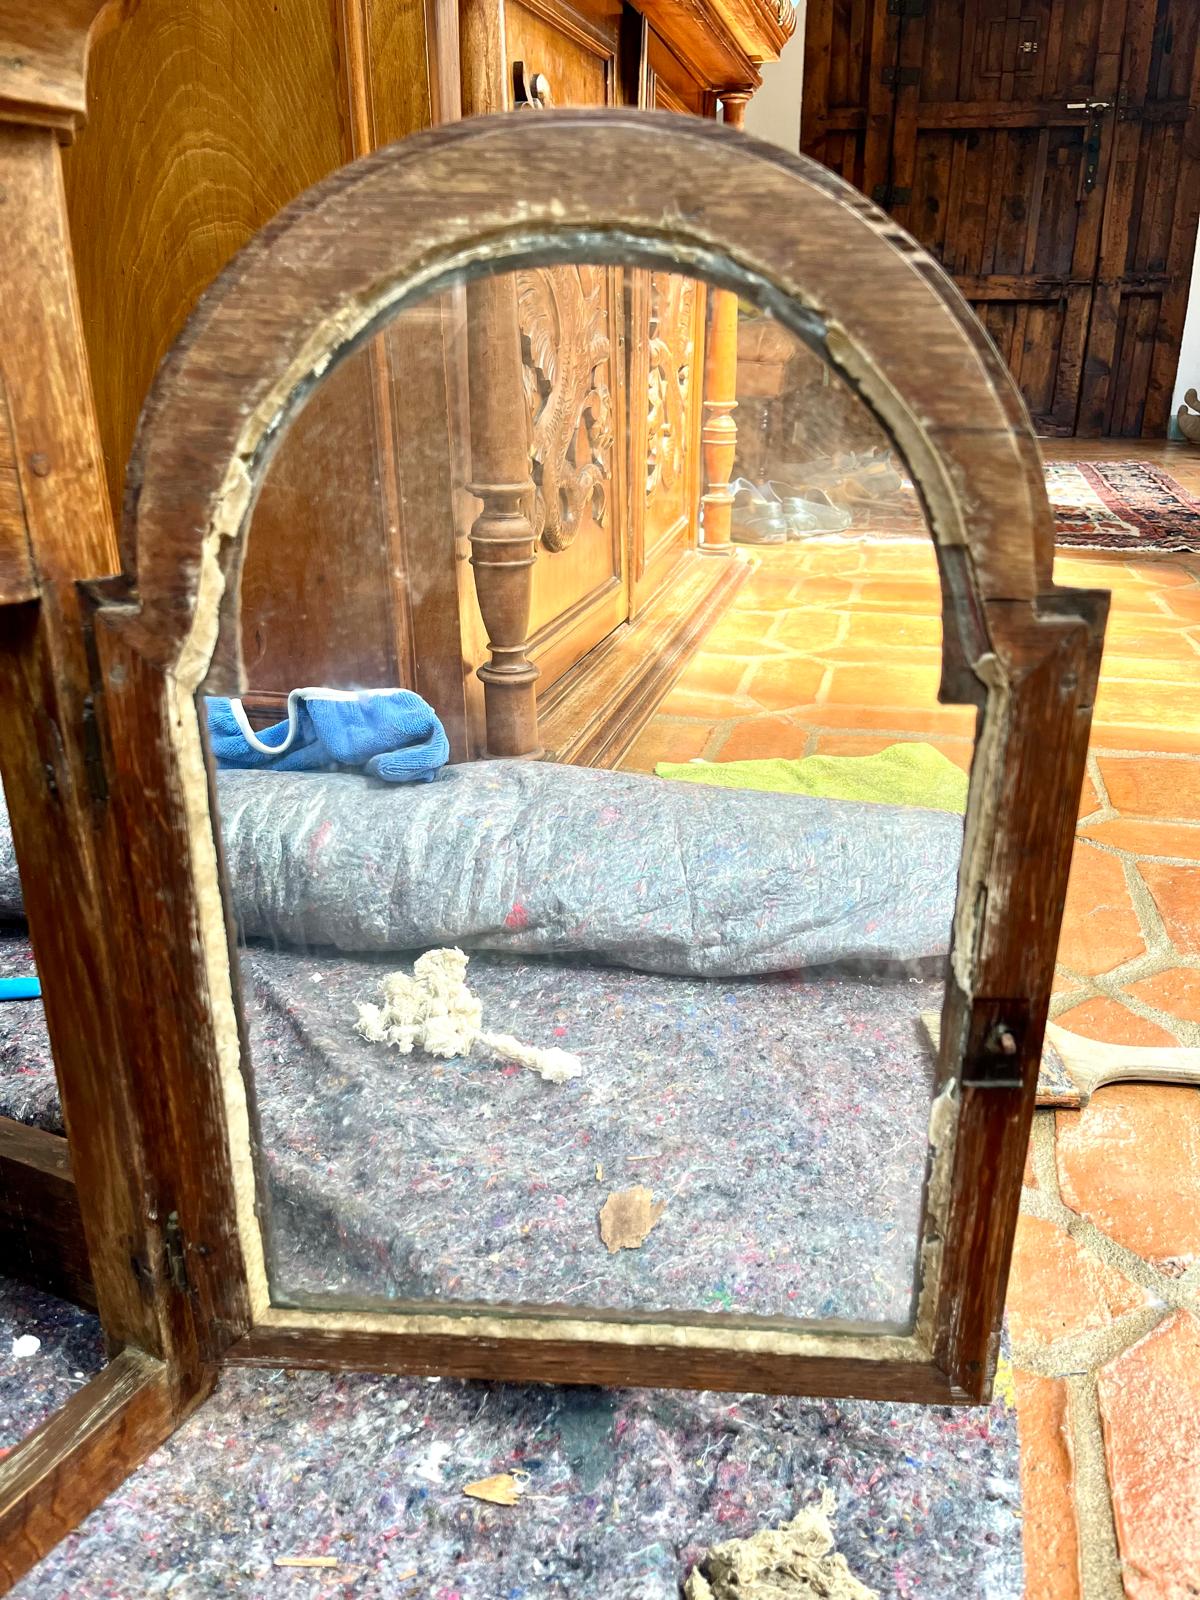
🛑 A Strict Taboo on WD-40 and Penetrating Oils
Using liquid machine oils or products like WD-40 anywhere near the wooden frame is categorically forbidden. The ancient, dry cellulose will soak them up instantly and all the way through. The wood’s adhesion will be destroyed forever — no glue, no kintsugi adhesive, no fresh glazing putty will ever grip those greasy rebates again.
🩸 Discovering the Red Lead, and the Jeweler’s Pins
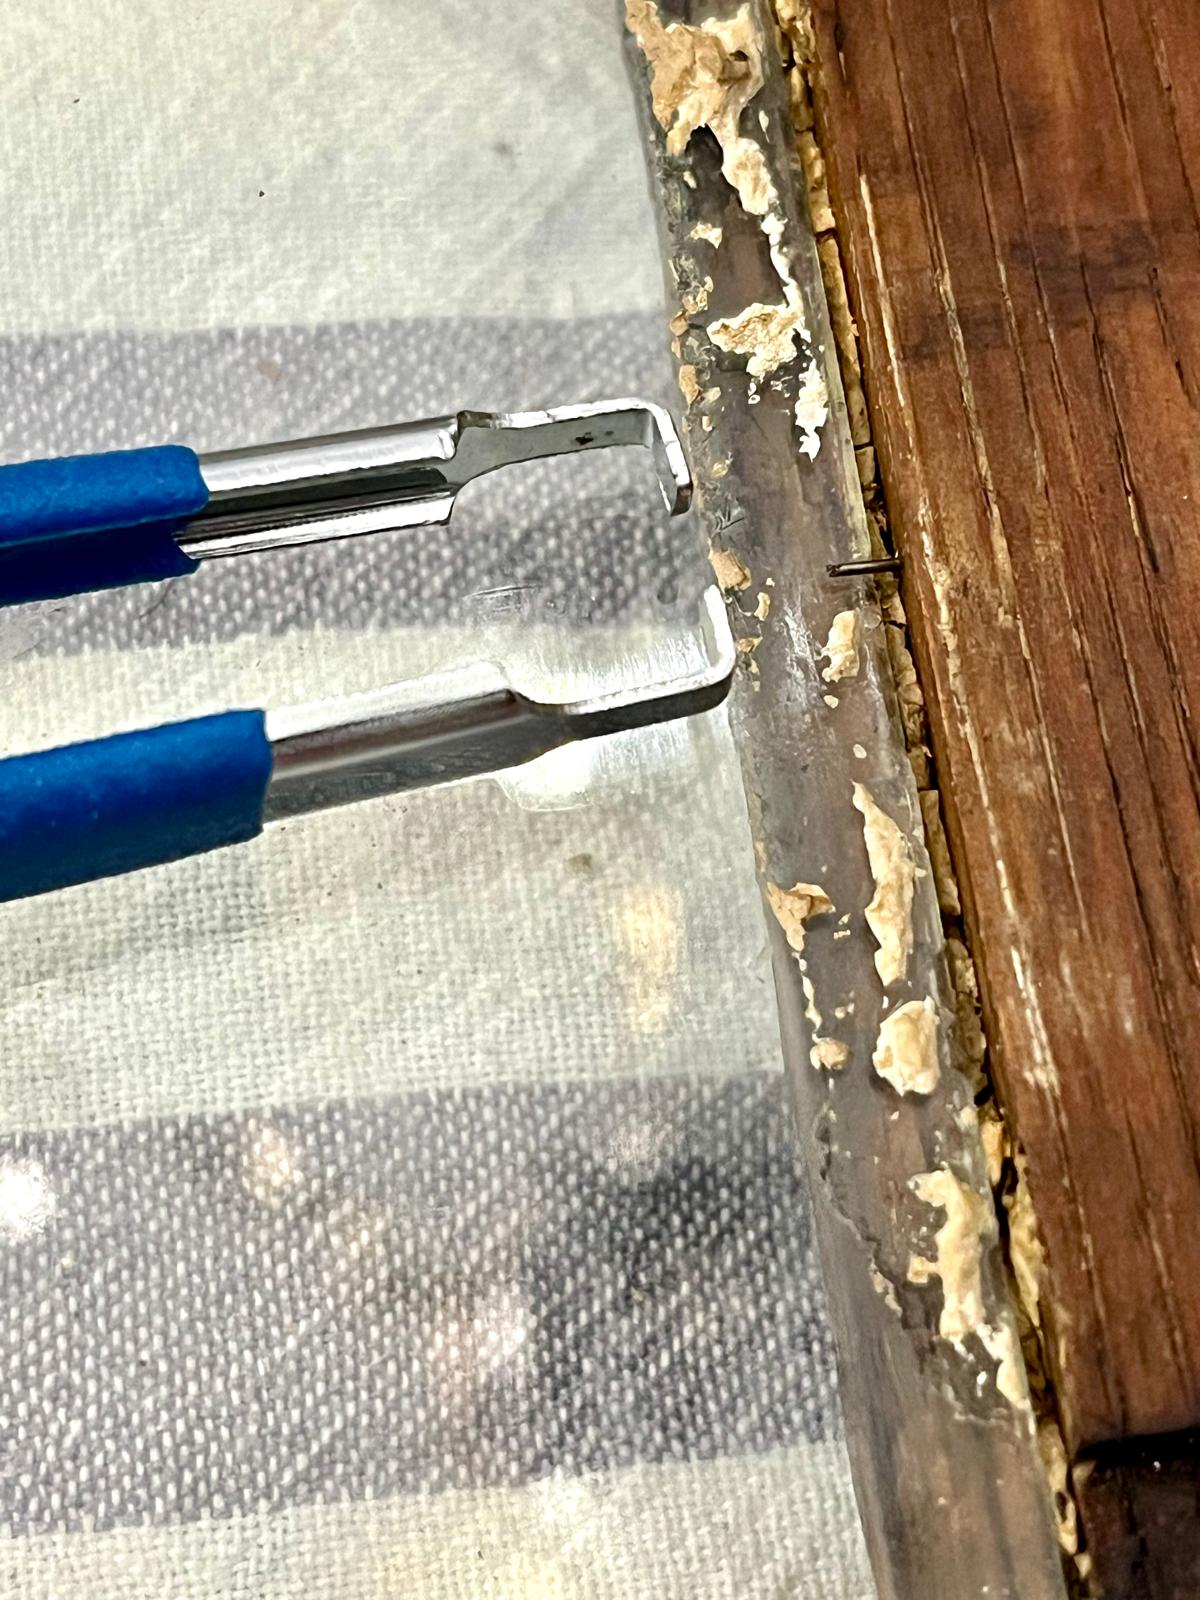
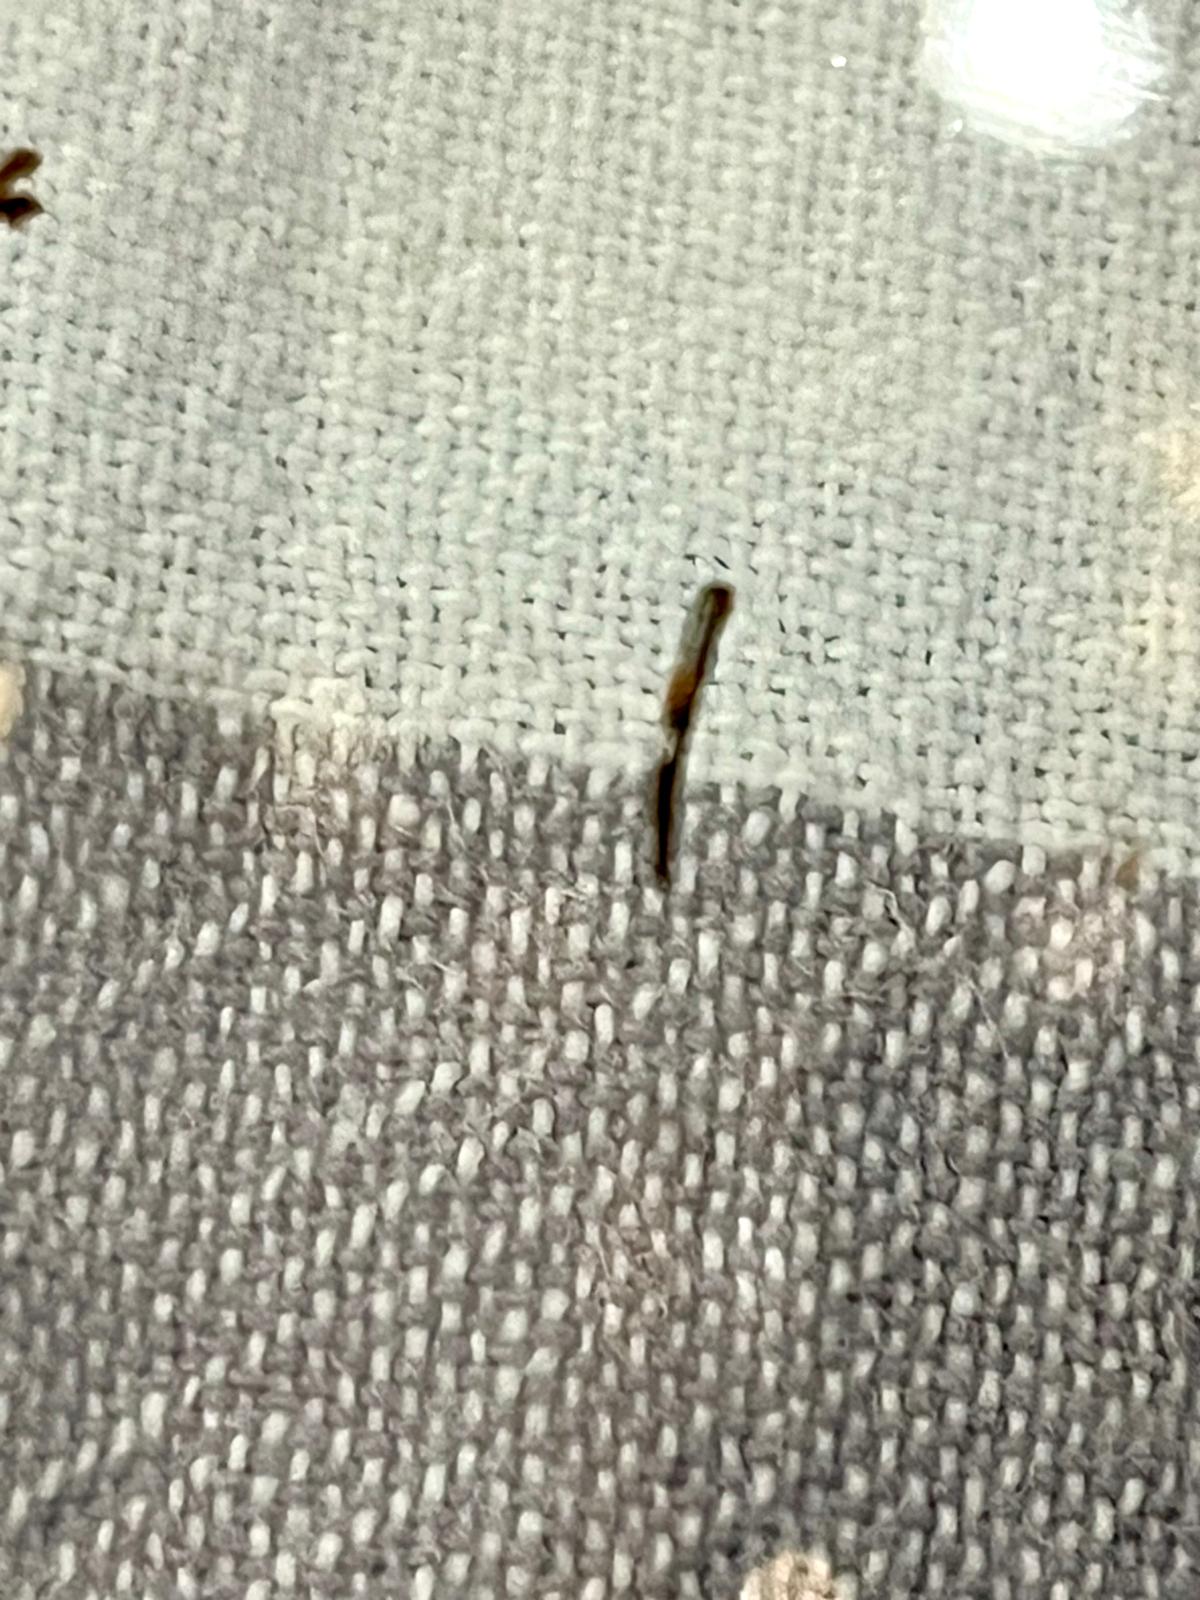
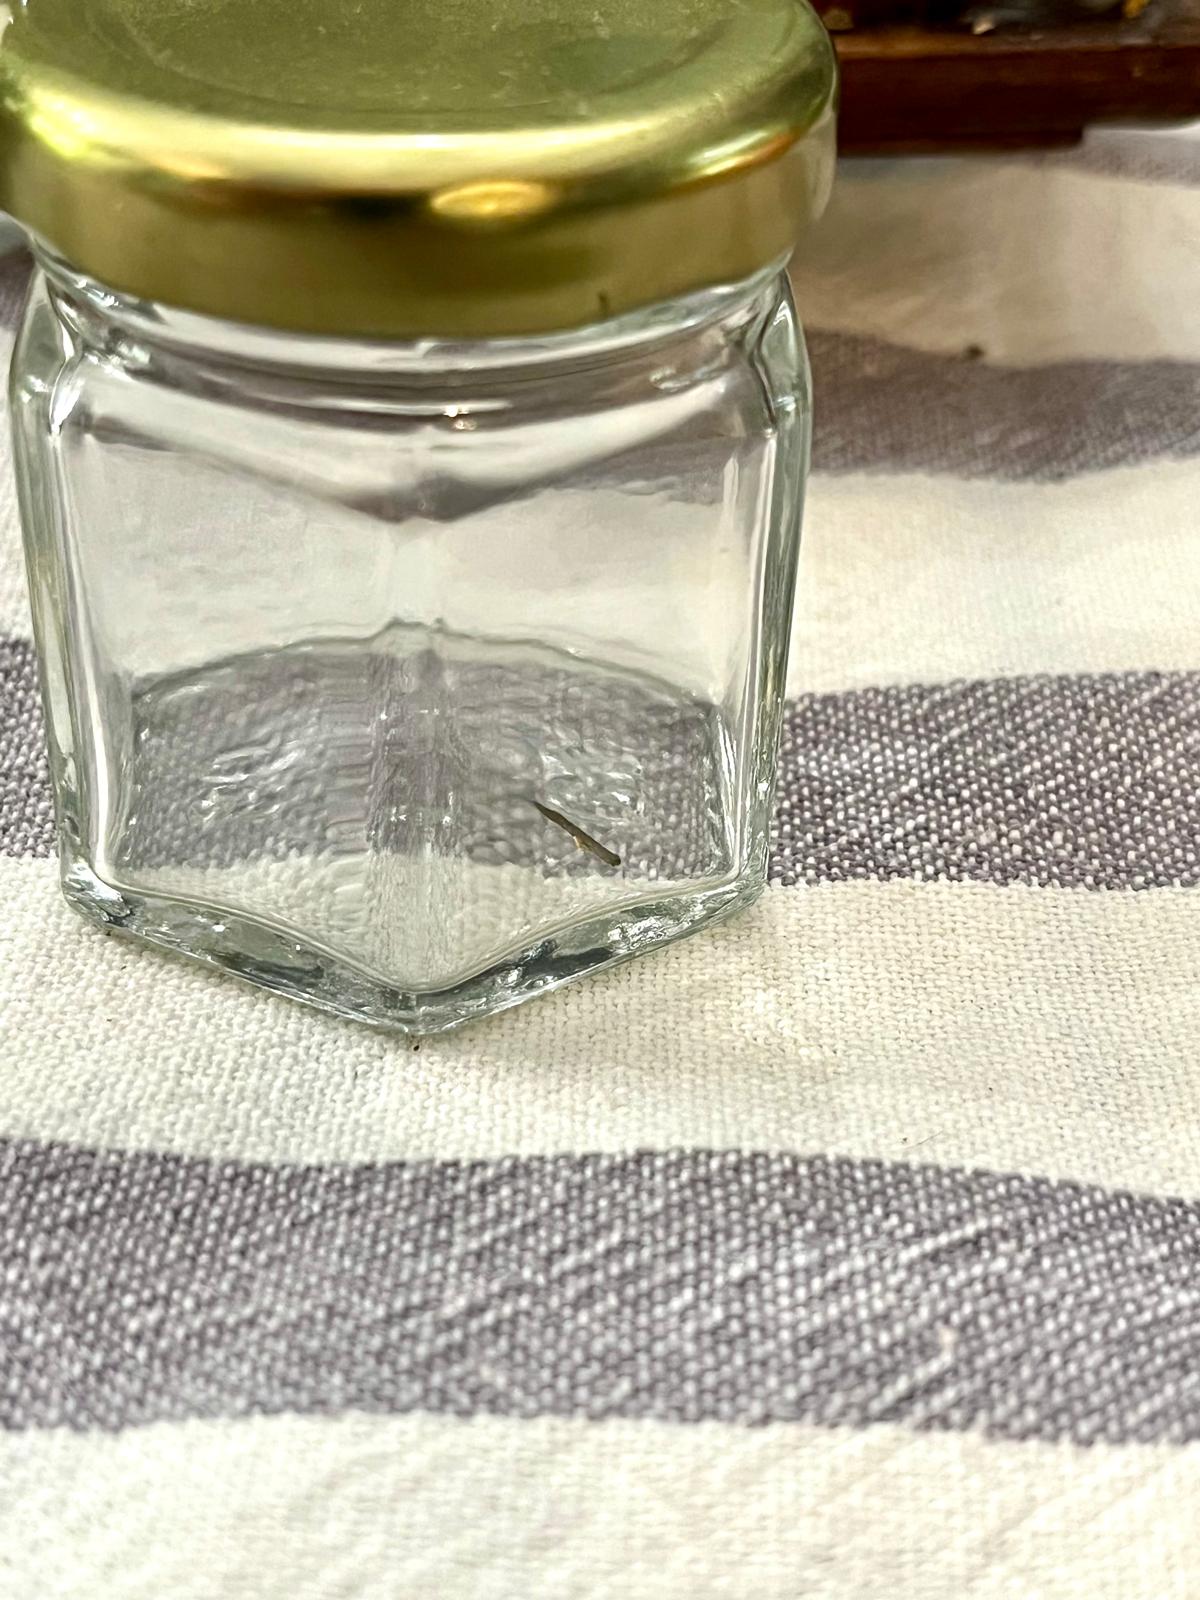
Under the layer of putty, a bright red line was revealed — iron red lead over natural linseed oil. Old craftsmen used it as a powerful antiseptic, waterproofing primer to protect the frame from condensation. The glass itself was held in place by tiny headless forged pins. To avoid crushing the fragile edge with a pair of pliers, the pins were extracted with tweezers, strictly parallel to the plane of the glass, after the wood had been softened with alcohol.
Stage 2: Regenerating the Latch — the Sealing-Wax Method
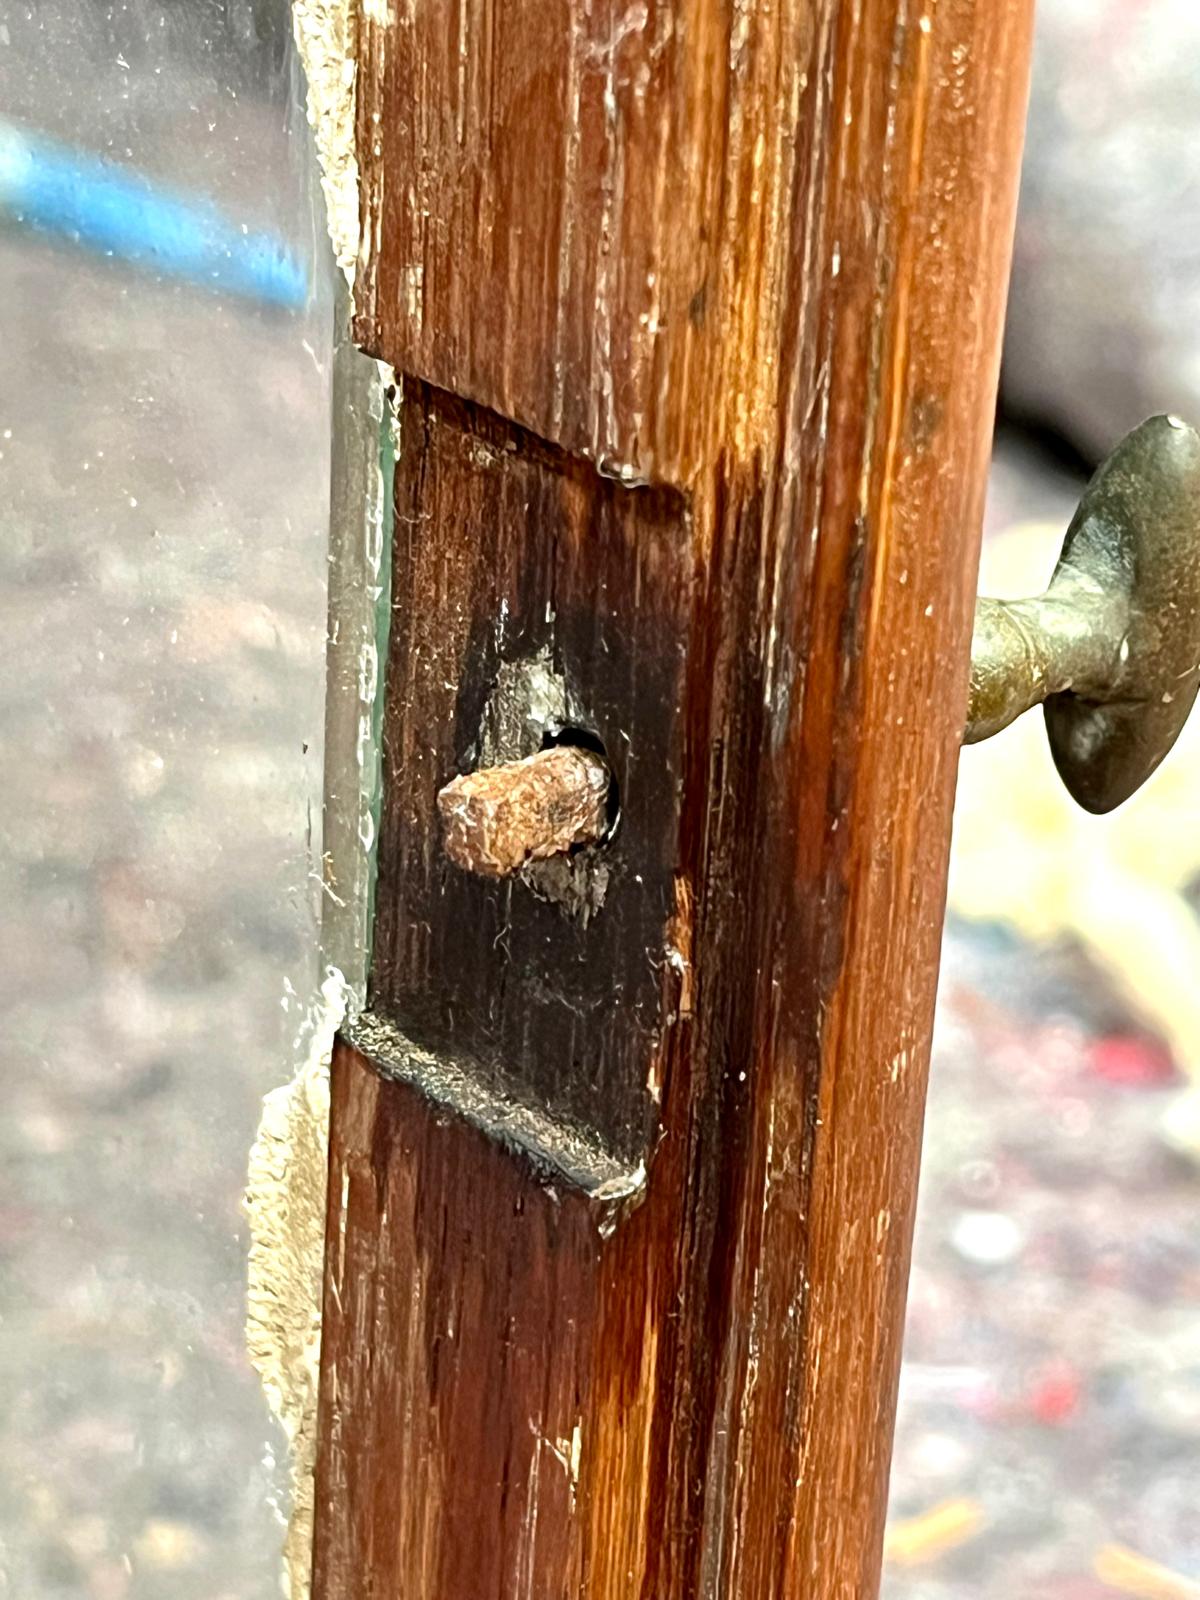
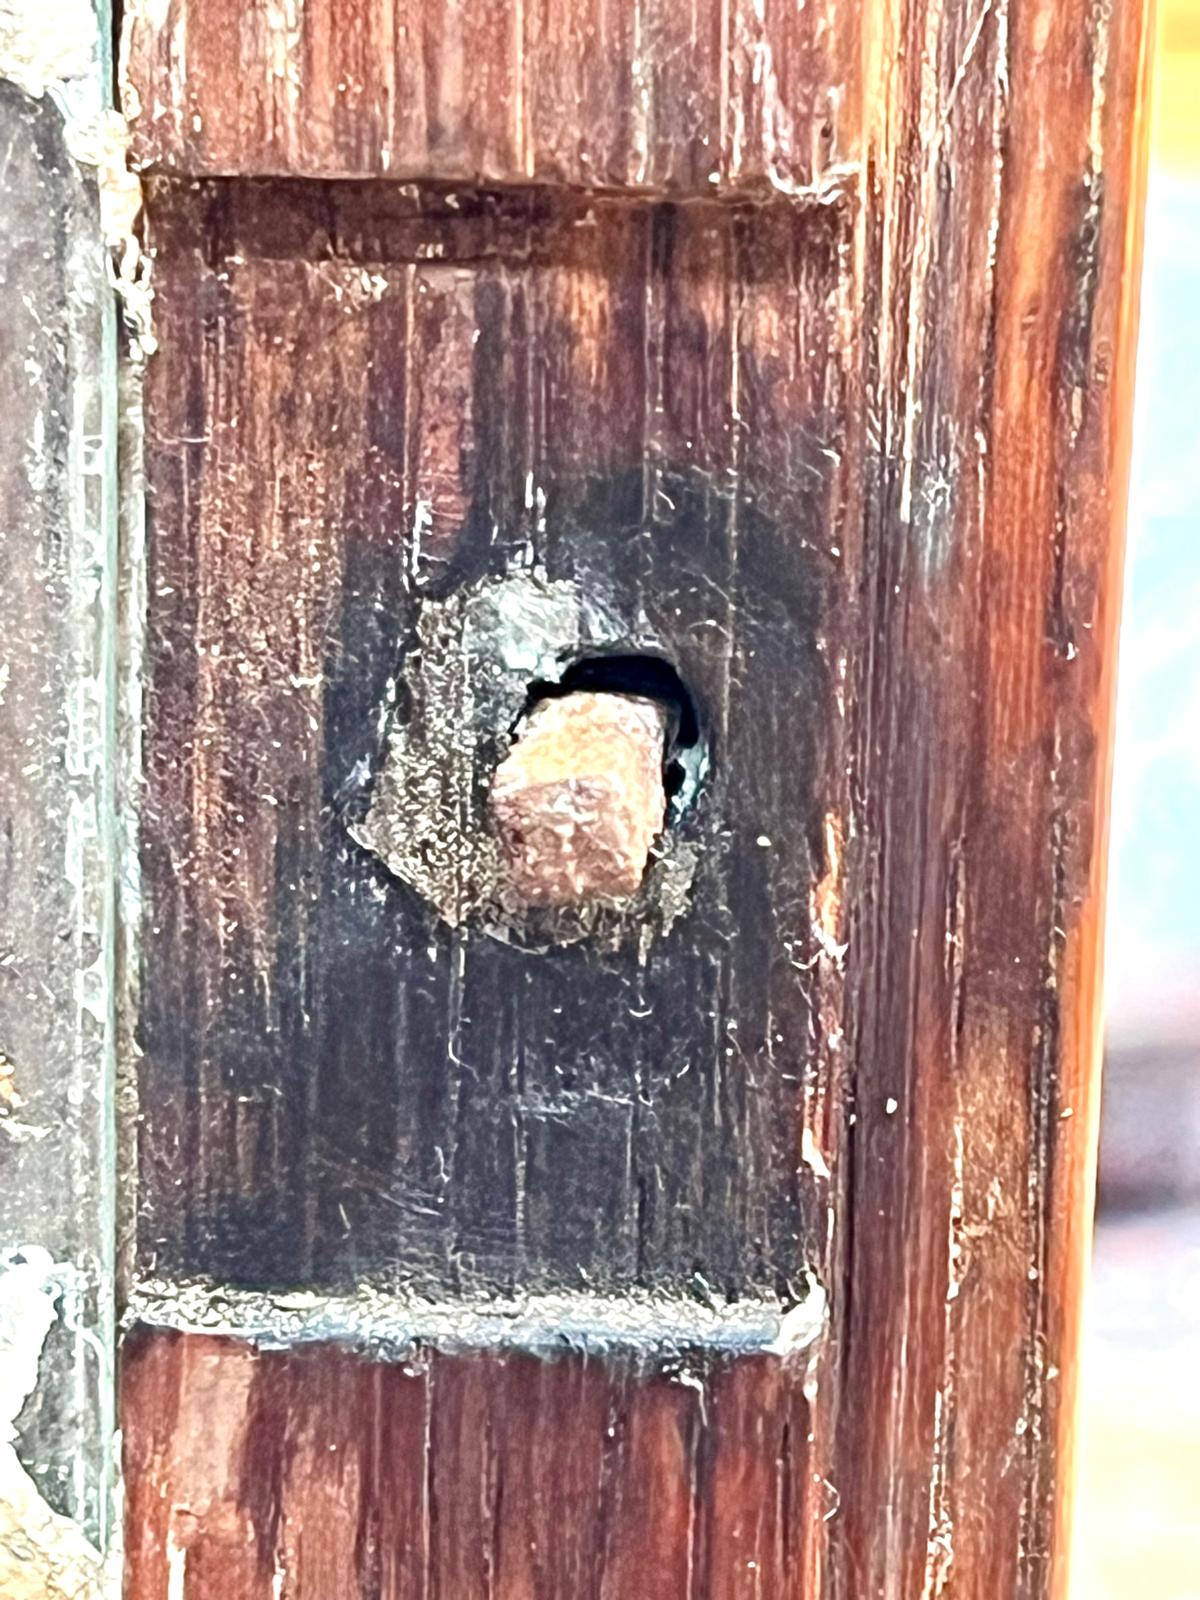
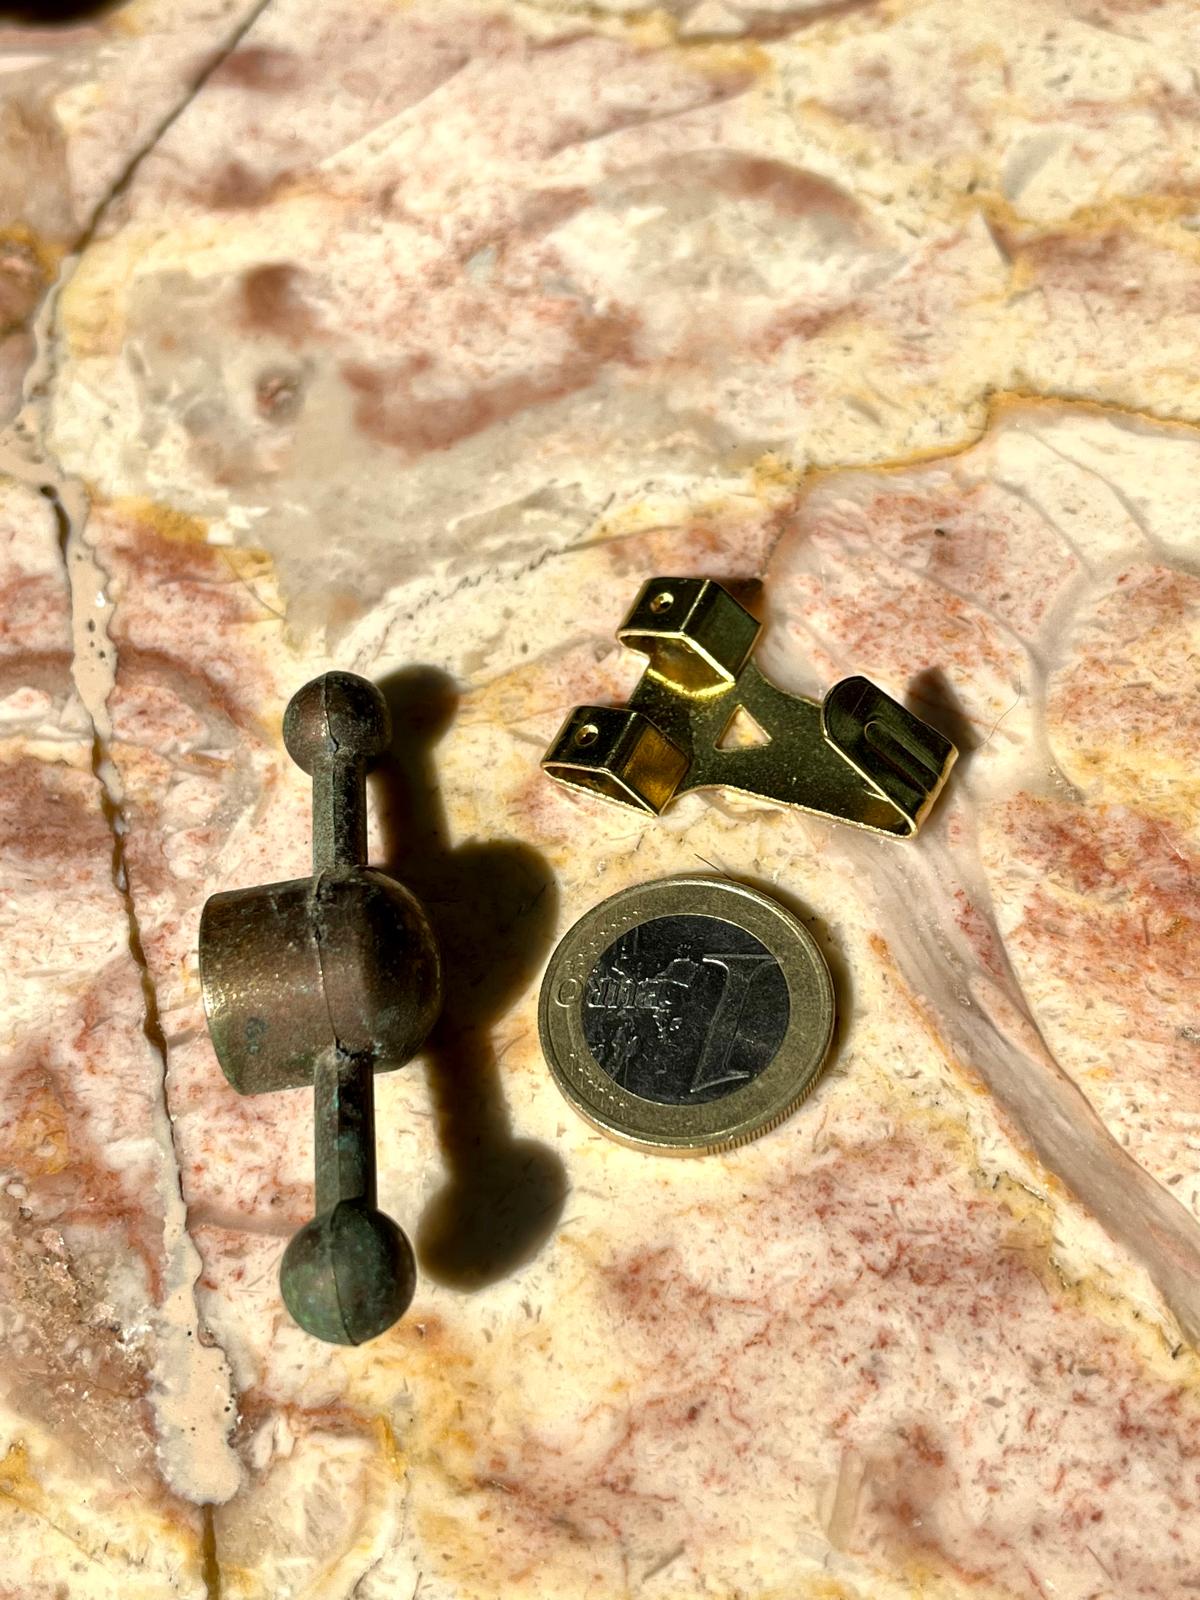
The hood door’s original lock was long gone, and the turned mushroom-shaped handle was jammed solid. After introducing a drop of oil into the brass bushing, we carefully pressed out the handle’s faceted, forged steel pin, working along the direction of its facets.
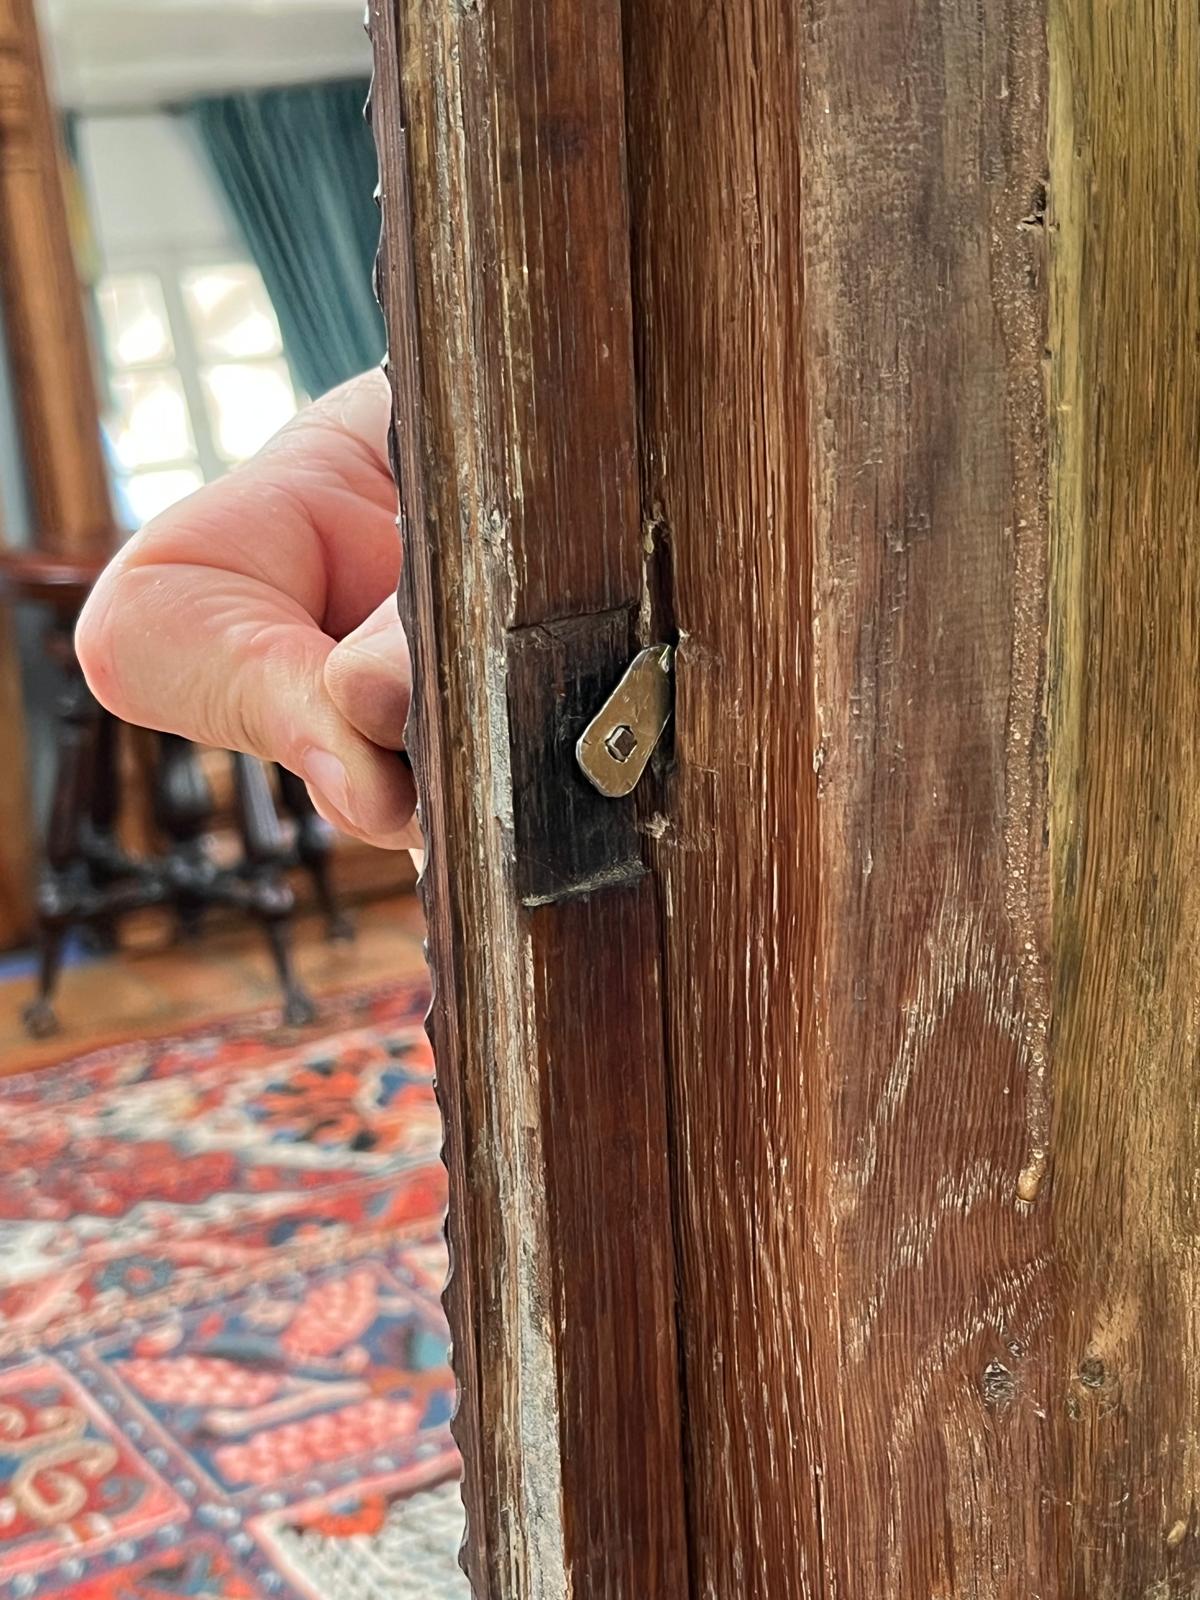
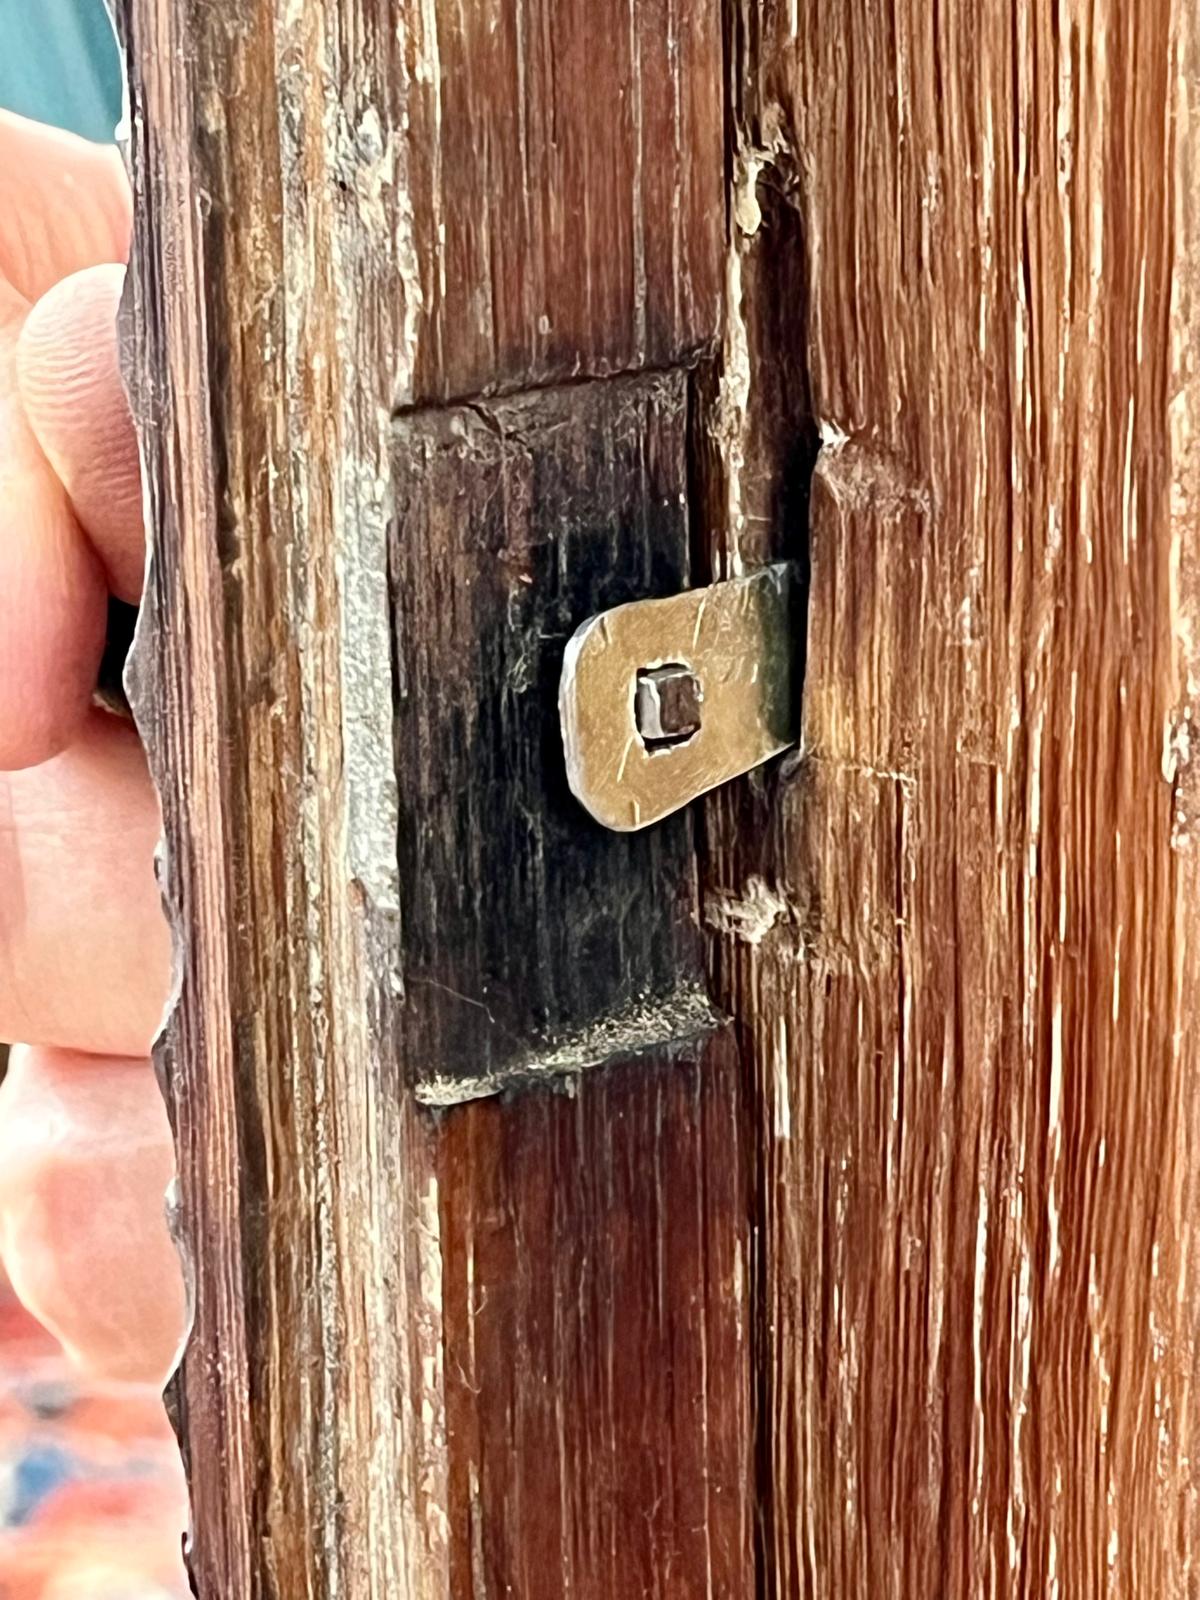
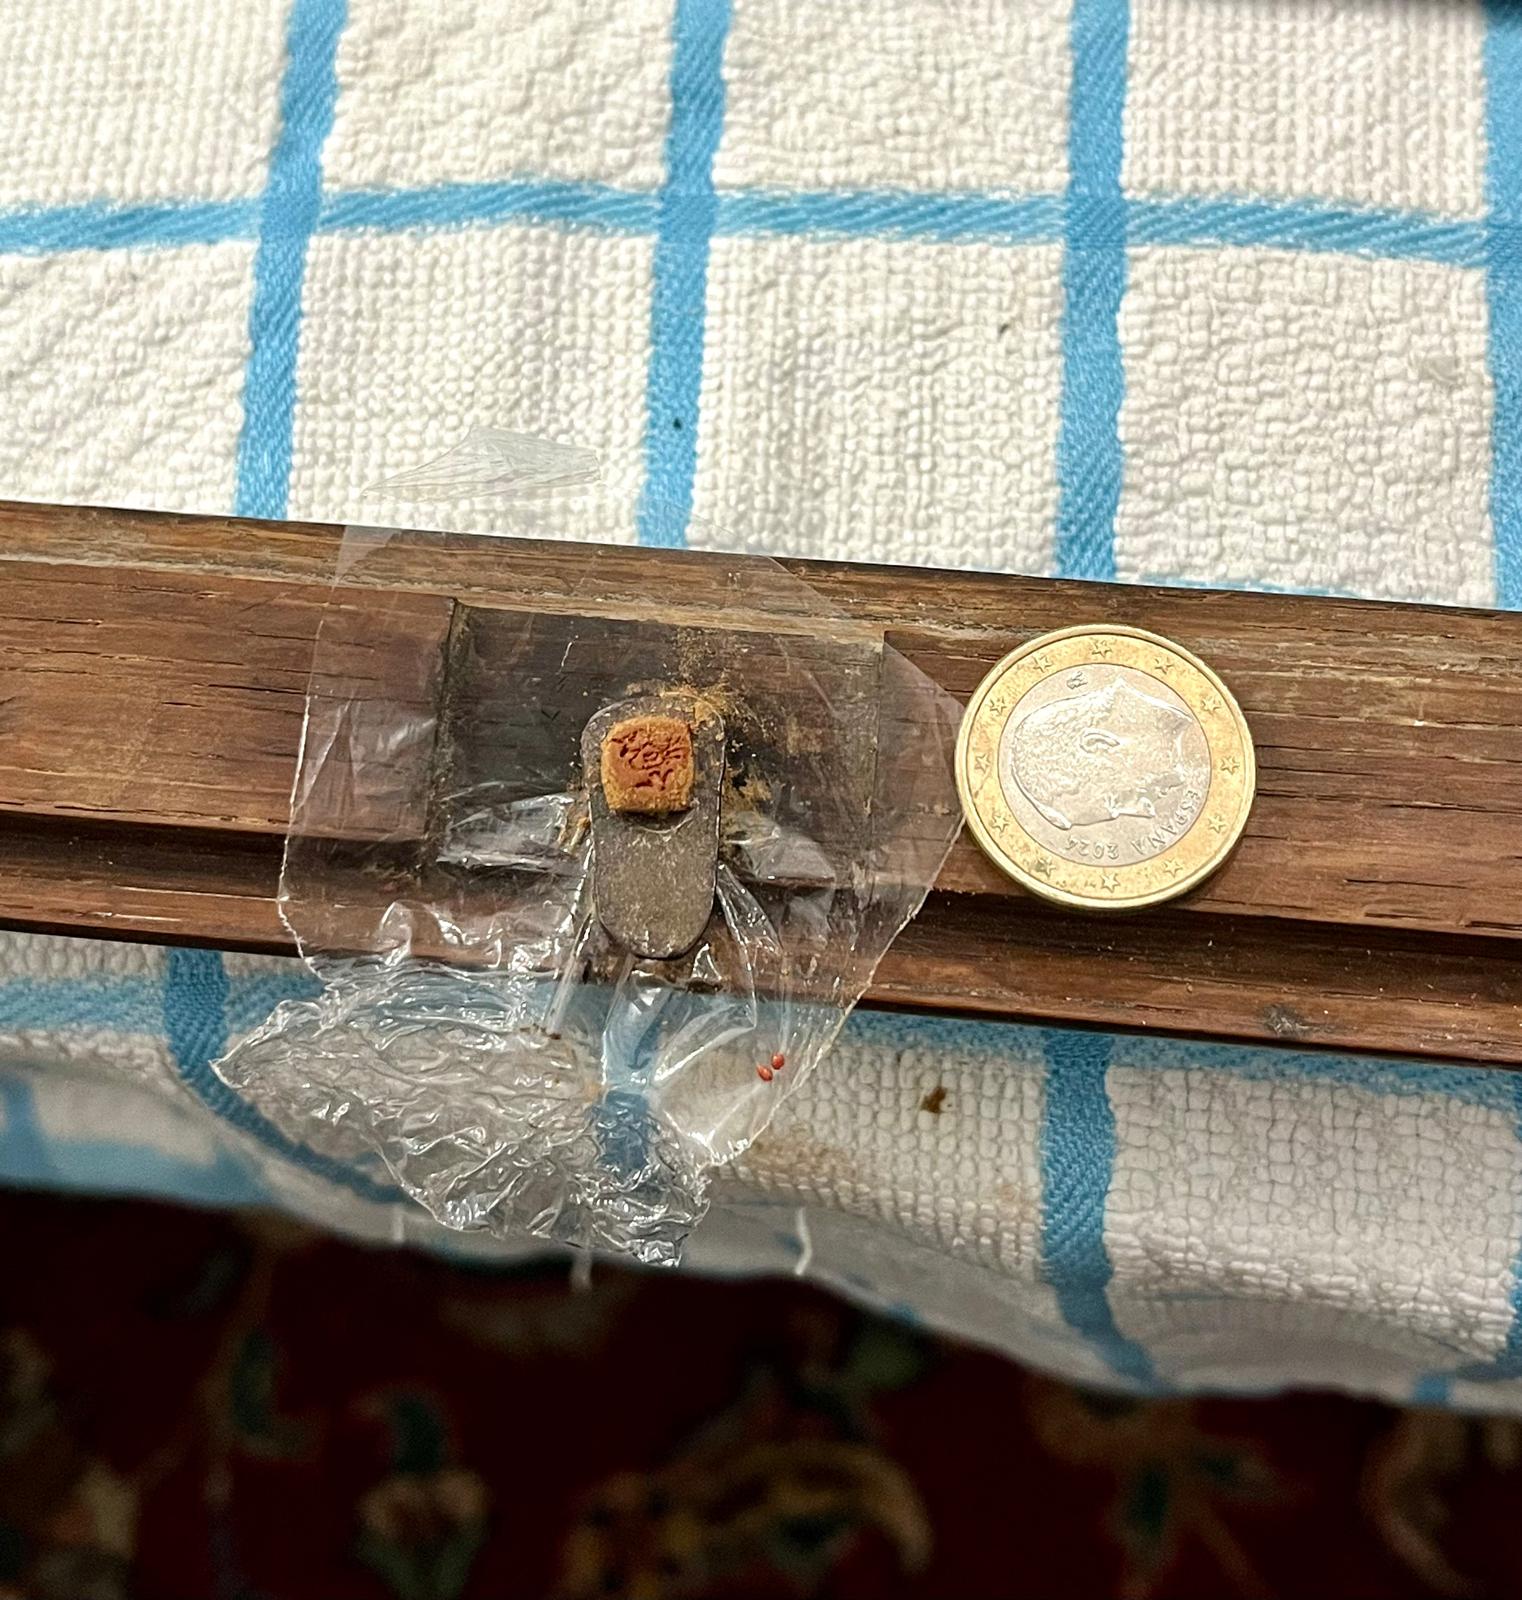
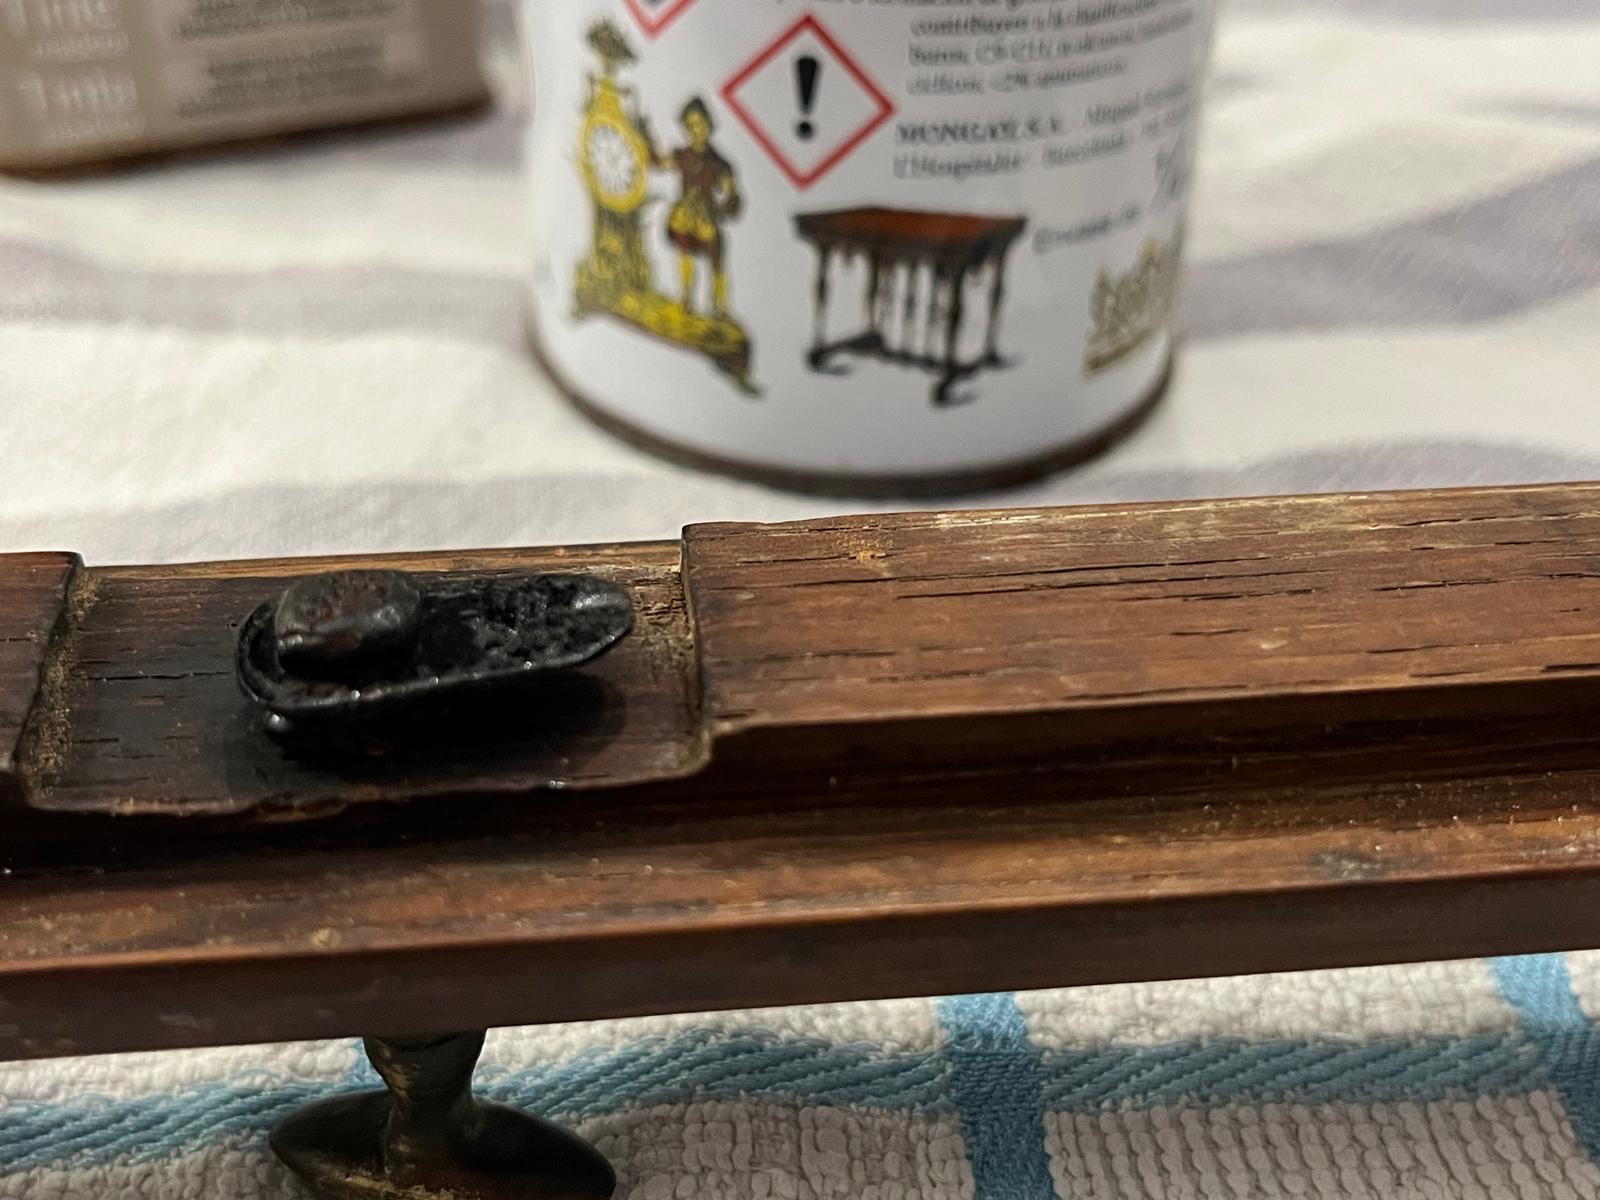
As the base for a new locking tongue, we chose a rigid stainless-steel hanger plate. Using a rotary tool and needle files, the plate’s round central hole was bored out into a precise square, matched exactly to the facets of the forged pin, which completely eliminated any play when turning it.
[Outer brass mushroom knob]
             │
             ▼
 [Forged faceted pin] ──► Runs straight through the door frame
             │
             ▼  (Square hole in stainless steel)
     ┌───────────────┐
     │     Latch     │ ◄── Spot-fixed with cold-weld epoxy
     └───────────────┘
             │
             ▼  (Final camouflage)
 [Dusted with walnut powder] + [Fine needle: maker's-mark bird stamped in] + [Betun Judaico]
             │
             ▼
[RESULT: stainless steel becomes century-old baroque cast iron]
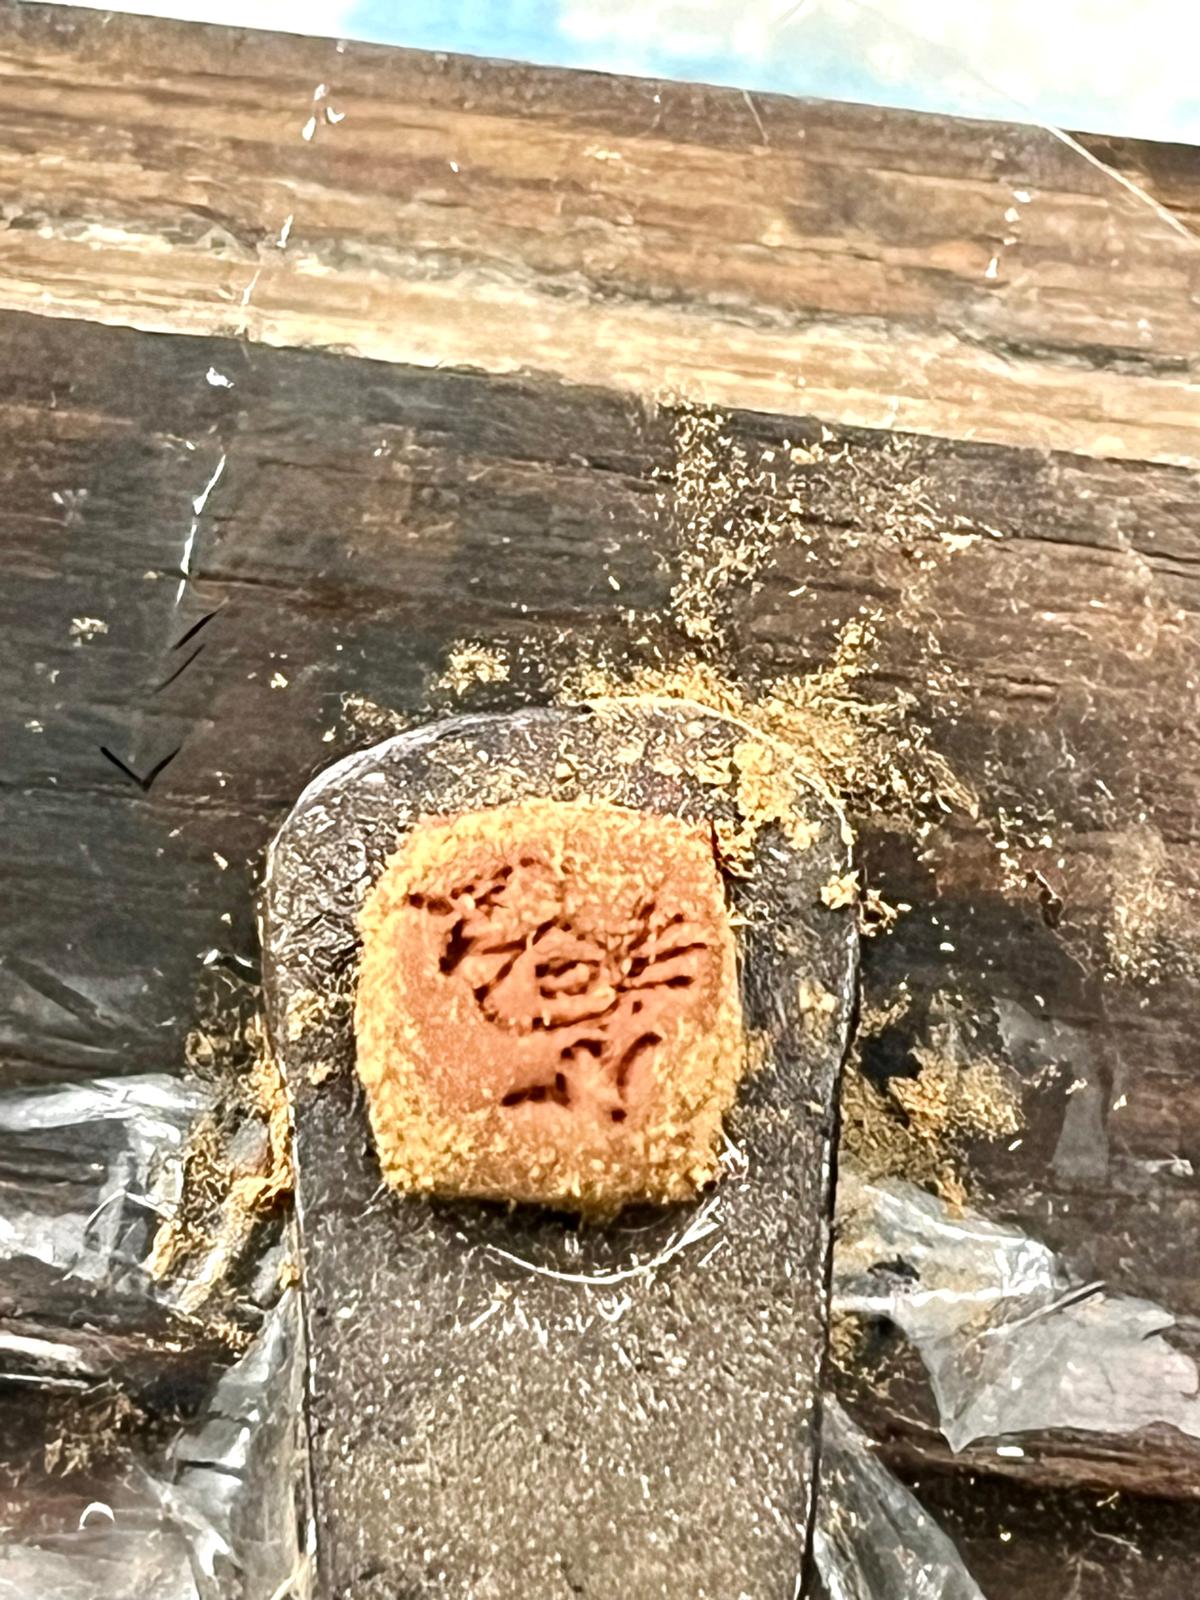
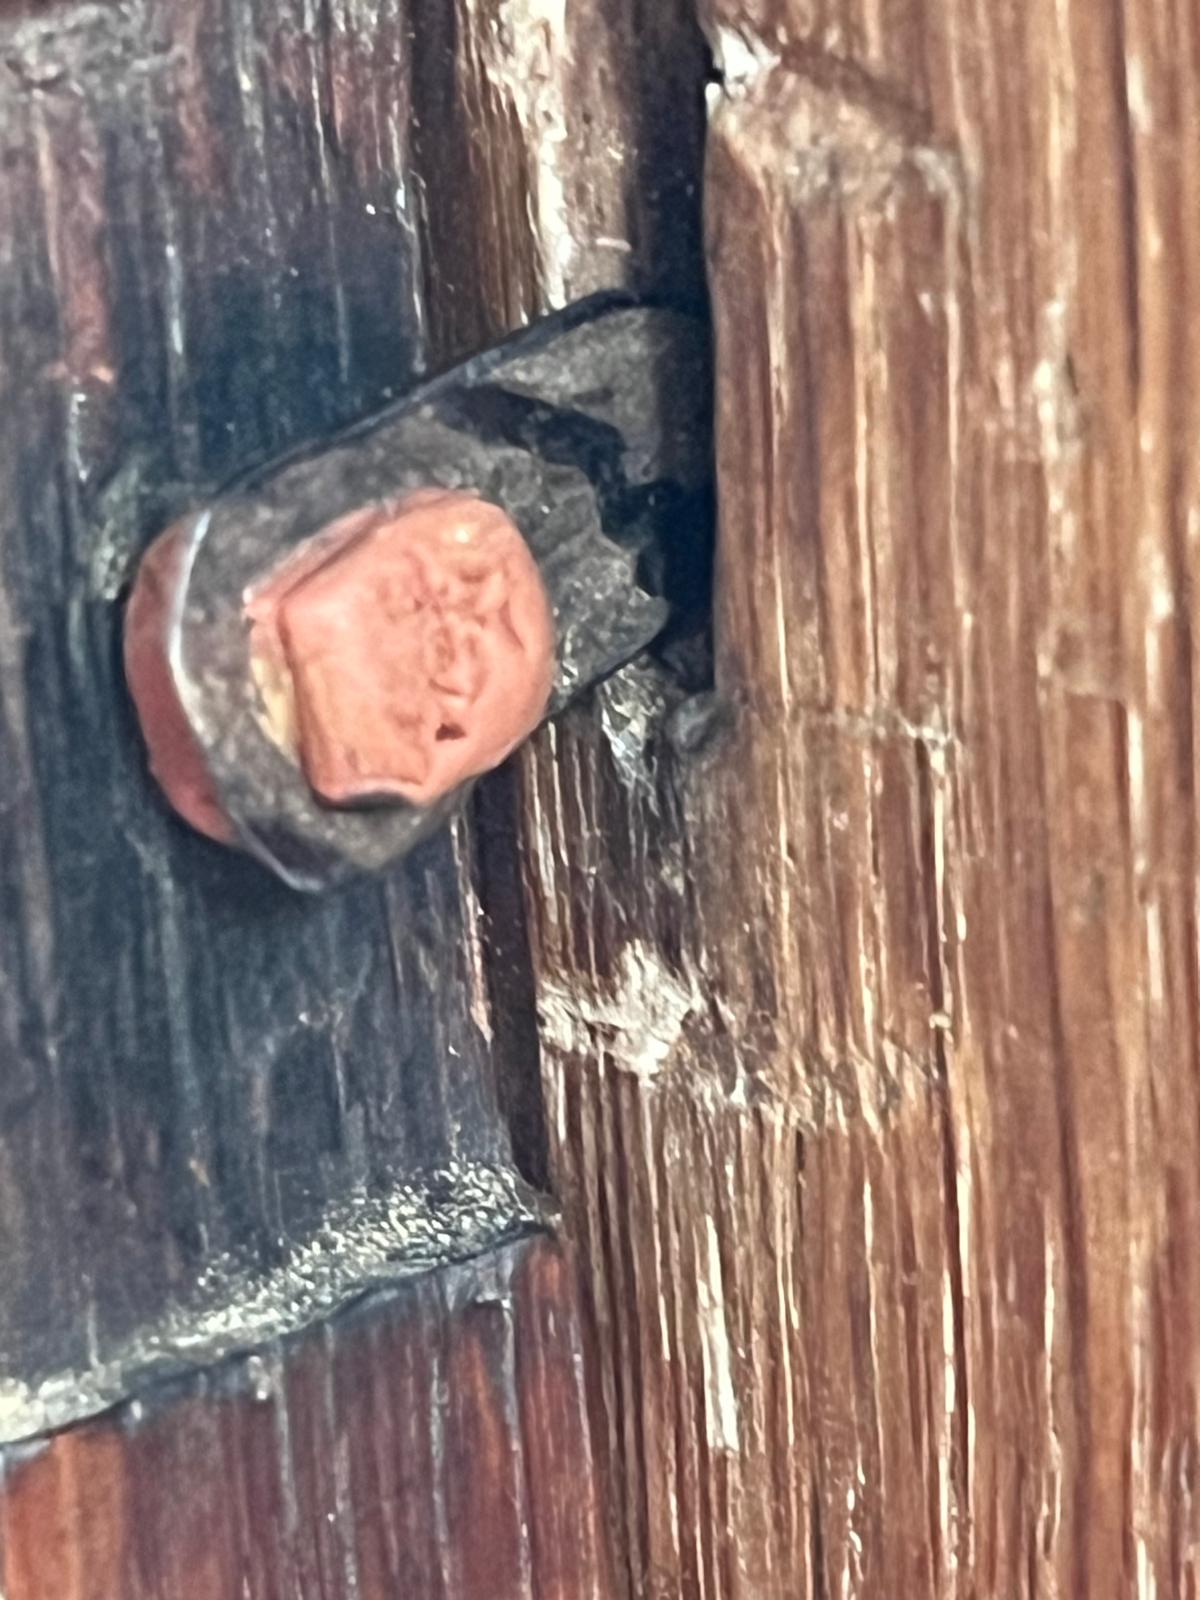
To fix it in place, we used a two-part cold-weld epoxy (a grey-maroon putty). Mixing the compound strictly on a plastic blister pack, we packed it around the forged facets and shaped it into a neat collar.
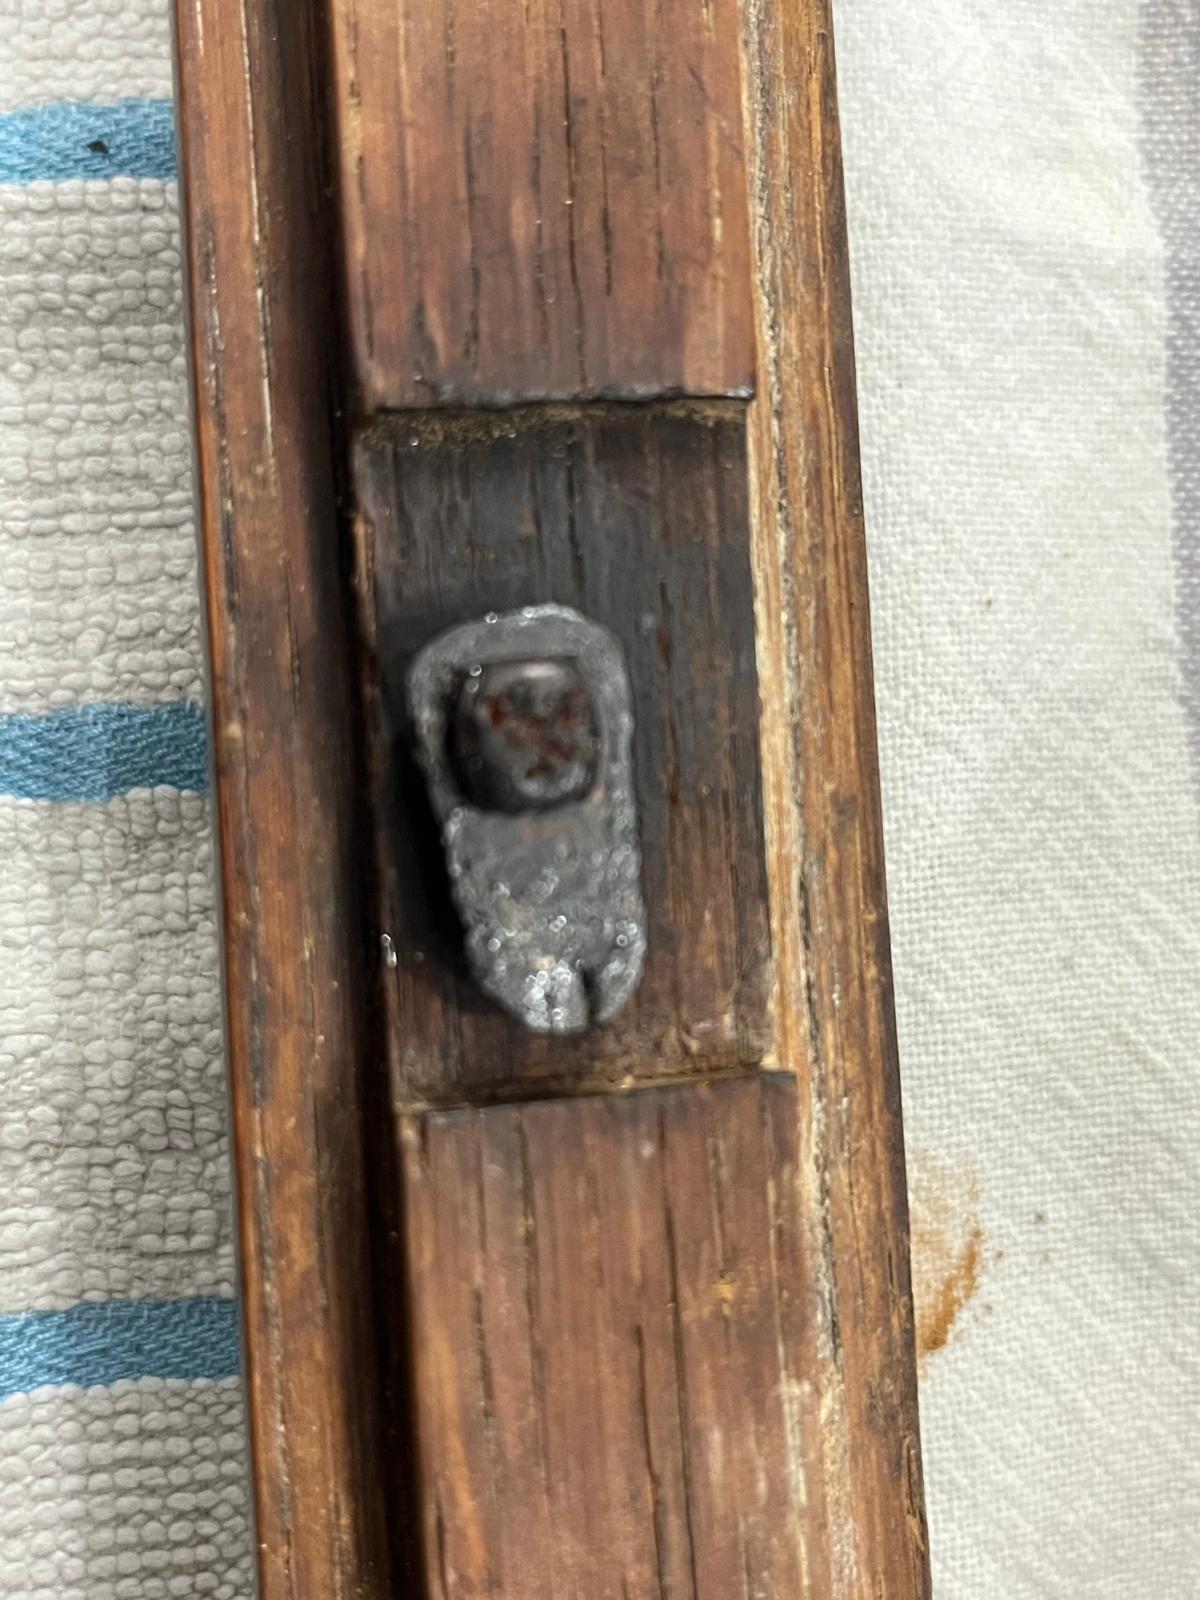
While the compound was still wet, a bit of pure artistic modeling came into play: the collar was generously and carefully dusted with velvety walnut powder, and an ordinary fine needle was used to press the author’s personal mark straight into the metal — an upside-down bird (our avatar), meant to add to this clock’s story for future generations of restorers.
In the final stage, the assembly was coated with Negro Betun Judaico bitumen from Mongay and carefully wiped with a soft rag. The bitumen settled permanently into the pores of the walnut powder and the grooves of the stamp — the bright steel instantly turned into brutal, forged 18th-century cast iron, fitting perfectly into the case’s wooden groove.
Stage 3: Conserving the Roof’s Paper Shell
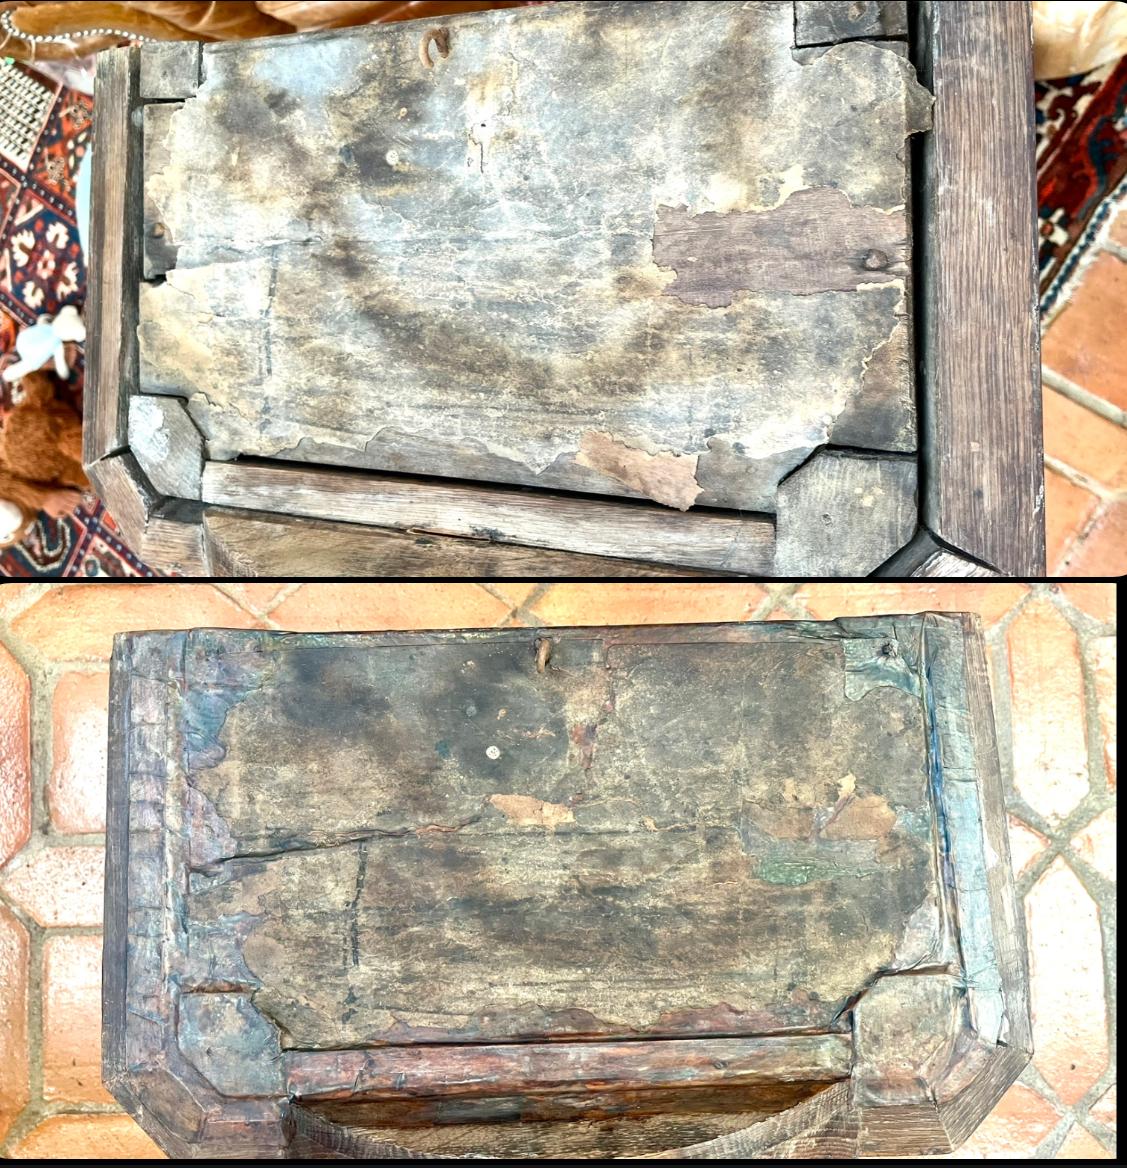
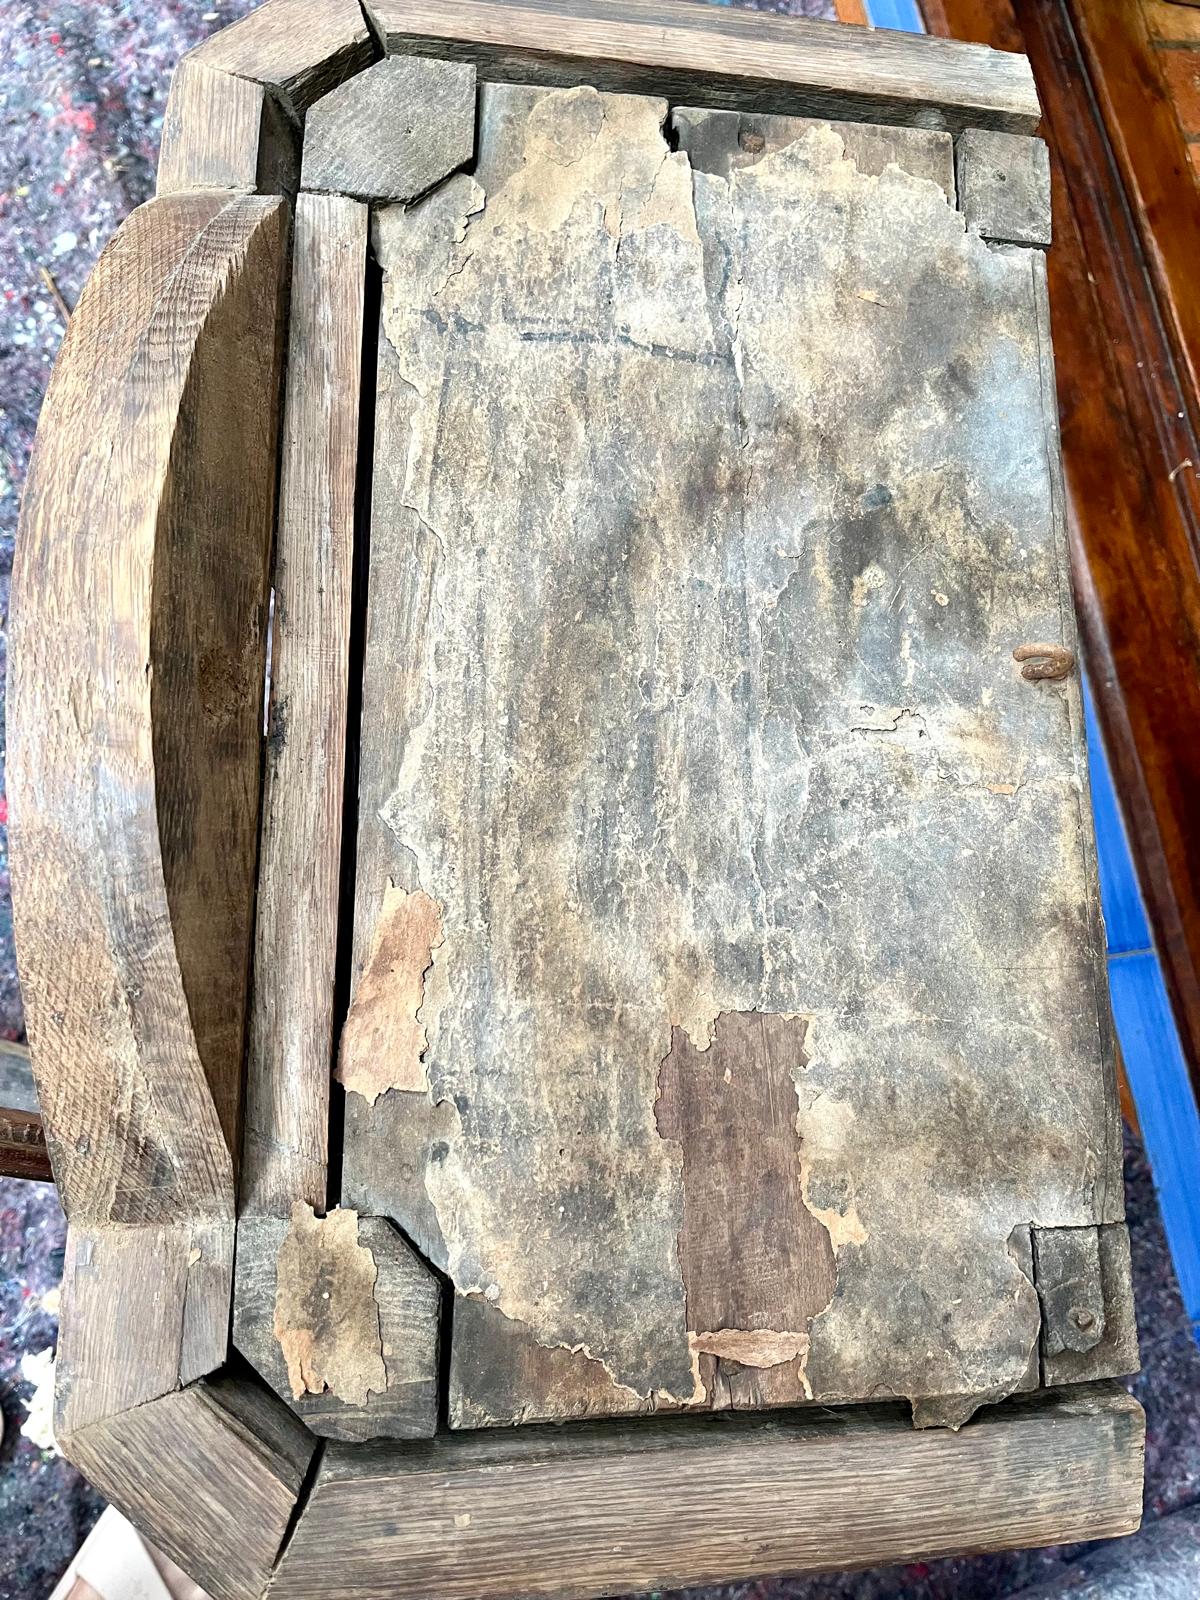
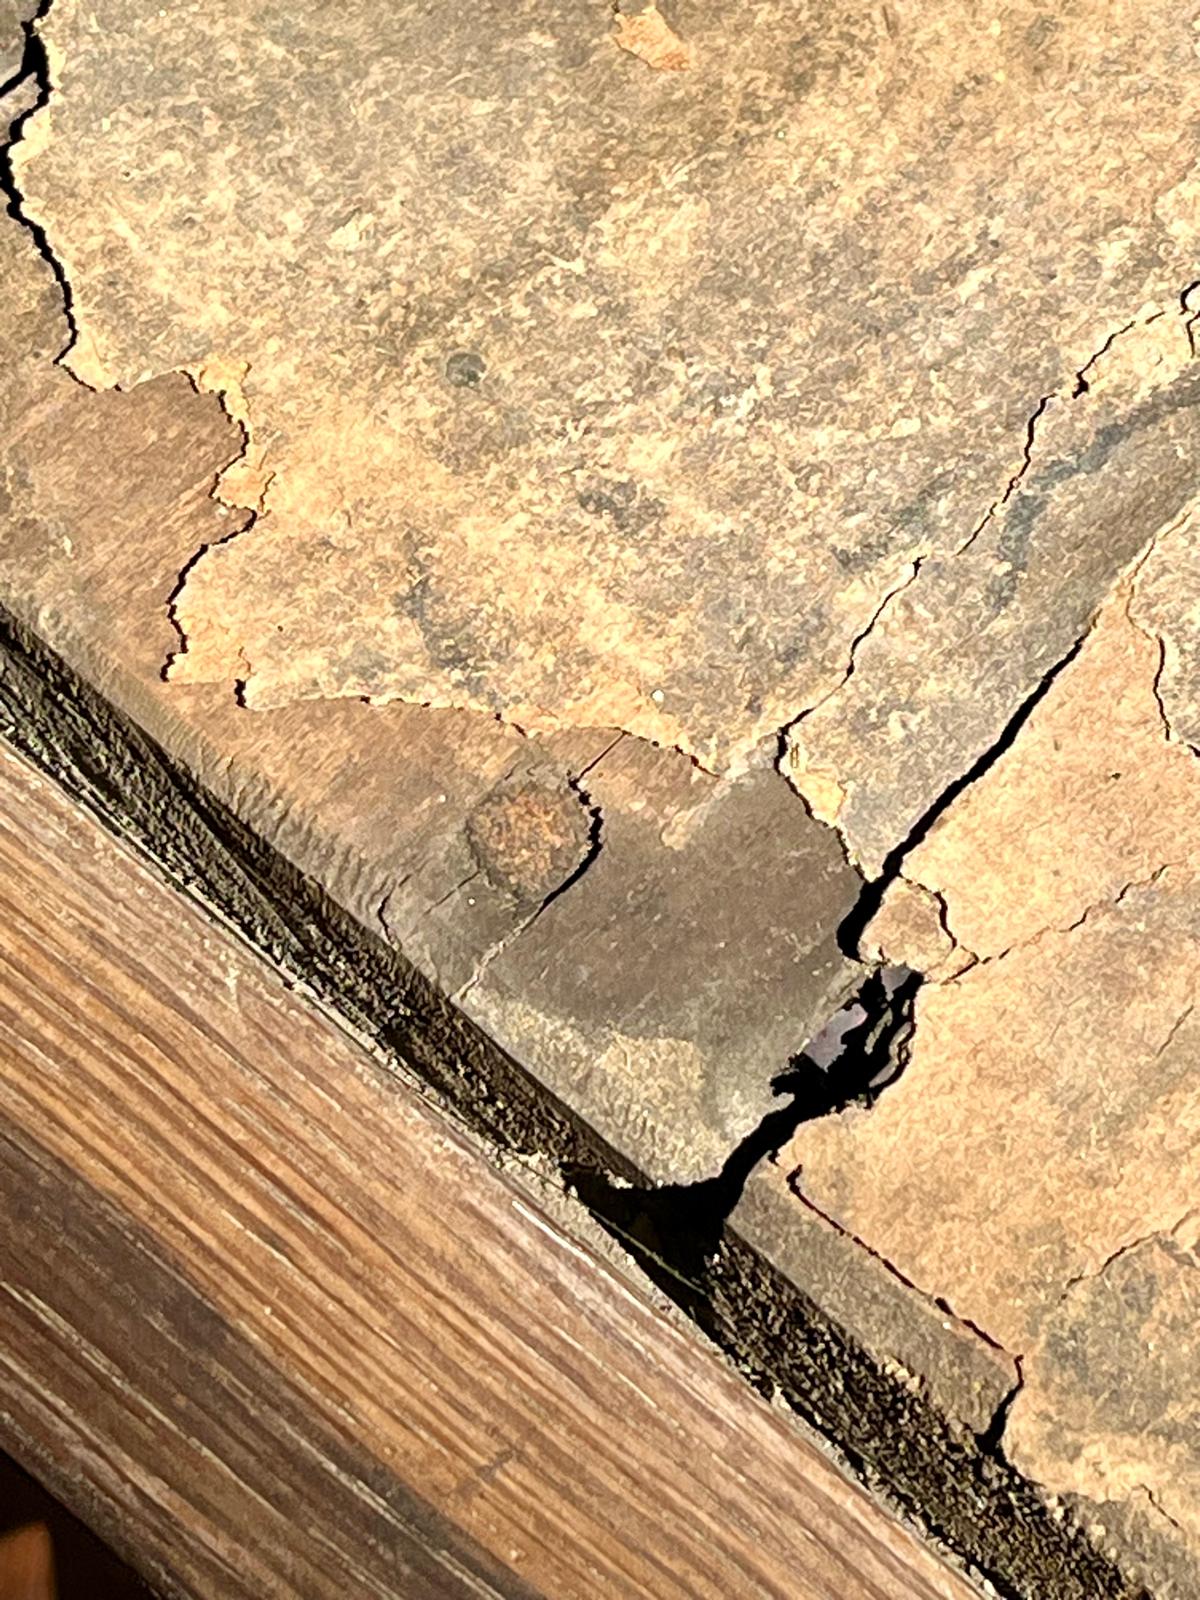
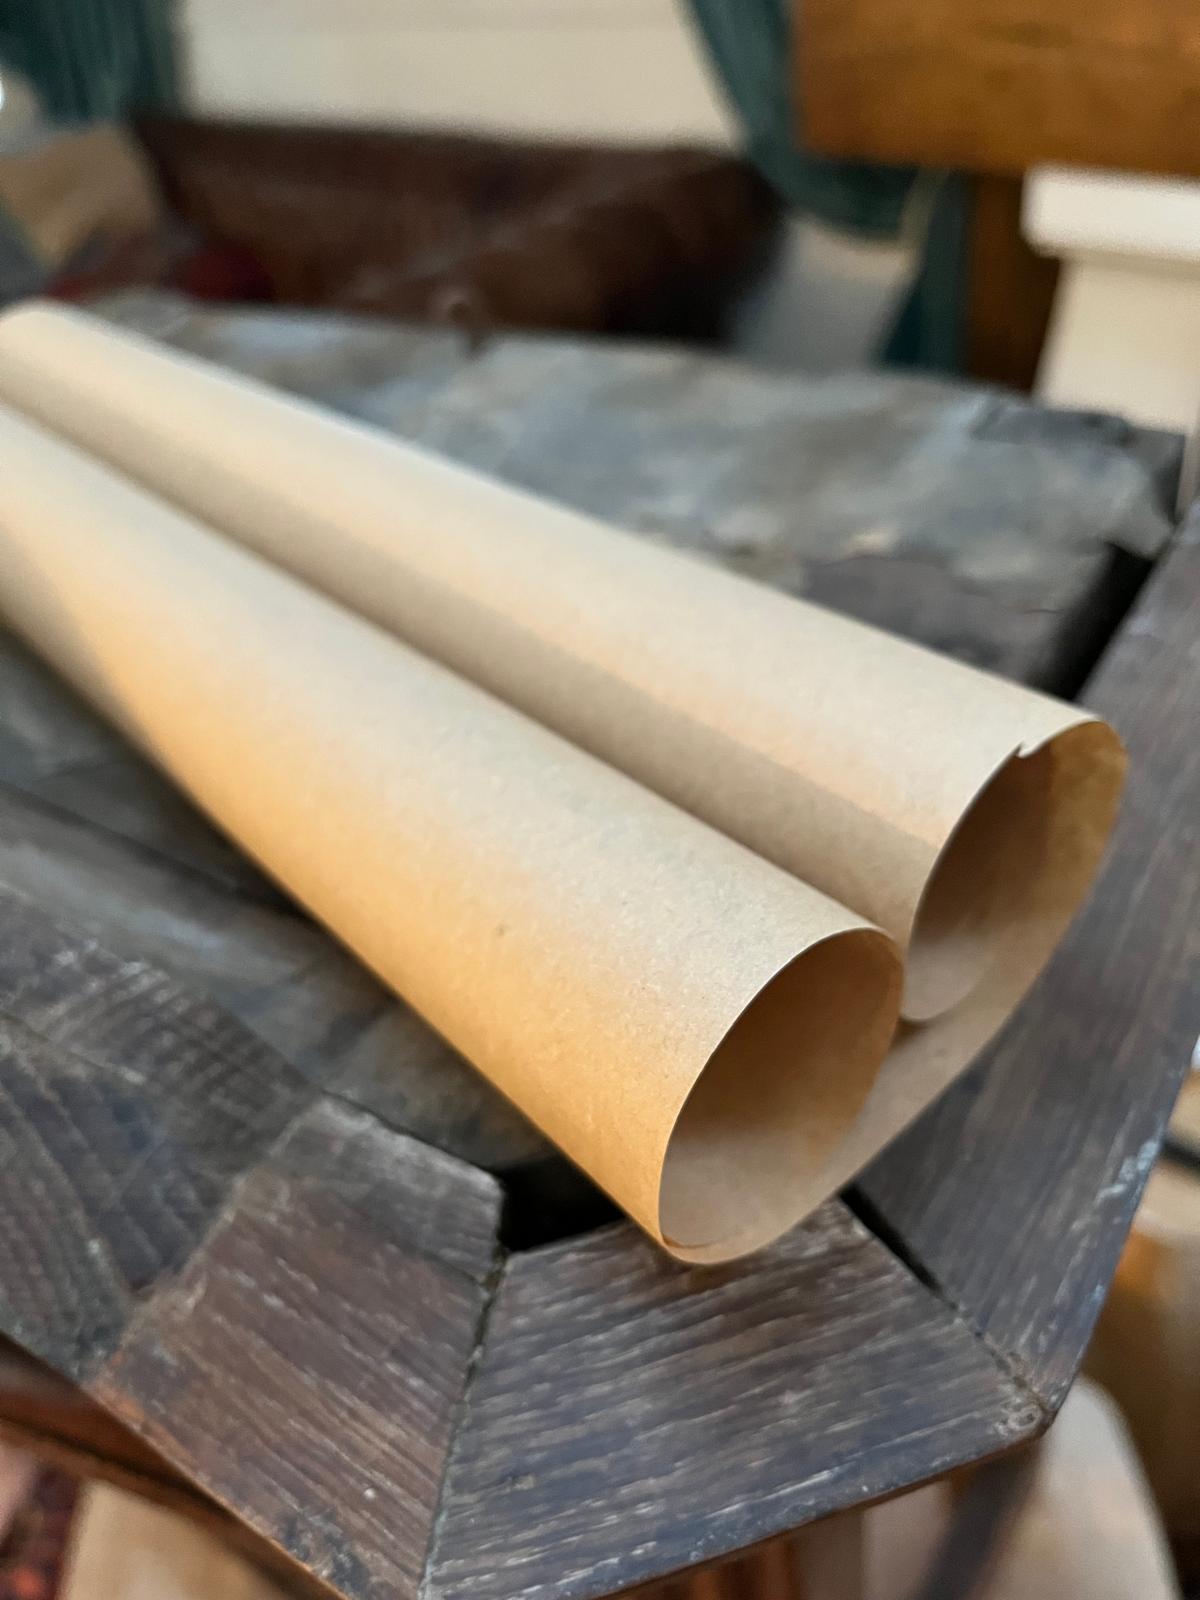
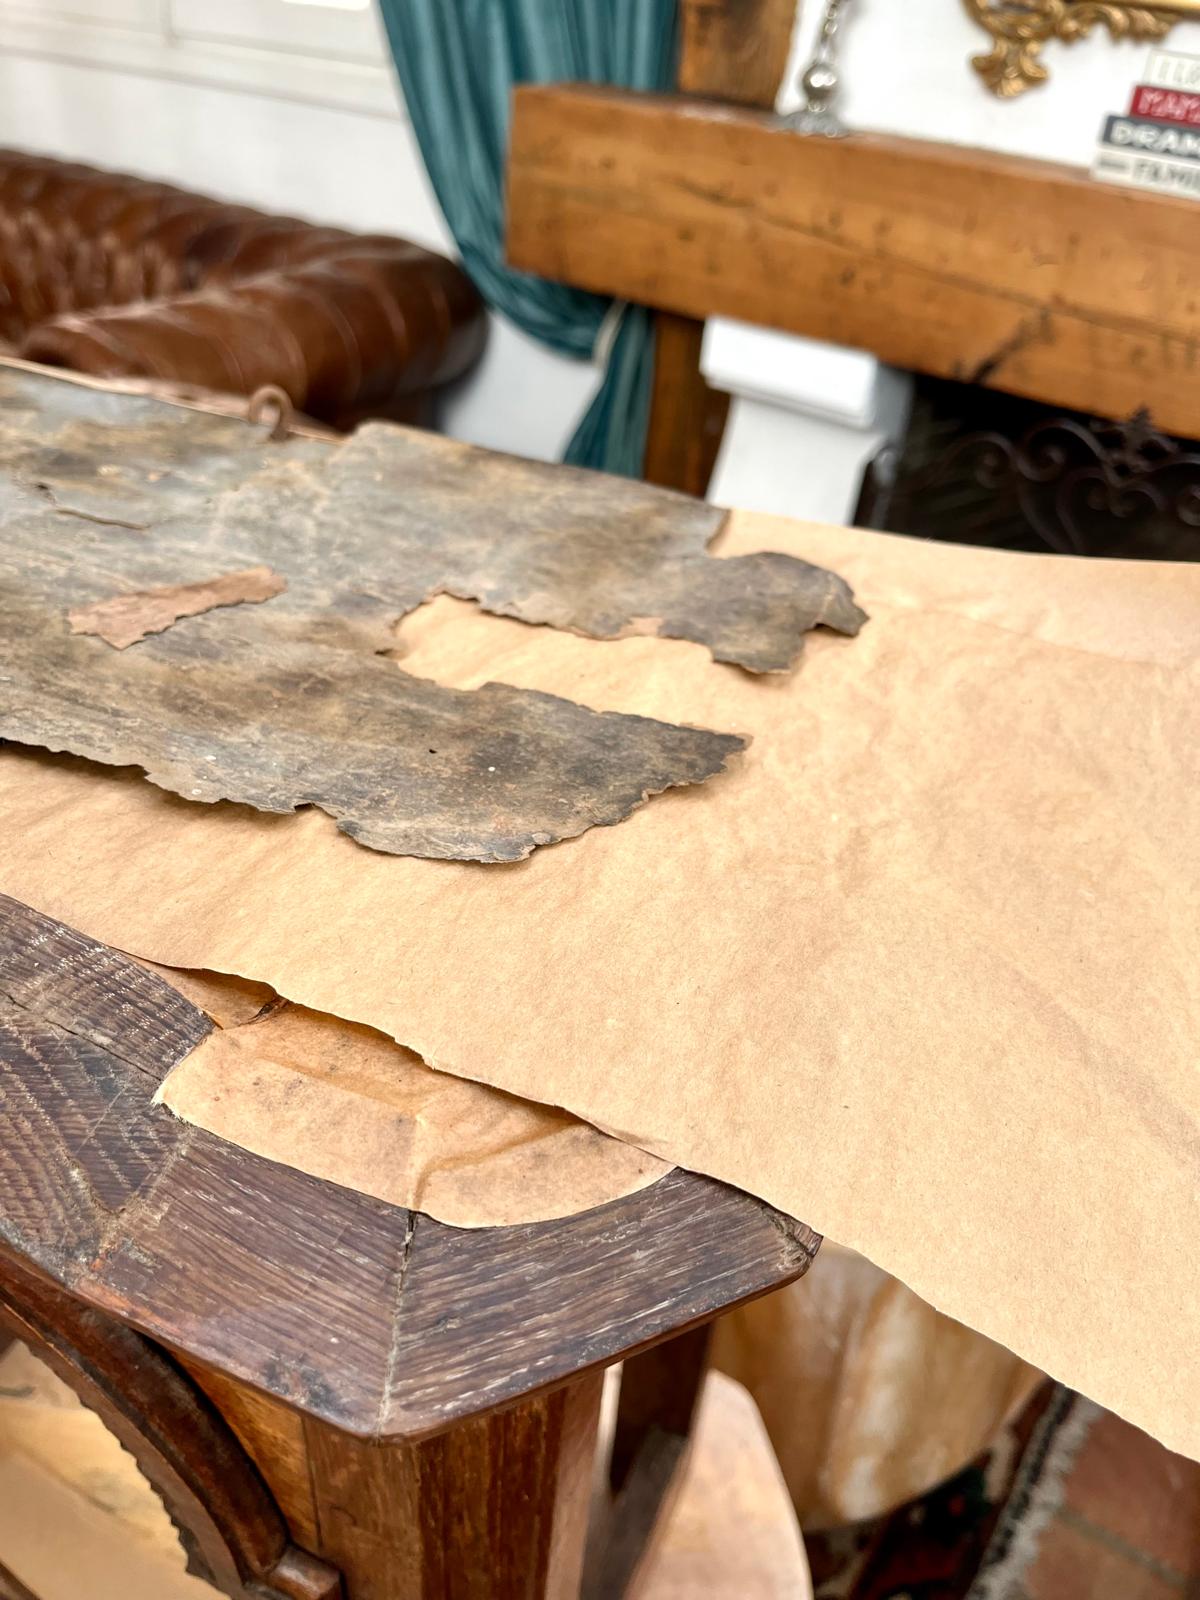
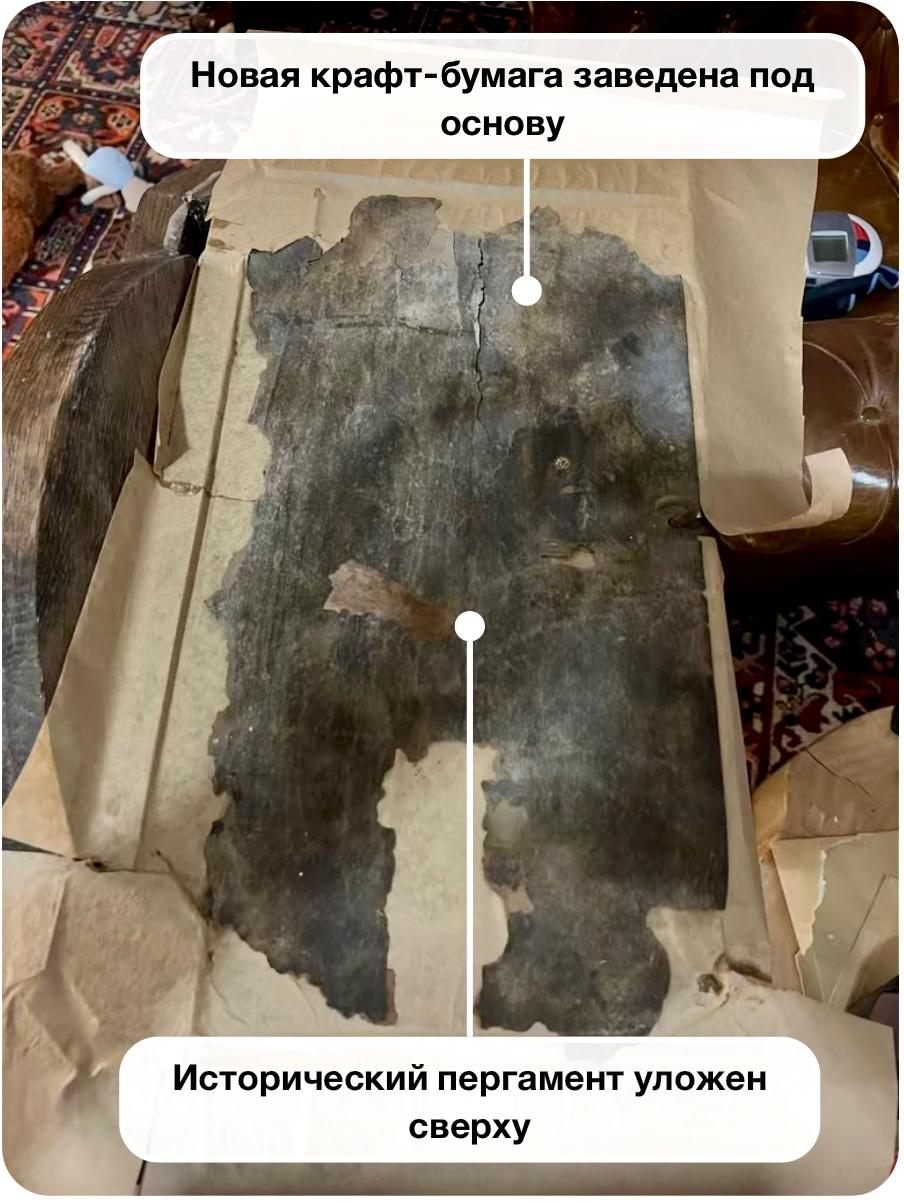
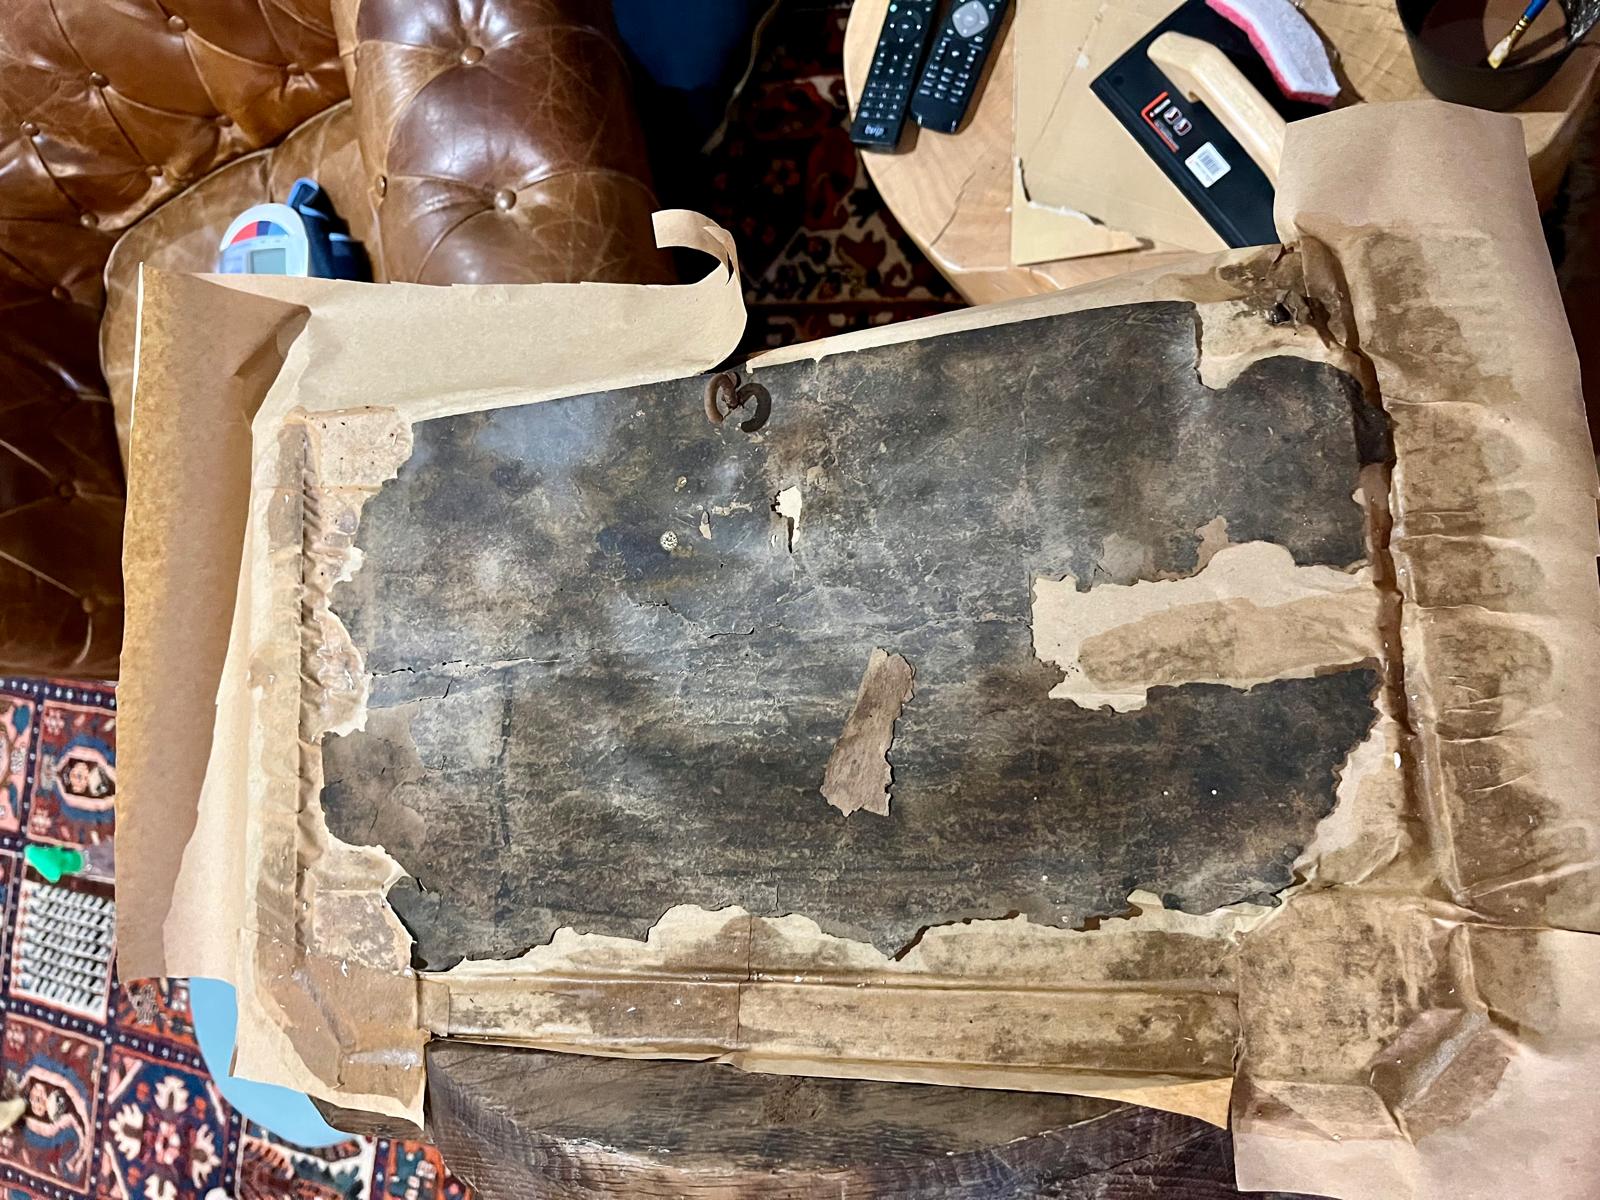
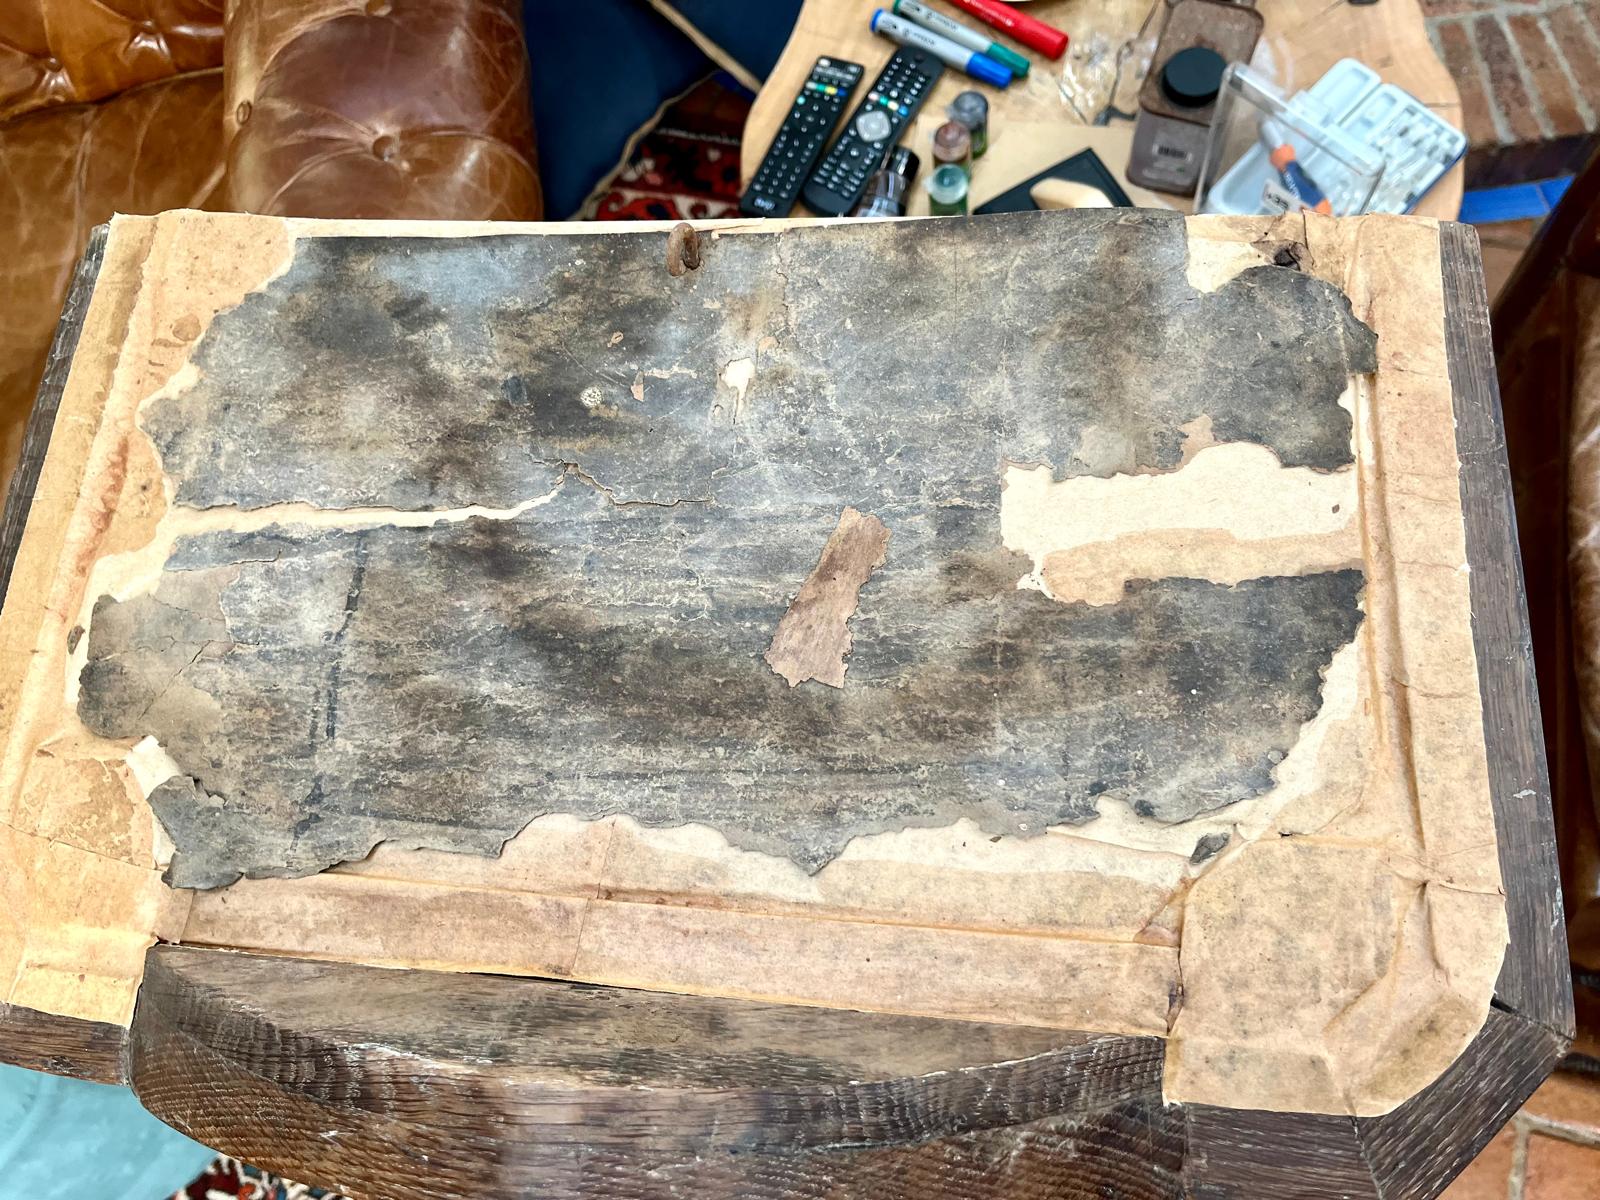
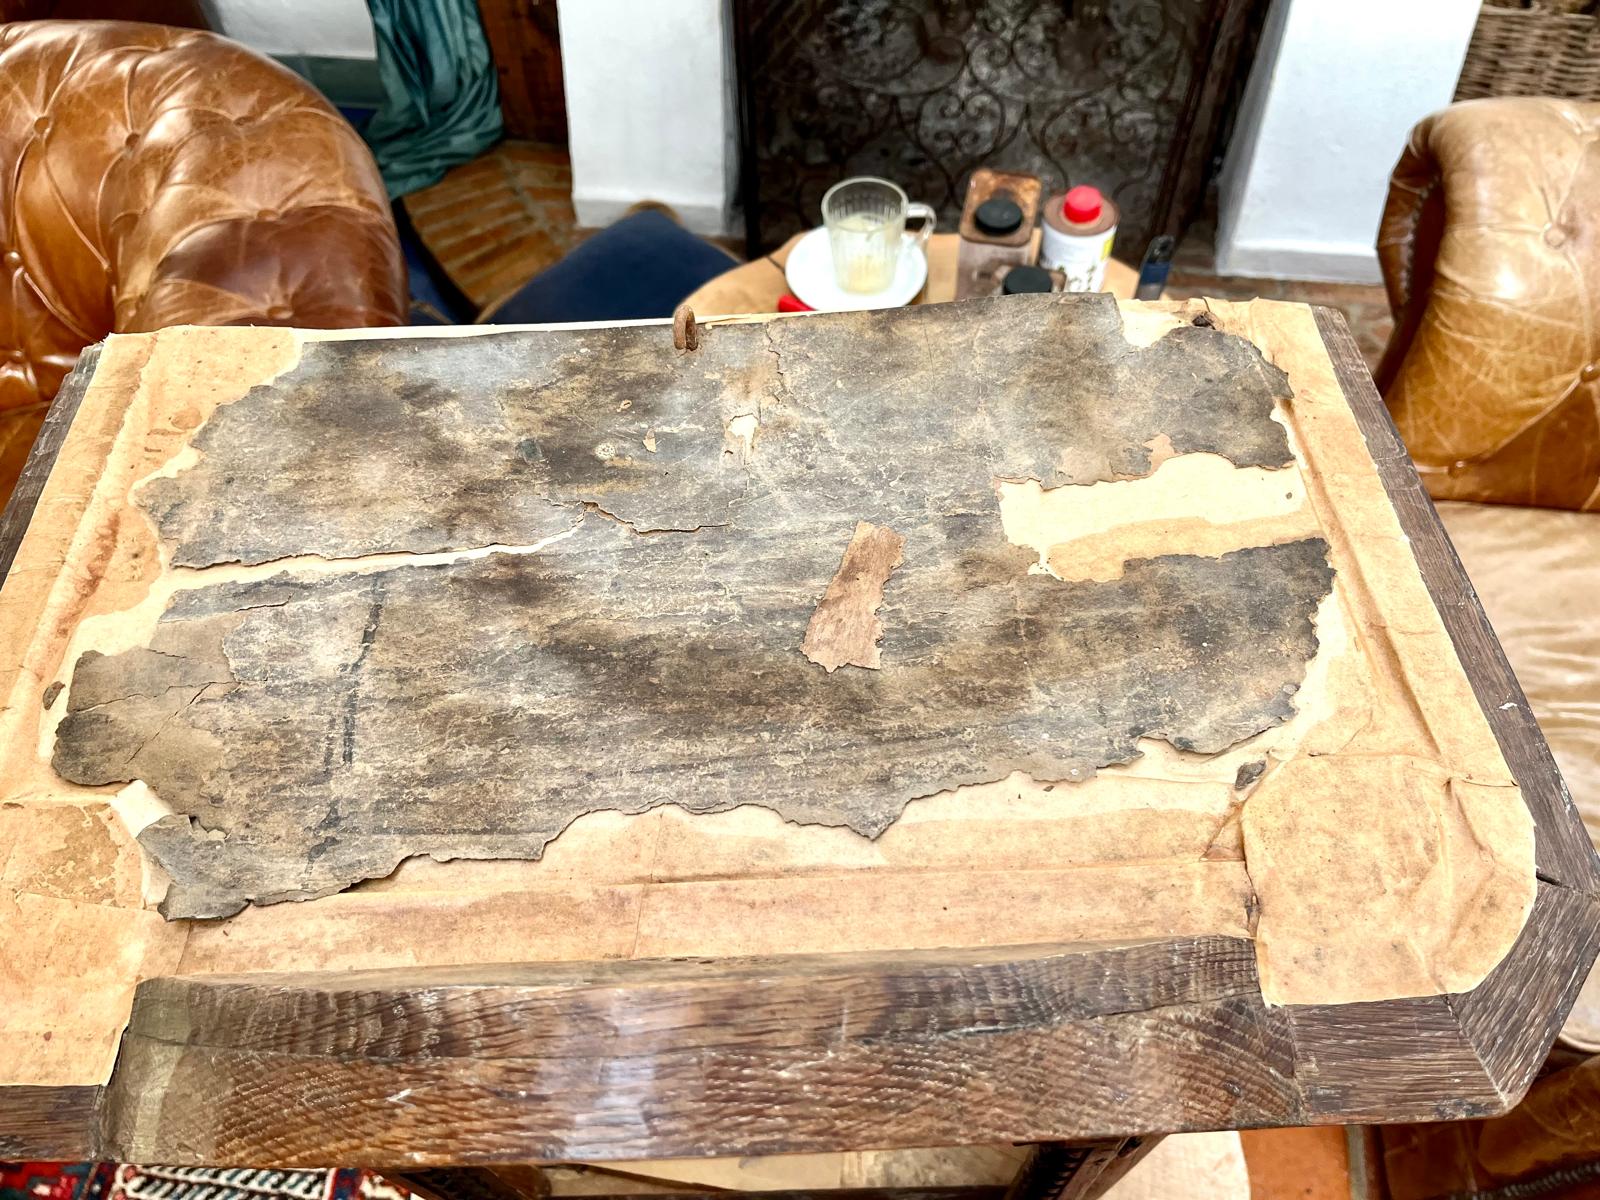
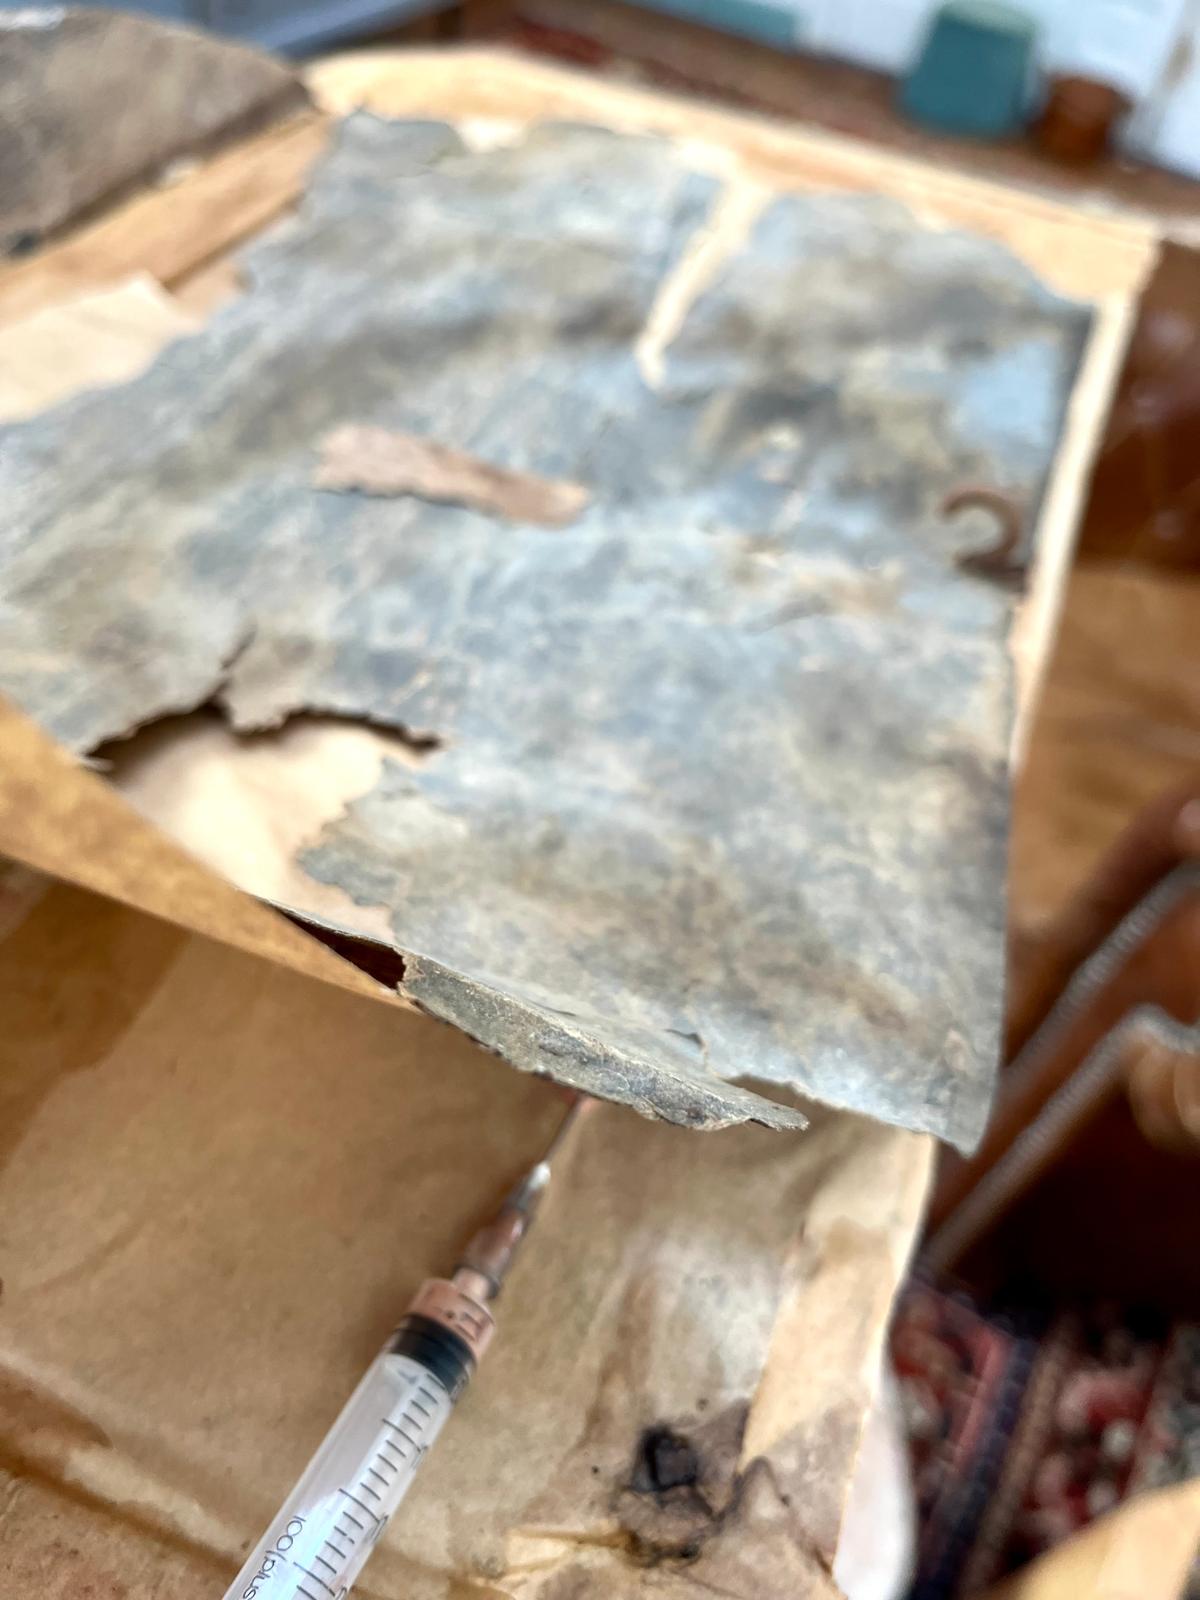
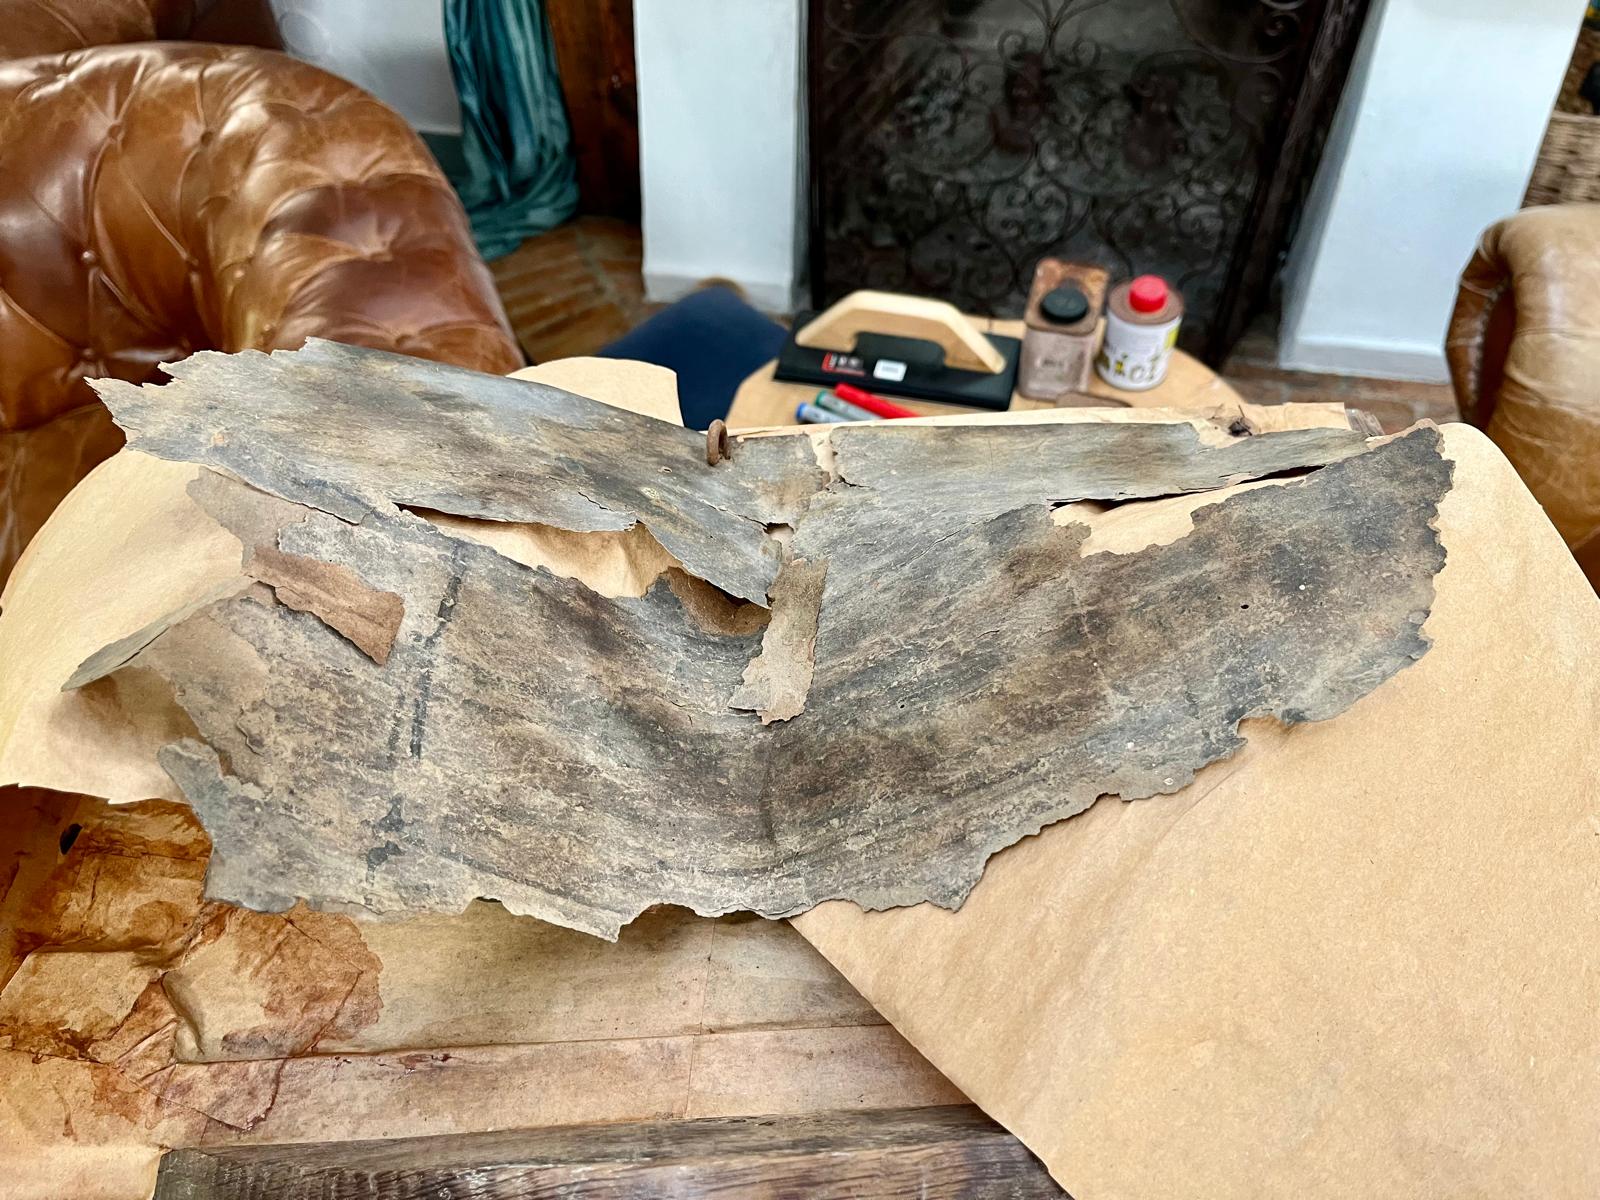
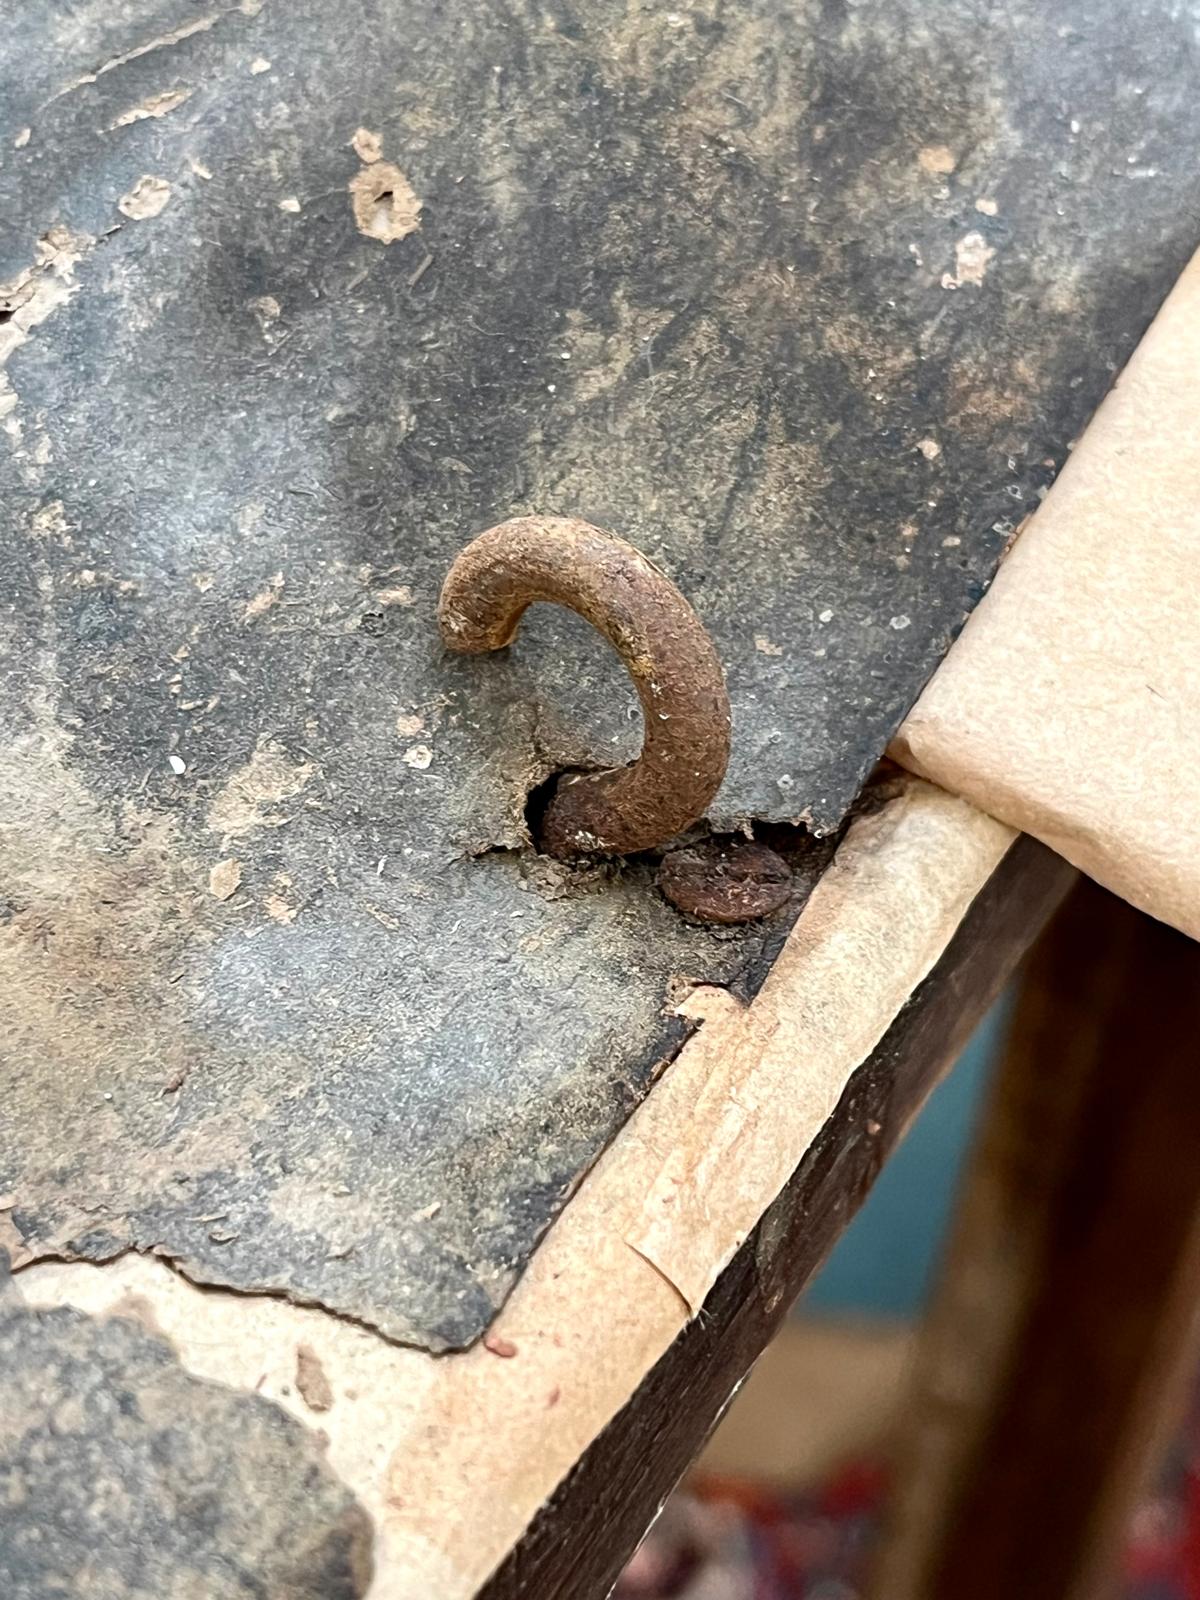
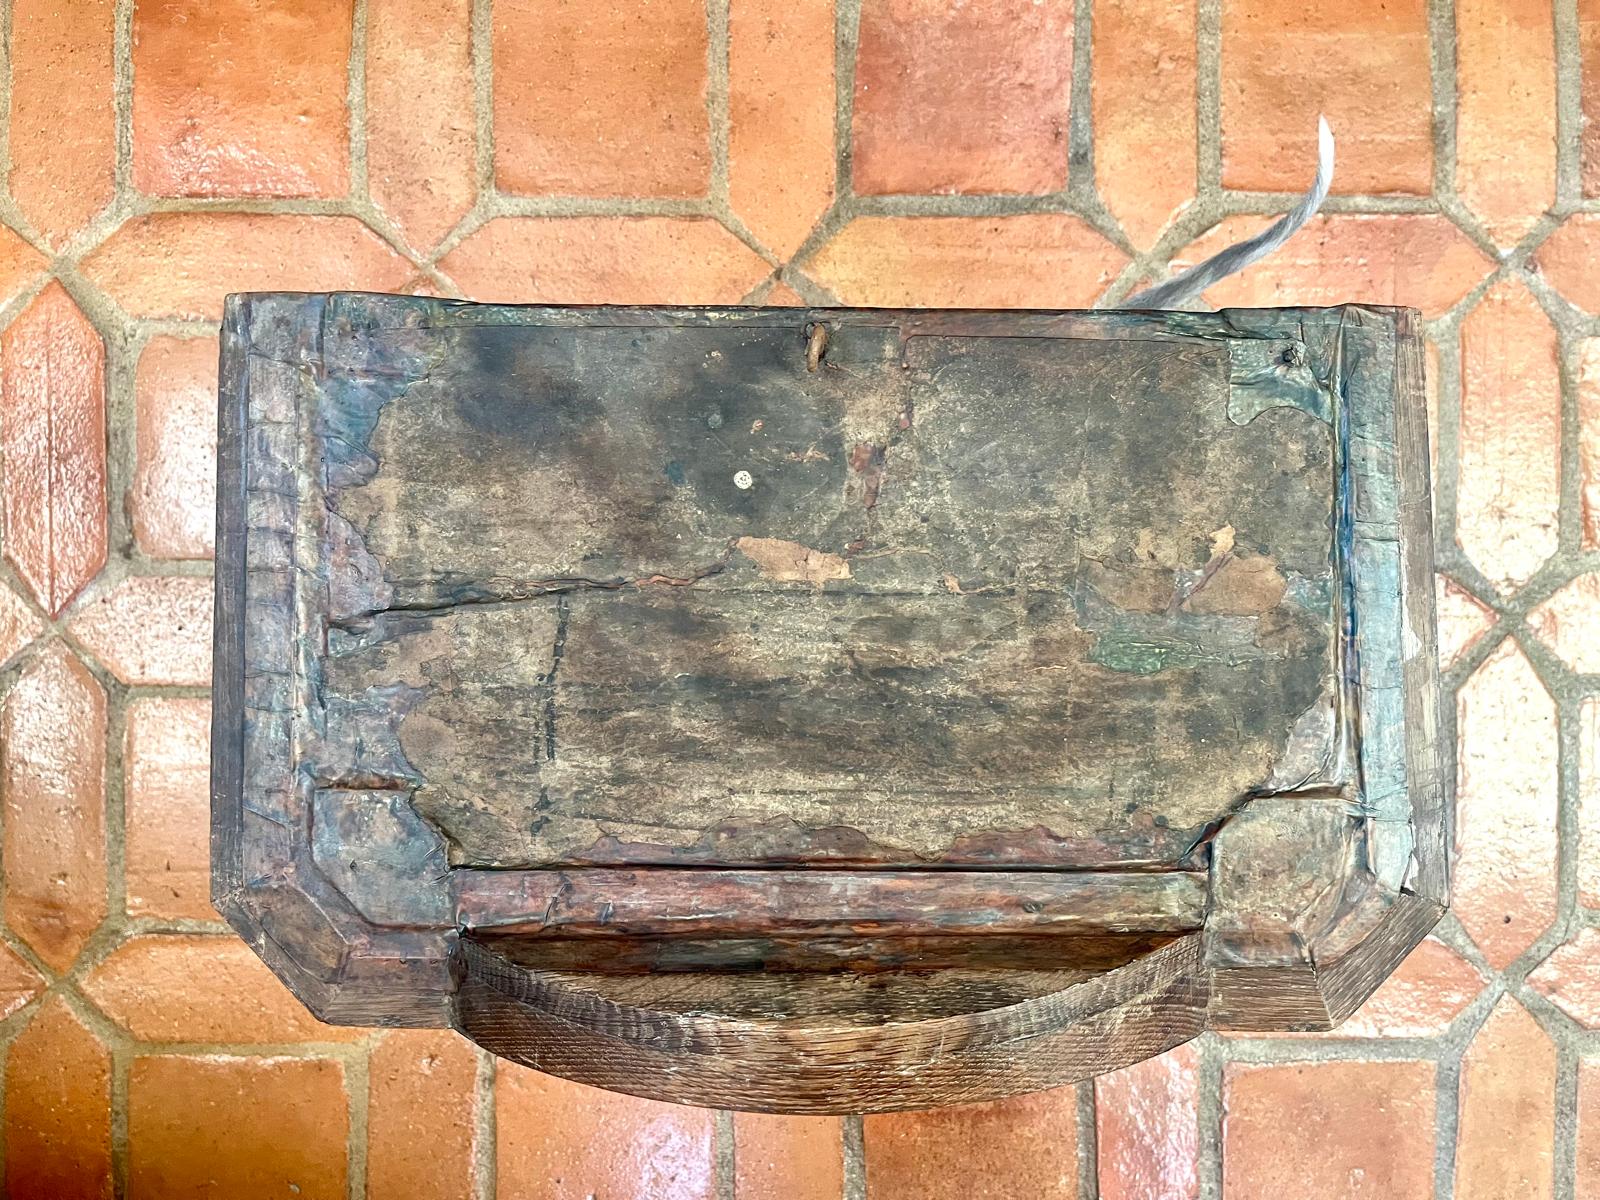
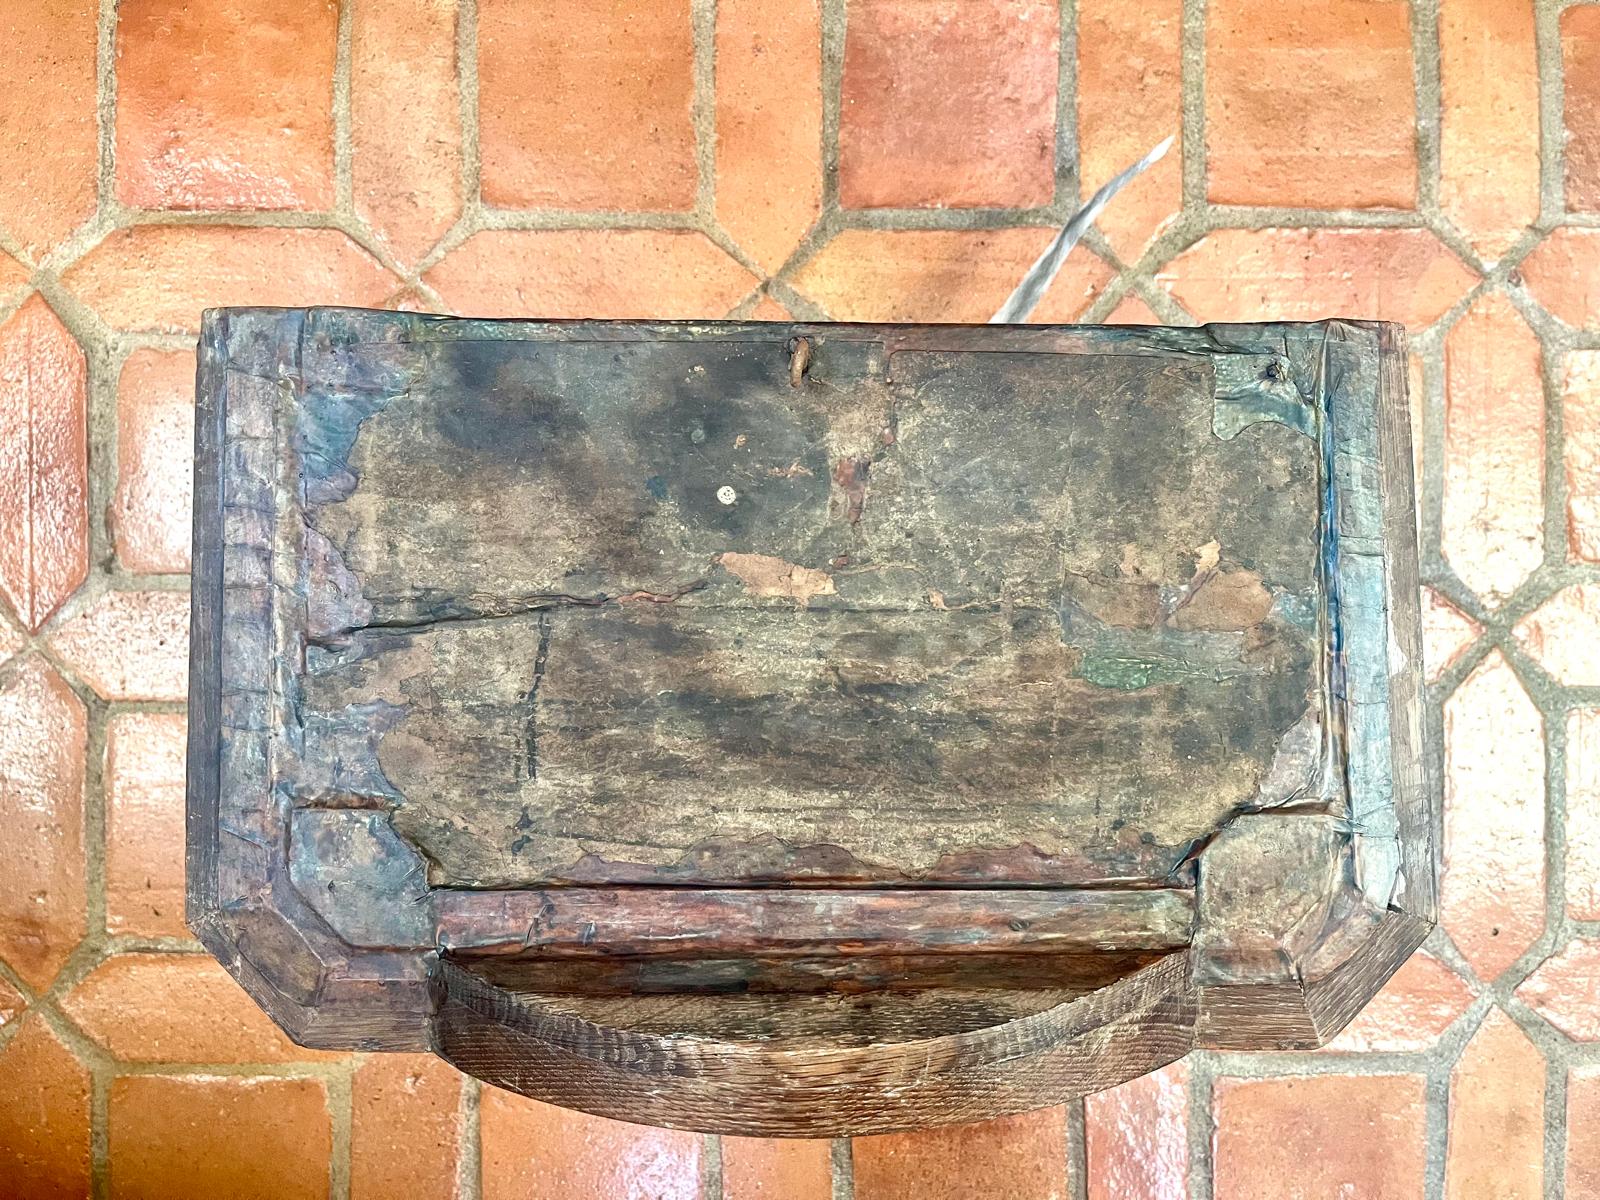
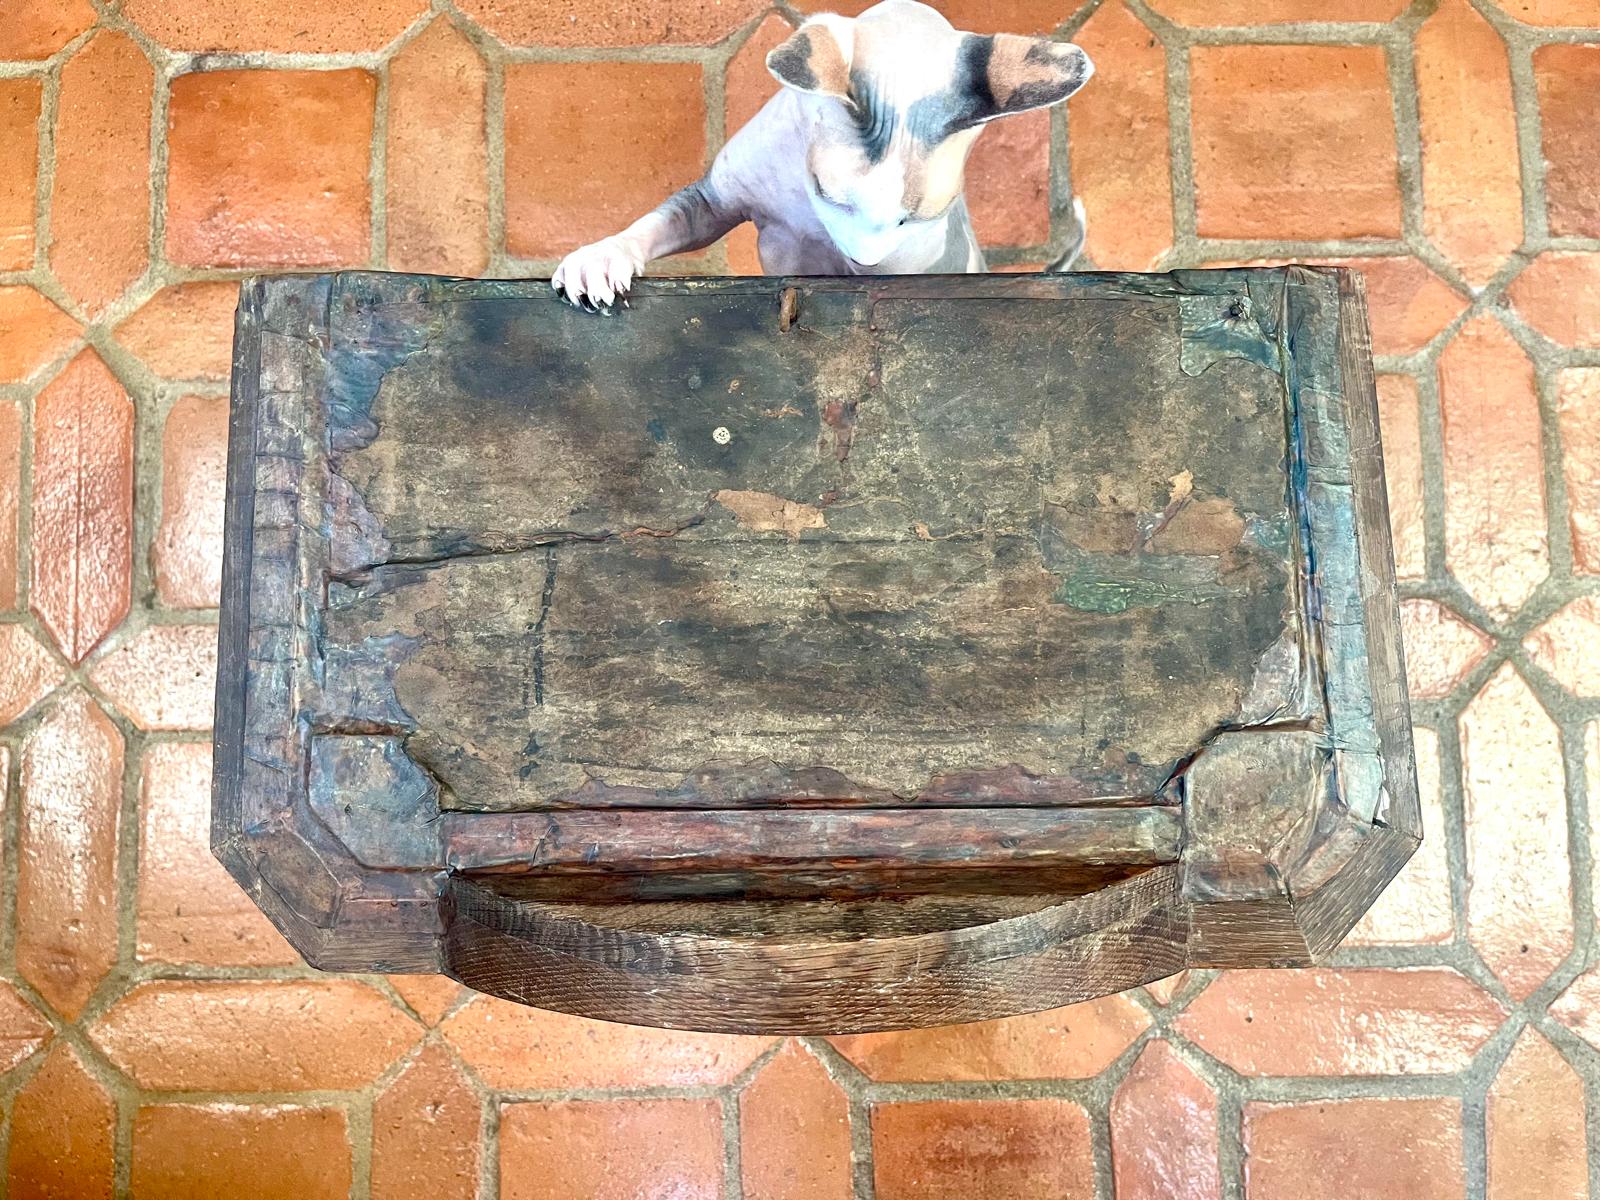
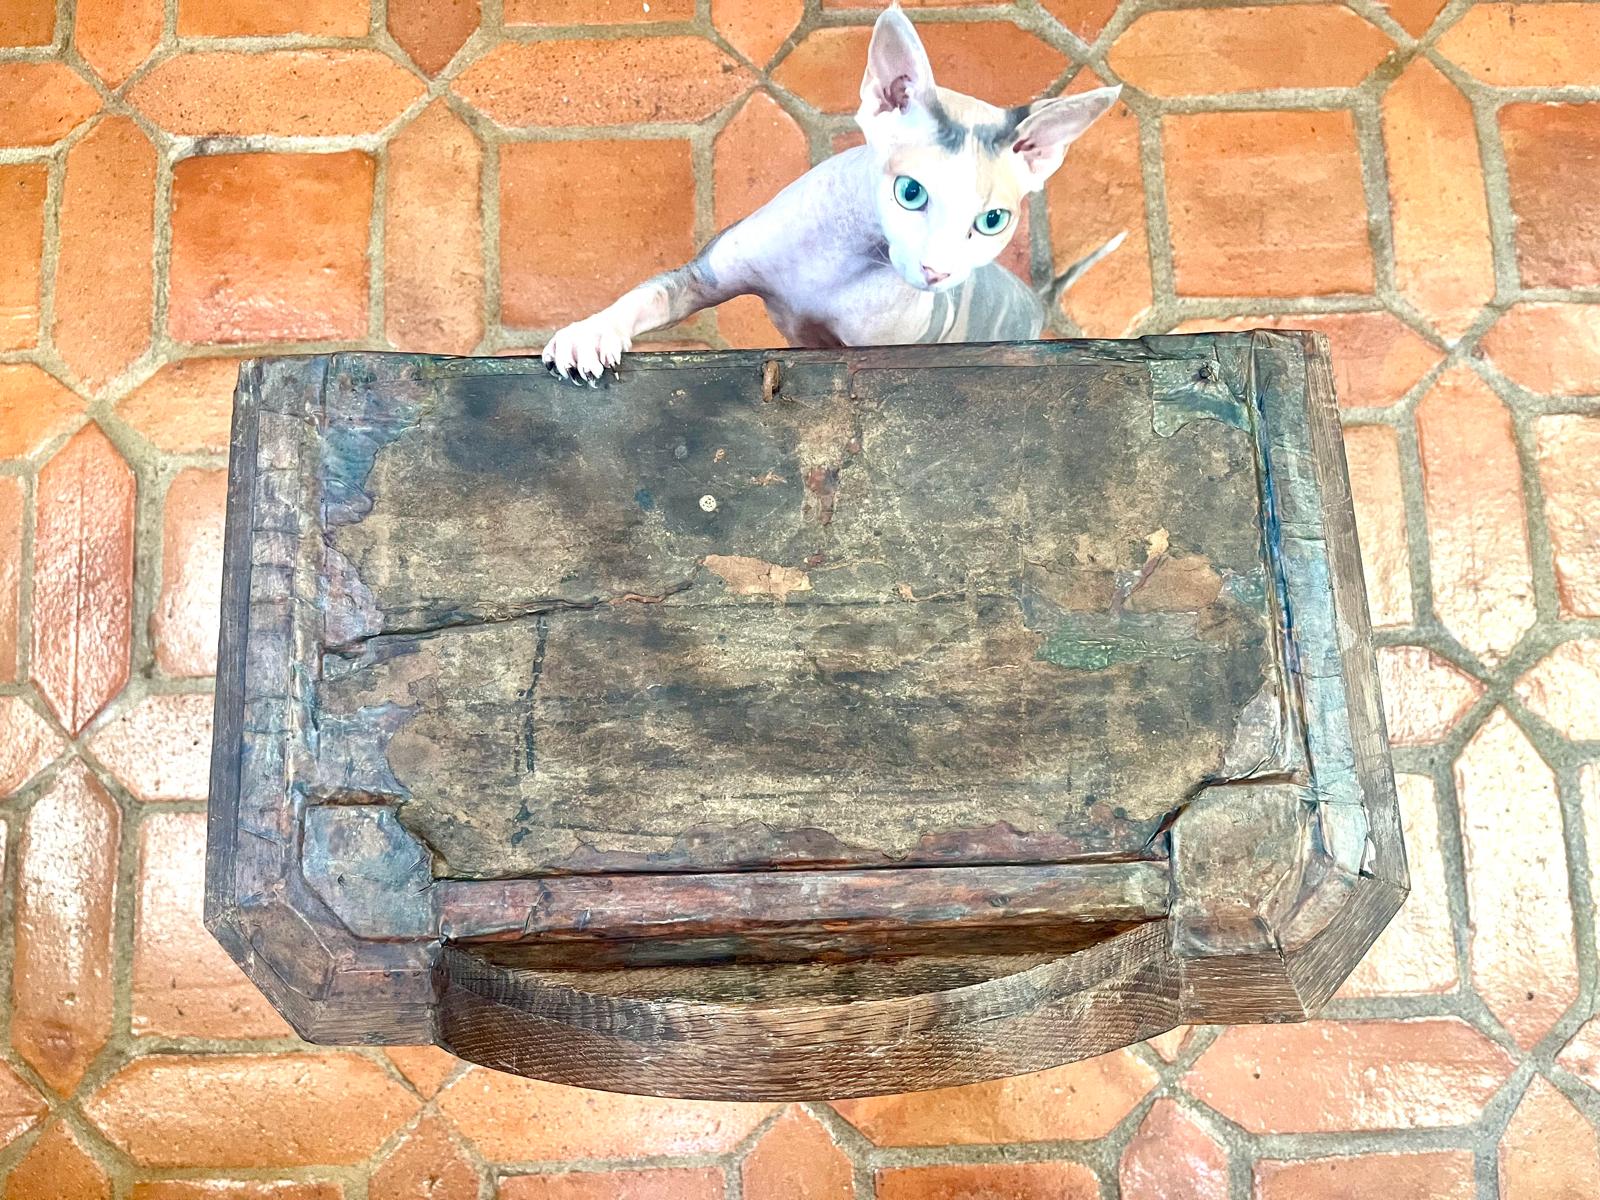
The true revelation turned out to be the hood’s roof: lying over the shrunken boards was a multi-layered, time-darkened antique parchment, held in place by a century-old forged hook grown into the wood. The wood beneath it had shrunk, forming huge gaps straight through. Removing the paper was out of the question — that would mean a complete loss of provenance. So we used a museum-grade method: internal kraft-paper lamination (implanting a sublayer).
A restoration lifehack: how to flatten roll kraft paper. Heavy roll kraft paper has a strong mechanical “memory” and wants to curl back up. To release its internal factory tension, the paper is fully soaked in water, flattened out, and dried under a light sheet press. The cellulose fully relaxes, turning into a stable, flat canvas.
🧪 Recipe for a Homogeneous Alcohol “Cocoa Mix”
To keep the glue from bubbling, it’s critical to follow the order in which the components are combined, strictly:
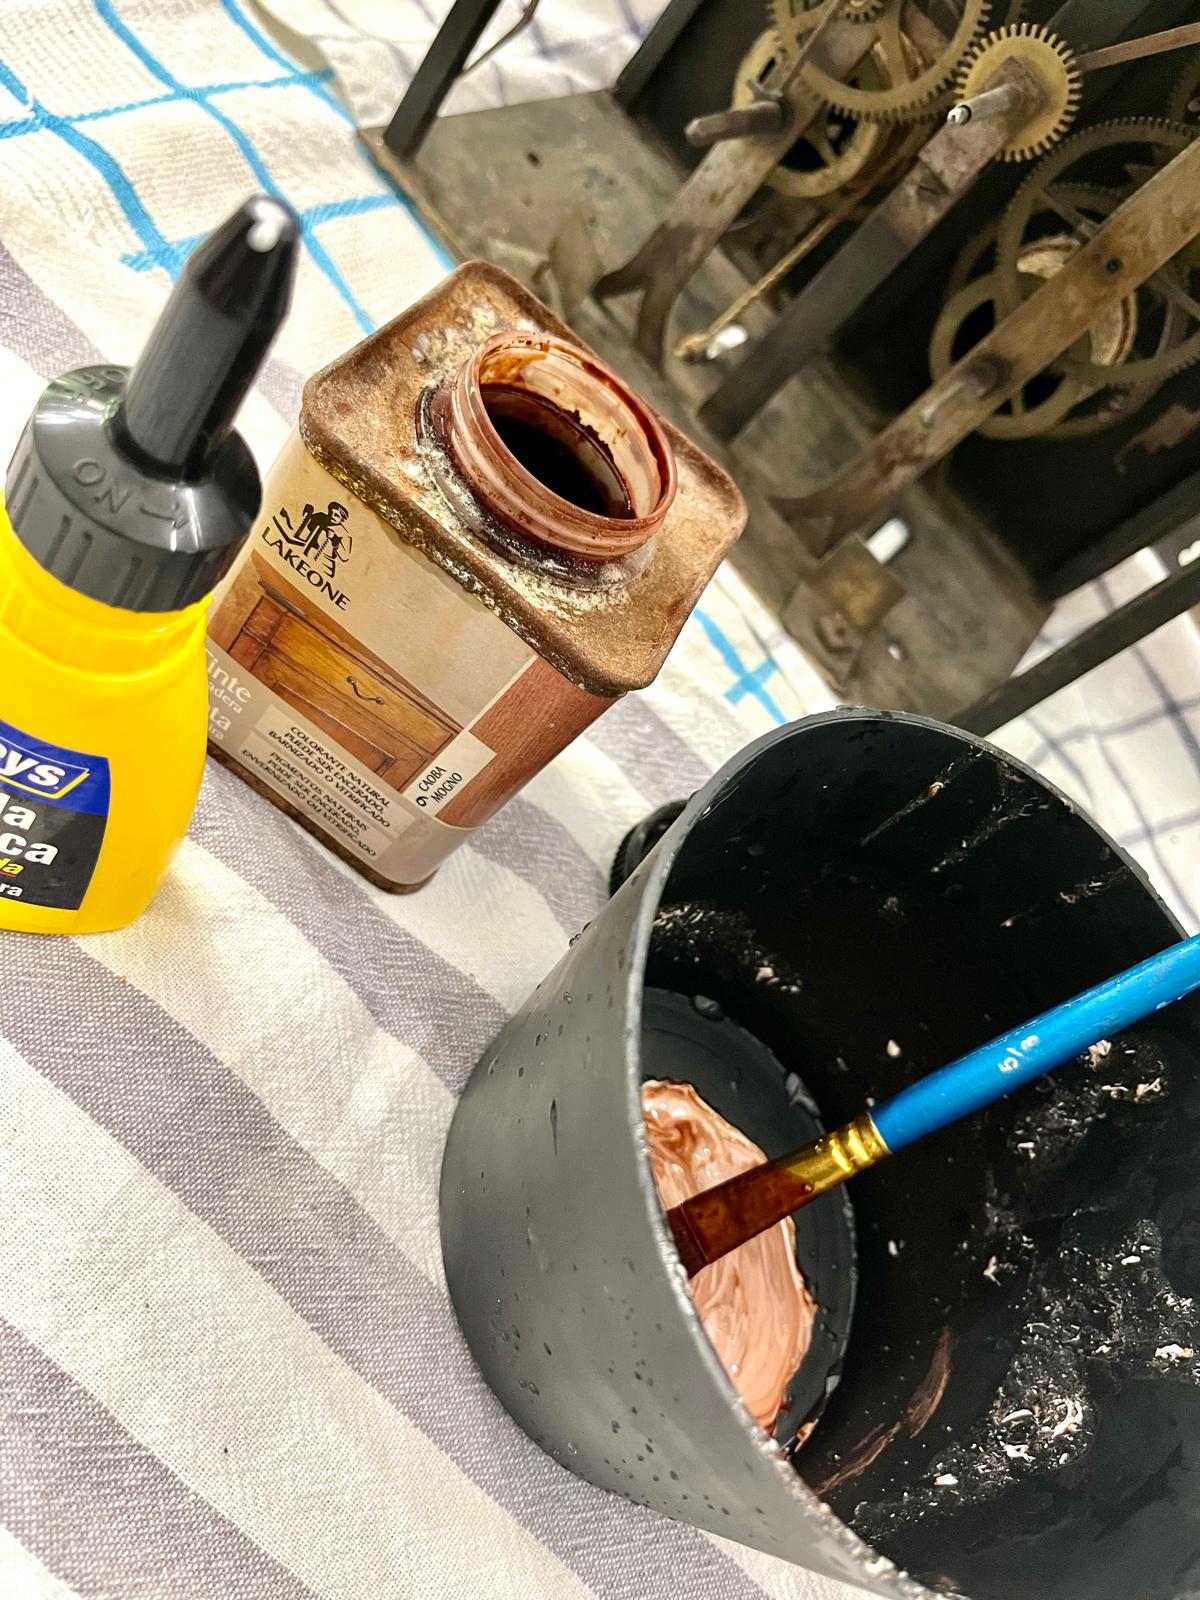
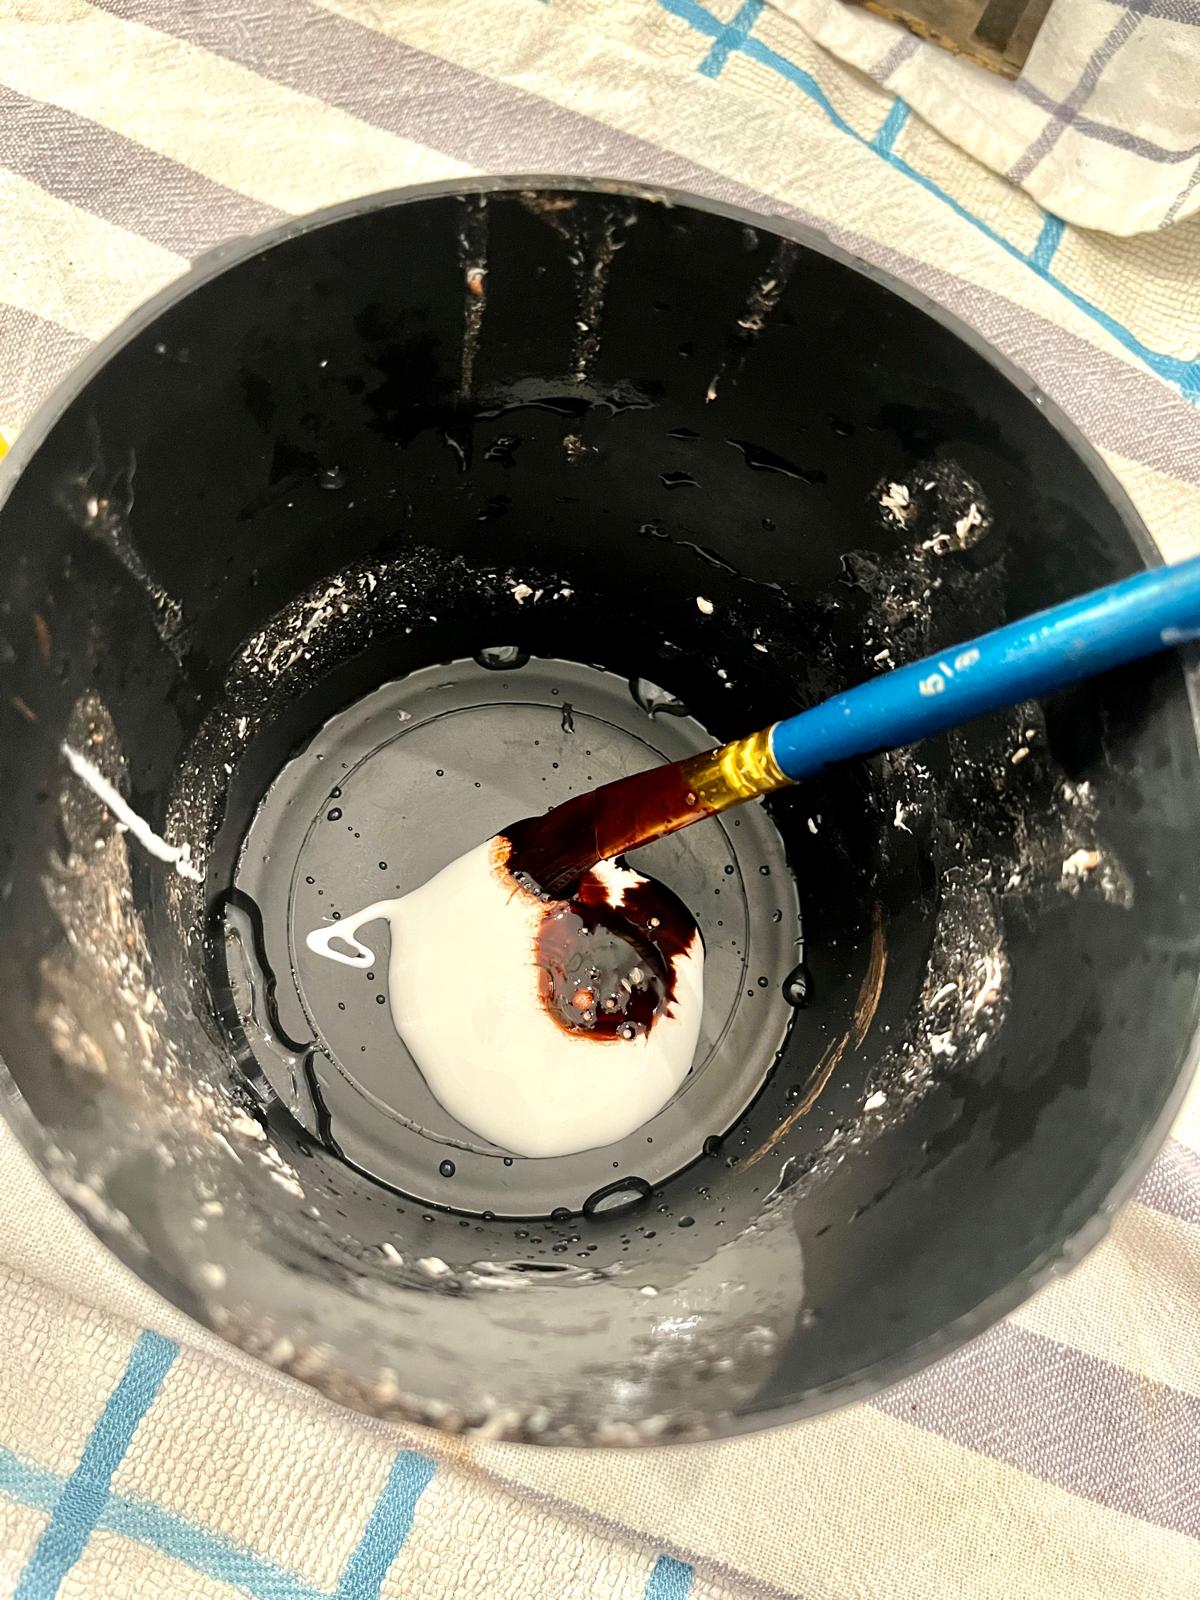
- A thick, special PVA glue is placed into a dedicated container.
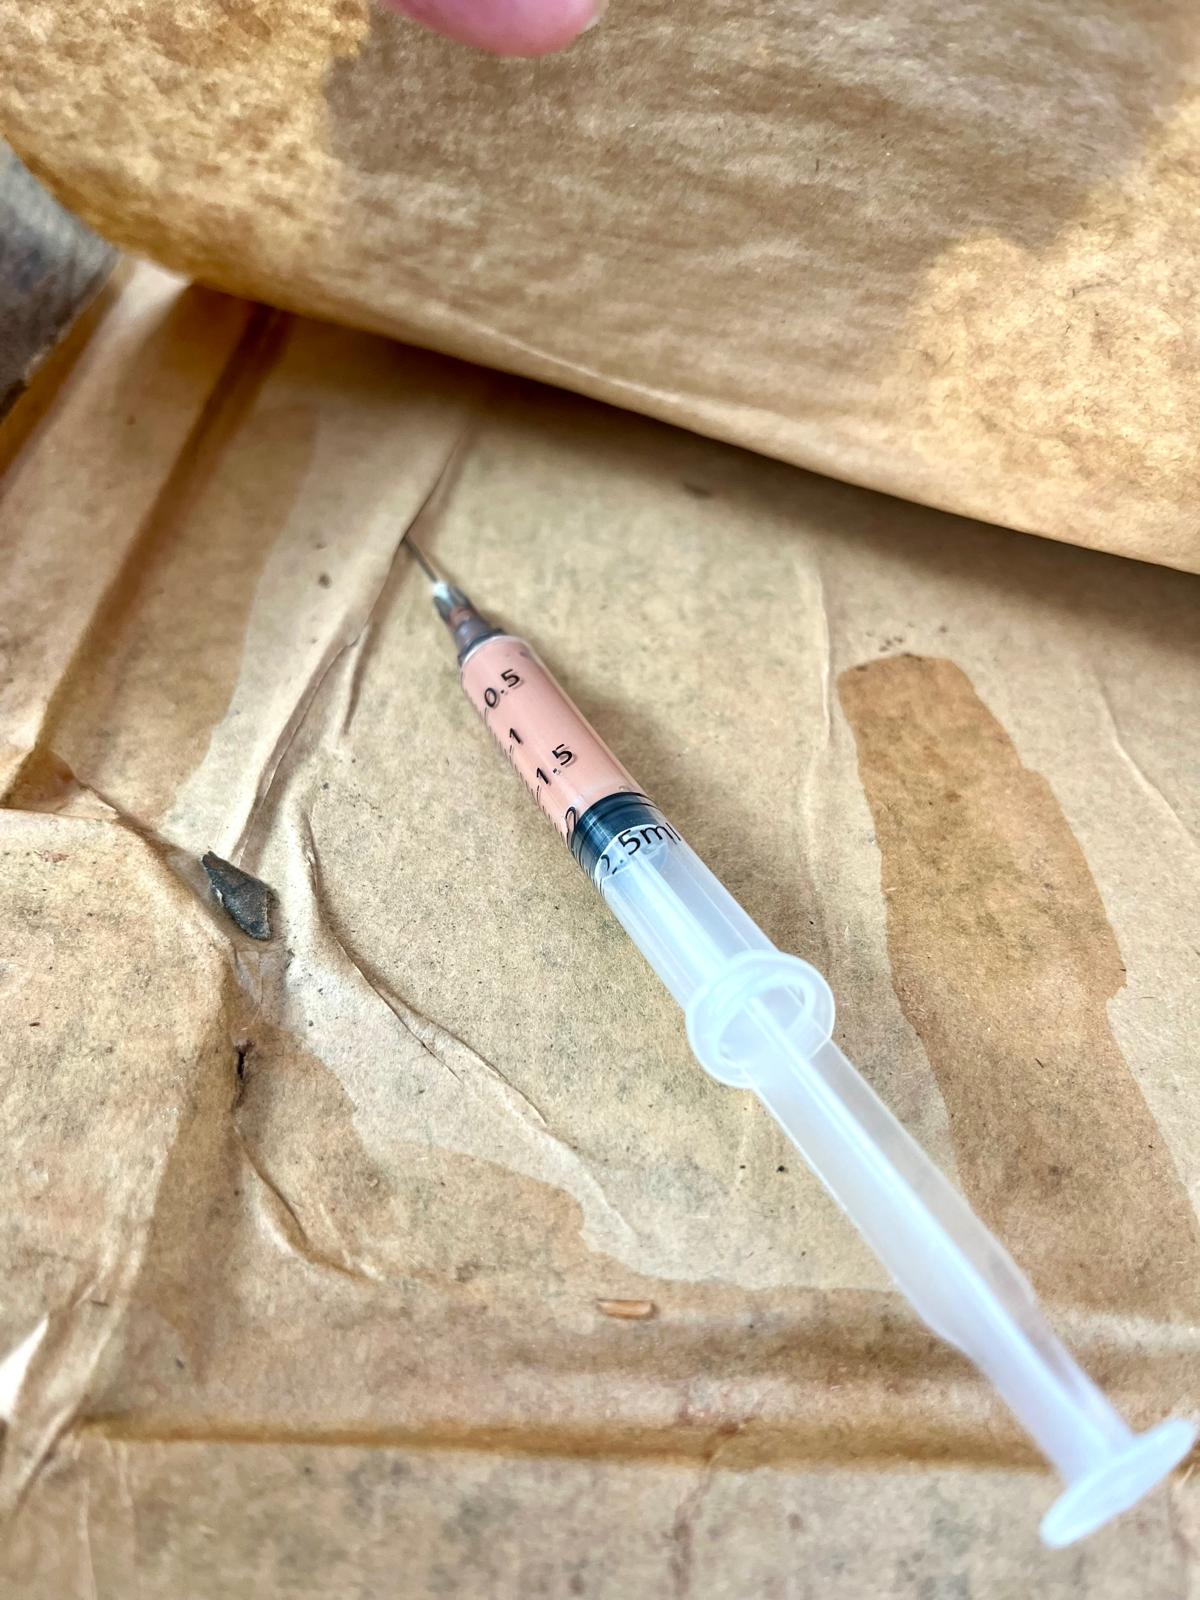
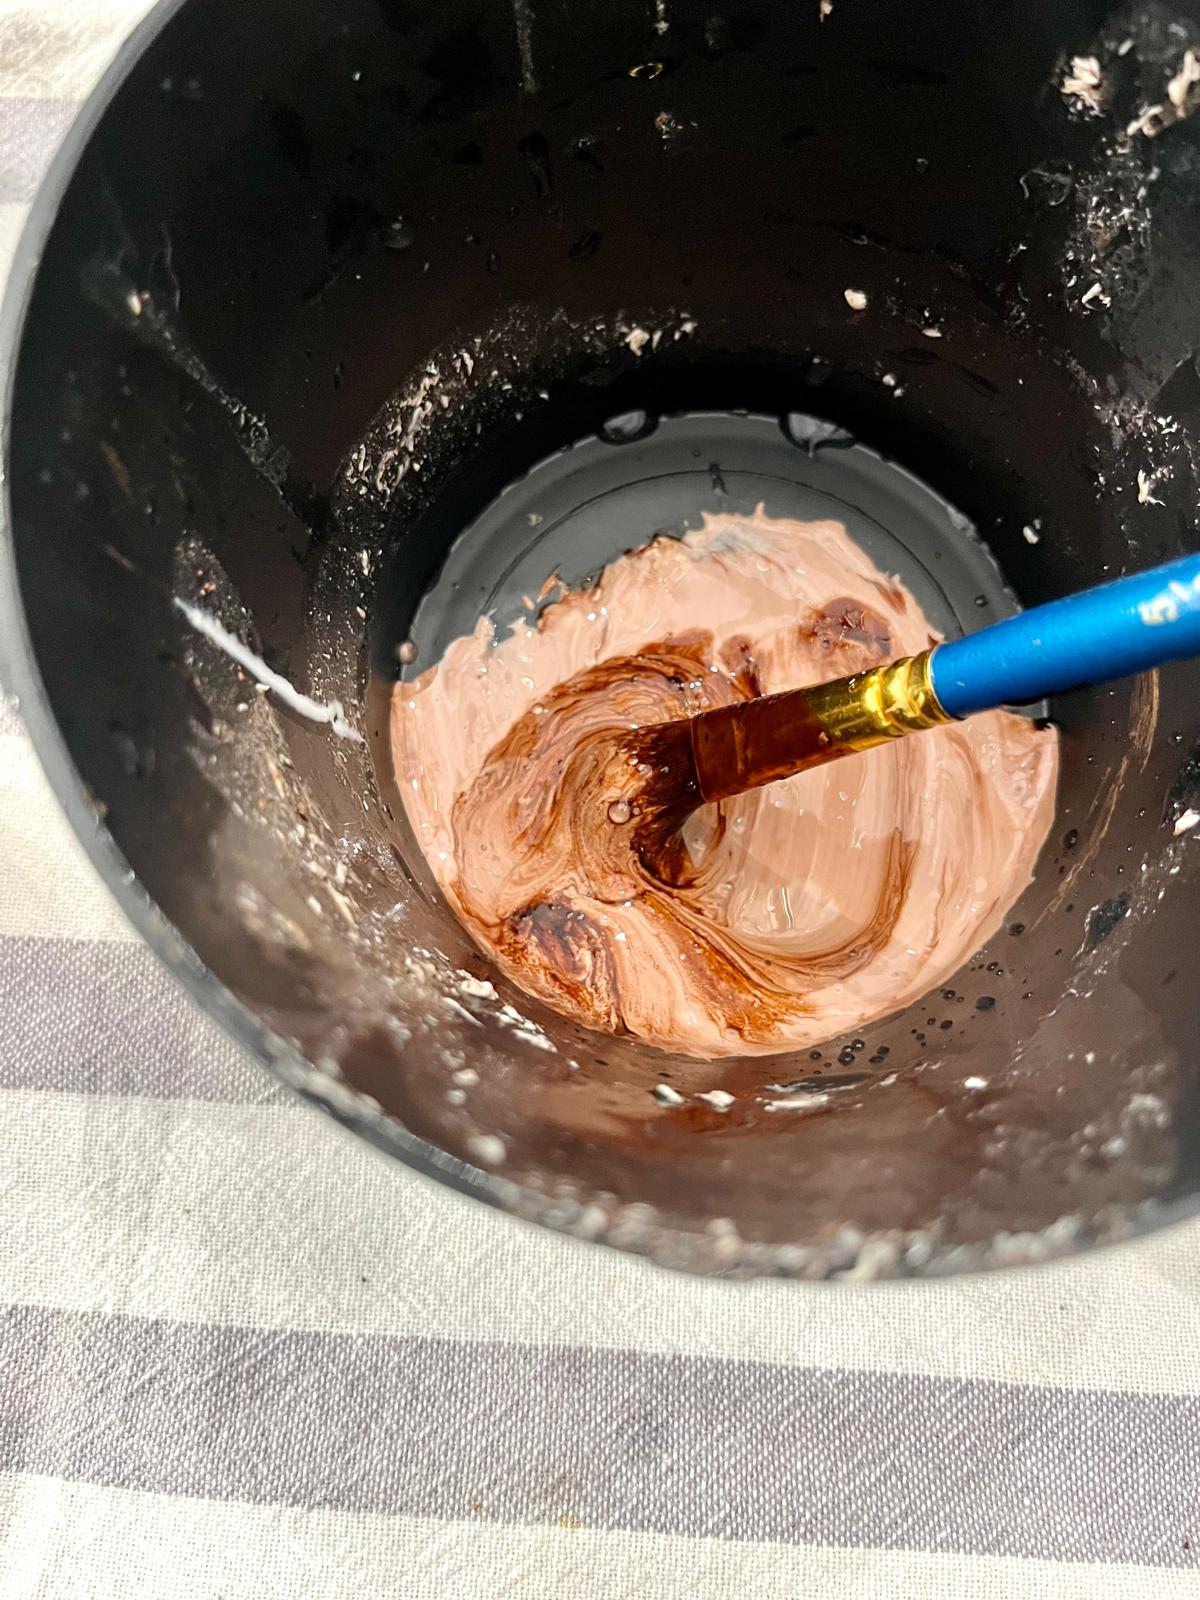
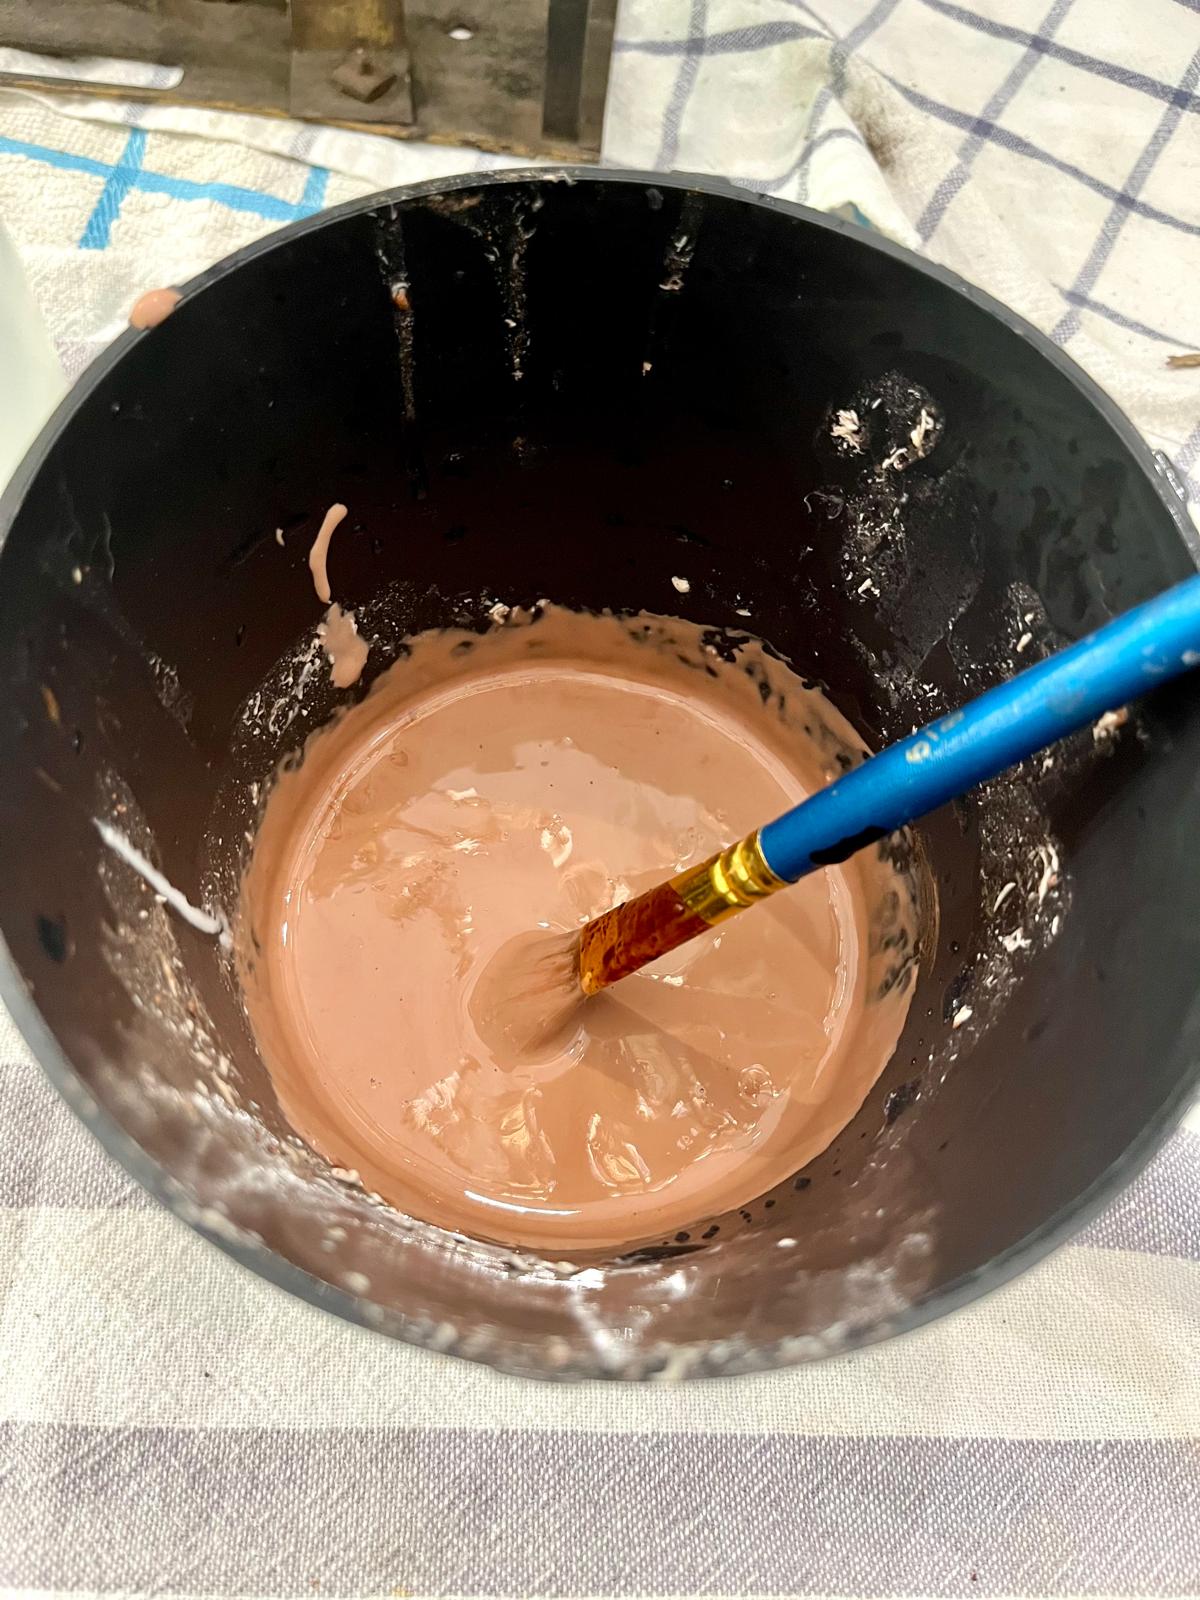
- Into it, a molecular water-based Lakeone Caoba (mahogany) tint is introduced. The mass is carefully worked with a flat No. 5 brush until it reaches the consistency of a uniform, cocoa-colored cream.
- Only into the finished emulsion is volatile isopropyl alcohol introduced (as a viscosity regulator). The alcohol acts as a penetrating carrier — it dissolves old grime and ingrained glue and prepares the paper without raising the wood grain.
A materials-science law for this piece: using physical fillers (such as wood dust) in the syringe on the first layer is a mistake. Coarse, dry cellulose particles act like tiny sponges: they instantly drink up the free moisture and alcohol out of the PVA, triggering an immediate loss of flow, clumping, and the appearance of air pockets.
🩺 The “Hood Surgery” Operating Protocol
The strictest law of tactile control: the entire procedure for conserving the paper layers is carried out with absolutely no gloves. Nitrile or latex film steals up to 40% of skin sensitivity. The restorer’s fingers must be in direct contact to track the slightest changes in density, fiber tension, moisture level, and the micro-movement of air pockets under the paper.
- Introducing the backing: the flattened kraft paper is carefully fed in underneath the raised, torn edges of the original paper, fully covering the through-gaps in the shrunken wood from the inside.
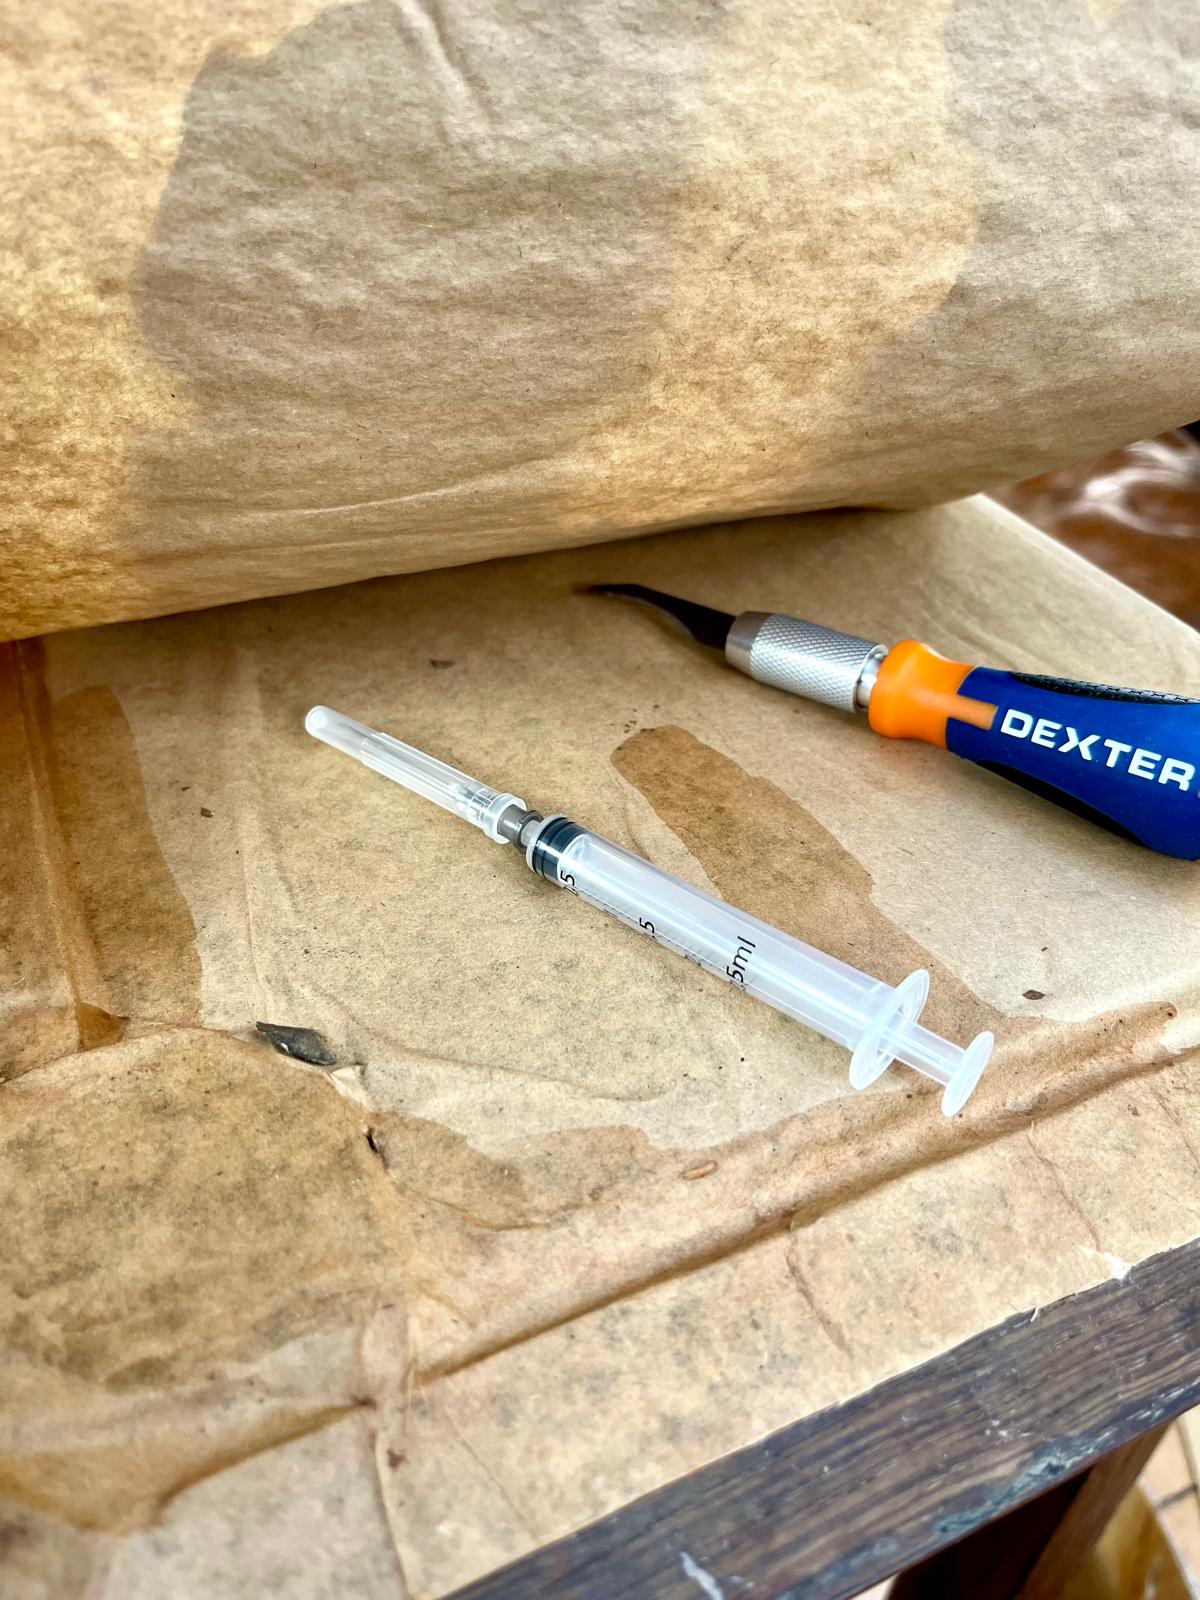
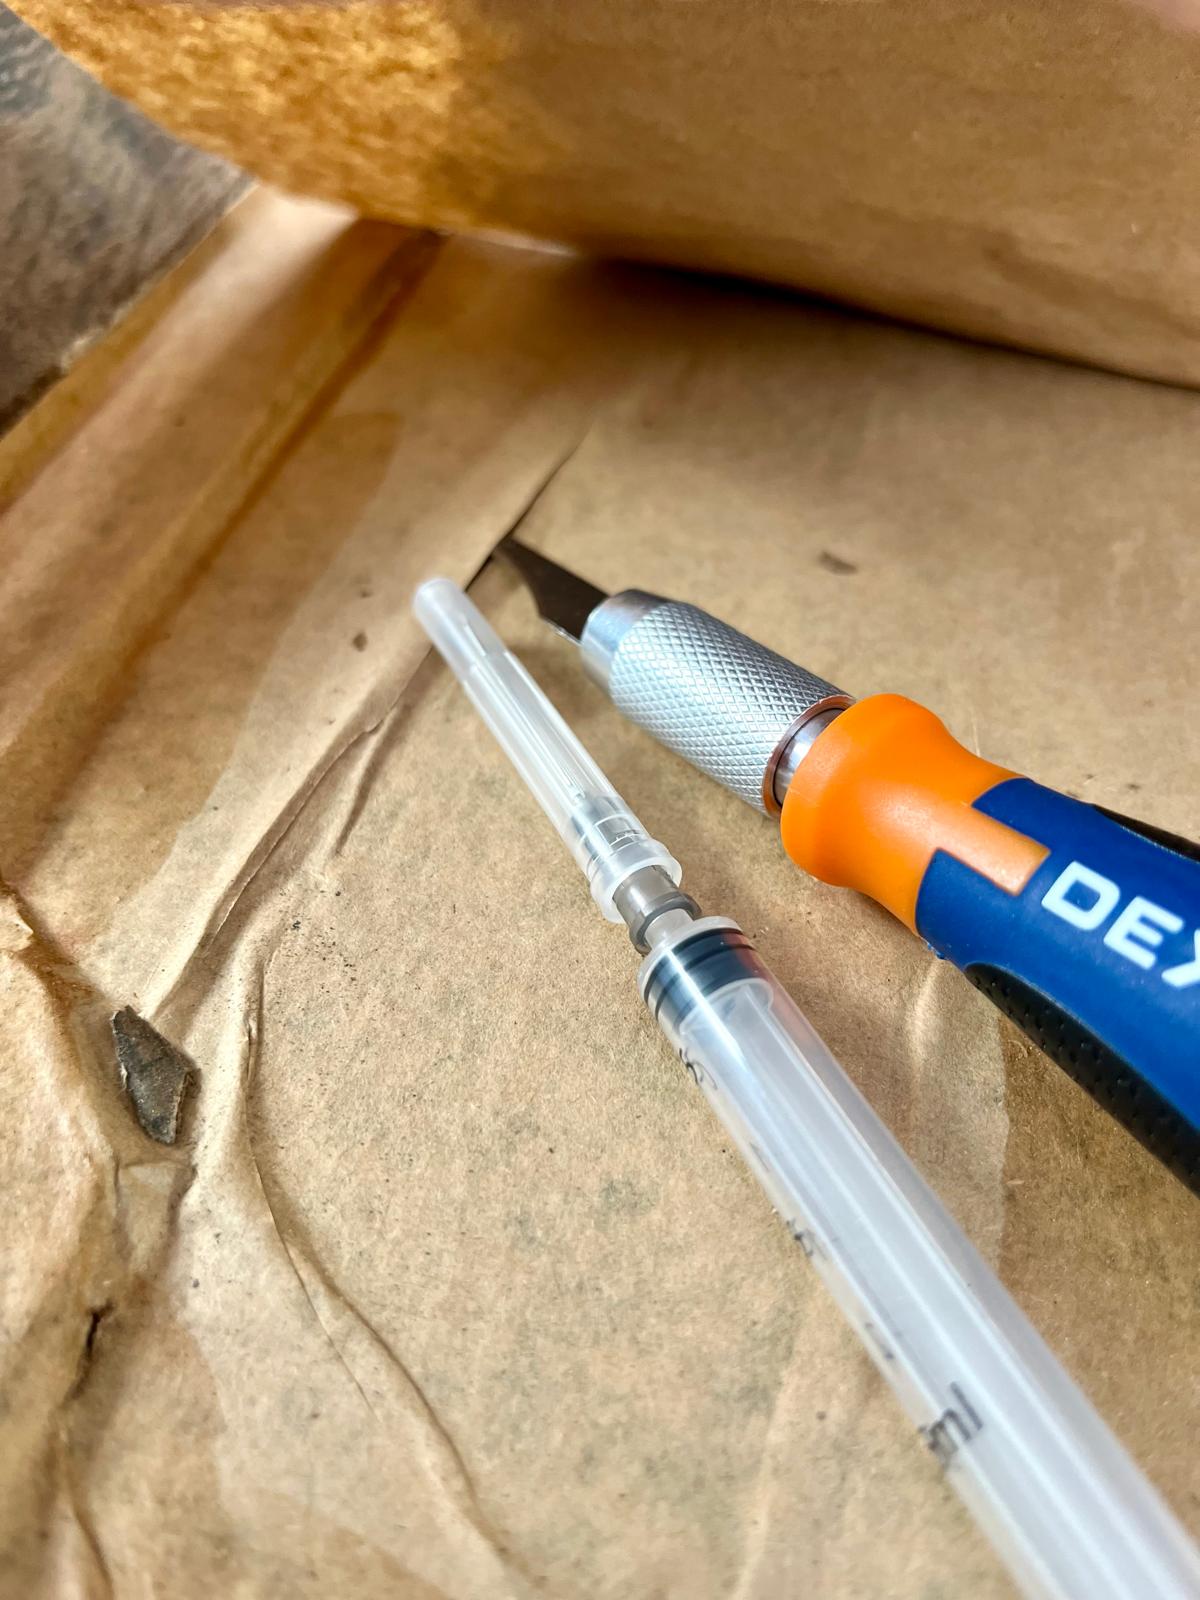
- The medical protocol for applying the glue: a compact 2 ml syringe is used to deliver the compound. Its needle gives jeweler-level maneuverability in narrow gaps. Since dry wood absorbs the compound very intensely on first contact, the glue is applied strictly in two layers.
Syringe safety technique: when working with the syringe, air must be bled off constantly, and the needle’s tip wiped regularly with smooth microfiber — exactly as you would before giving someone an injection. This iron rule prevents sudden glue “spurts” and keeps air bubbles from being forced in under the parchment.
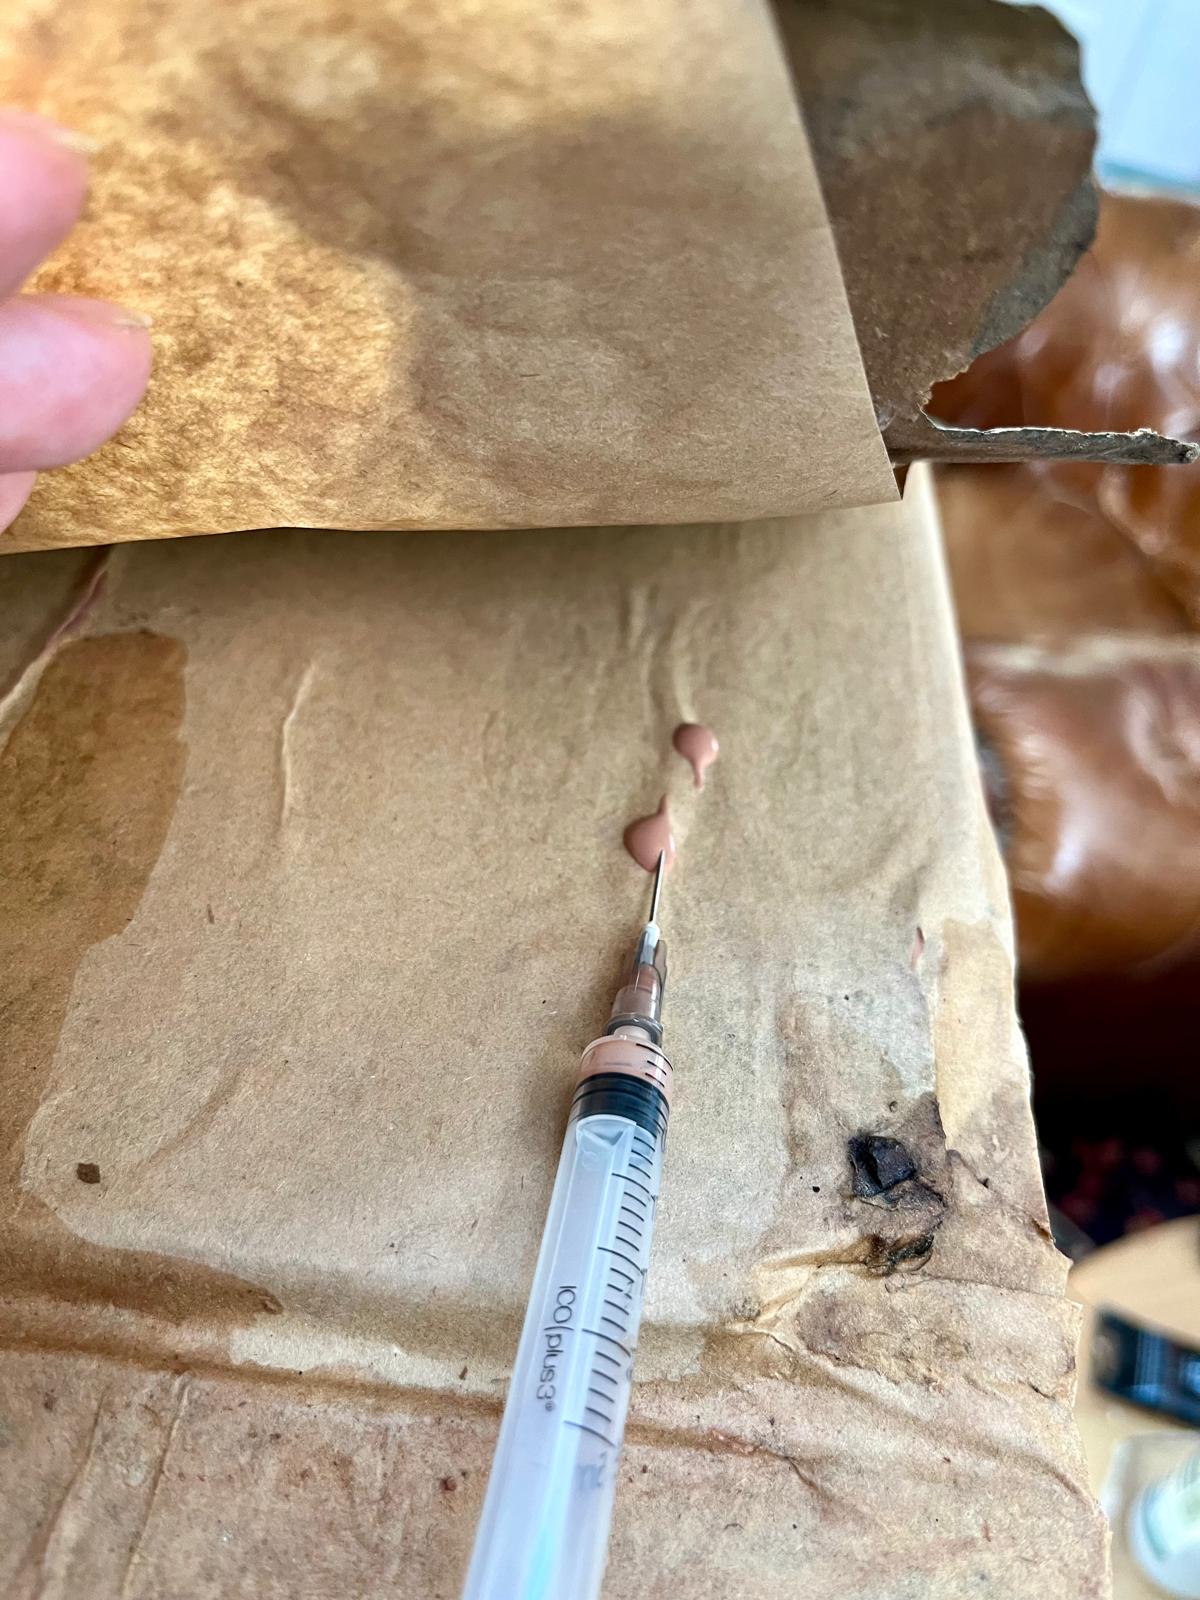
- Relieving resistance: excess glue is gently squeezed out with fingertips and blotted strictly with smooth microfiber (ordinary coarse rags can leave lint or micro-scratches on the old, damp cellulose). In spots with excess tension or large air pockets, fine, lengthwise incisions are made with the curved Dexter Steel chisel (it gives a phenomenal view of the plane and doesn’t scratch the historic walnut frame). A micro-dose of glue is reintroduced into the incisions.
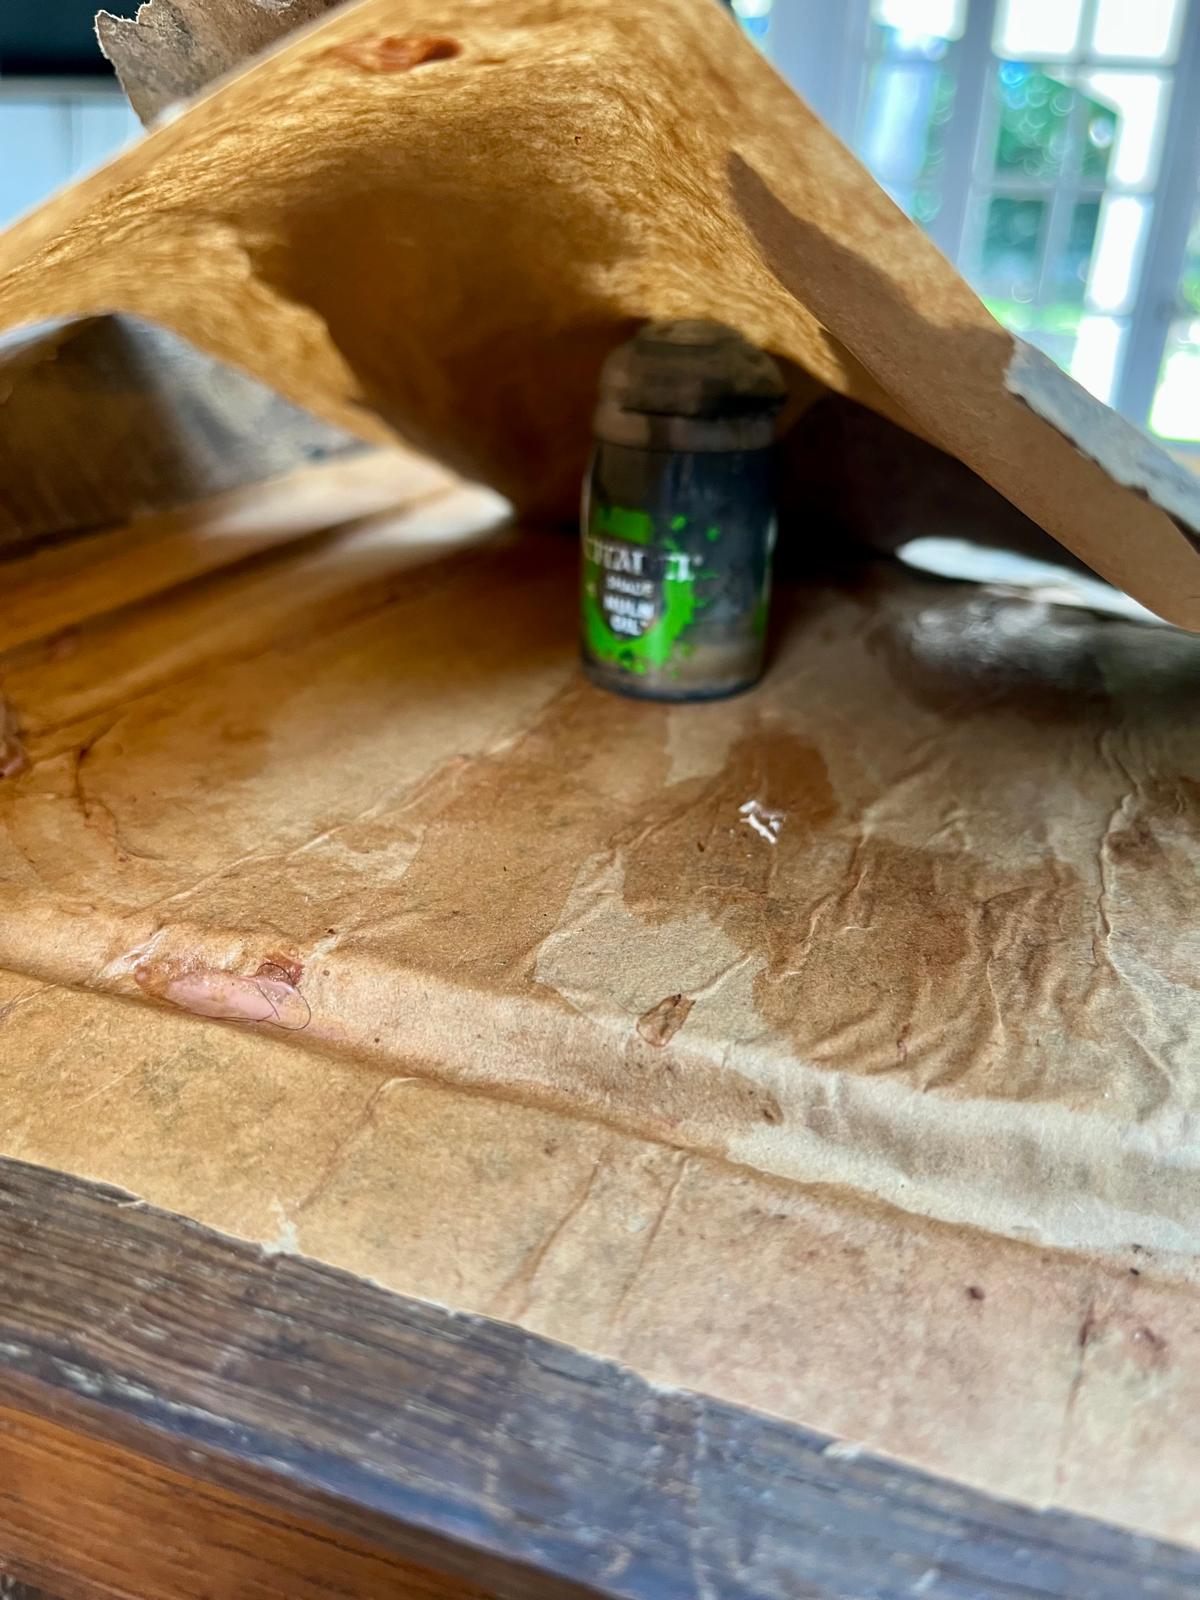
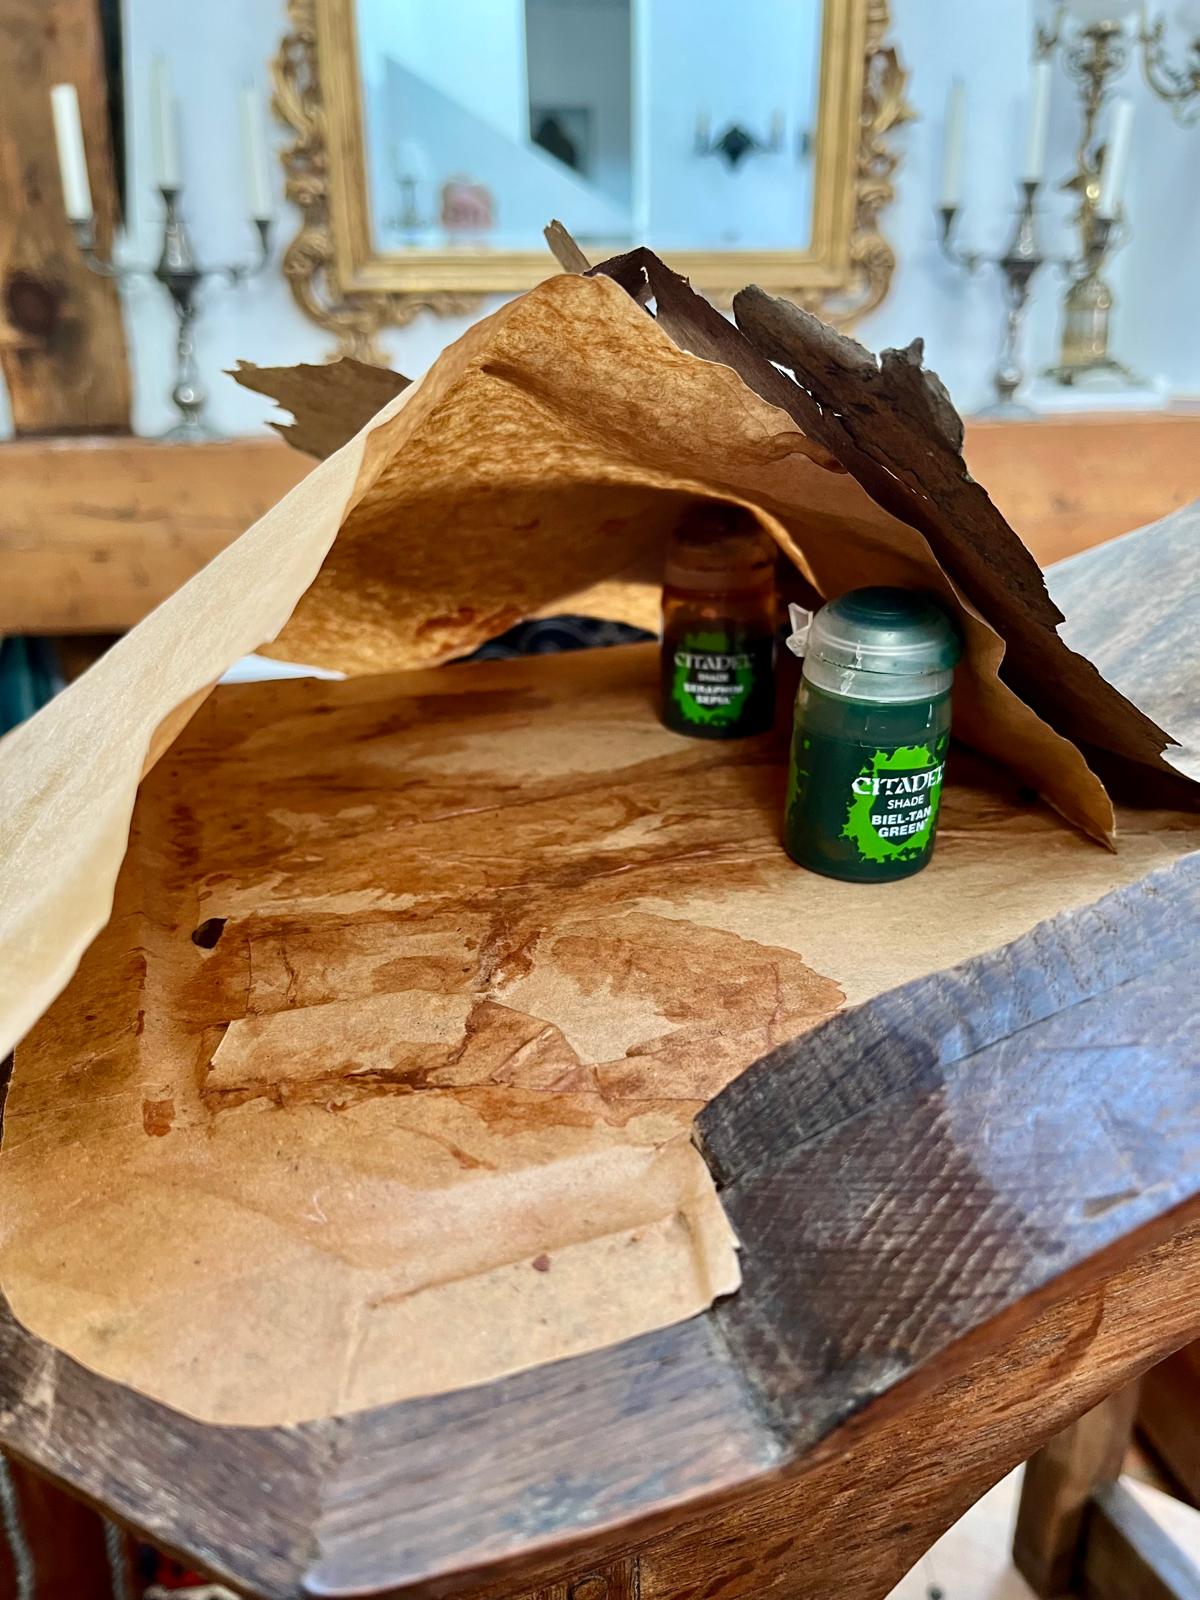
- A ventilation gap: the original parchment must never be laid directly onto the wet kraft paper right away. Citadel paint pots (Nuln Oil and Biel-Tan Green) are placed under the paper as atraumatic spacer supports. The layers dry separately, allowing for ventilation.
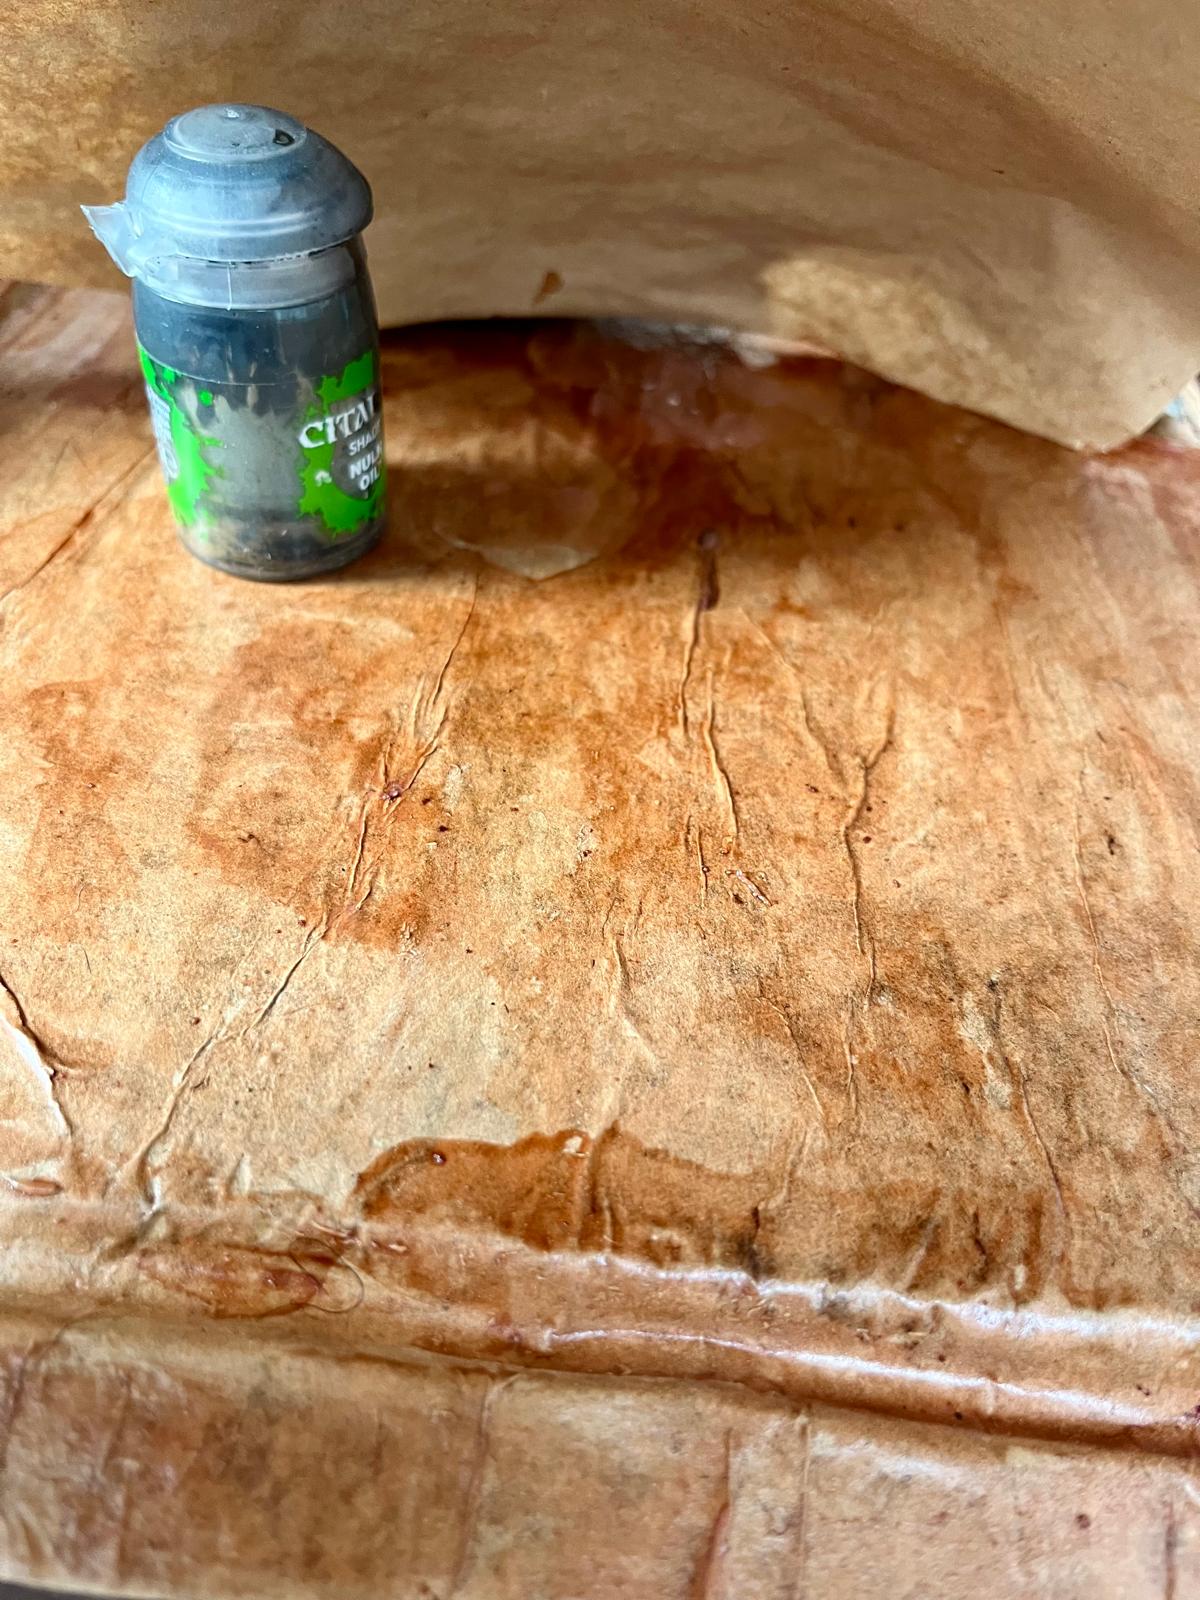
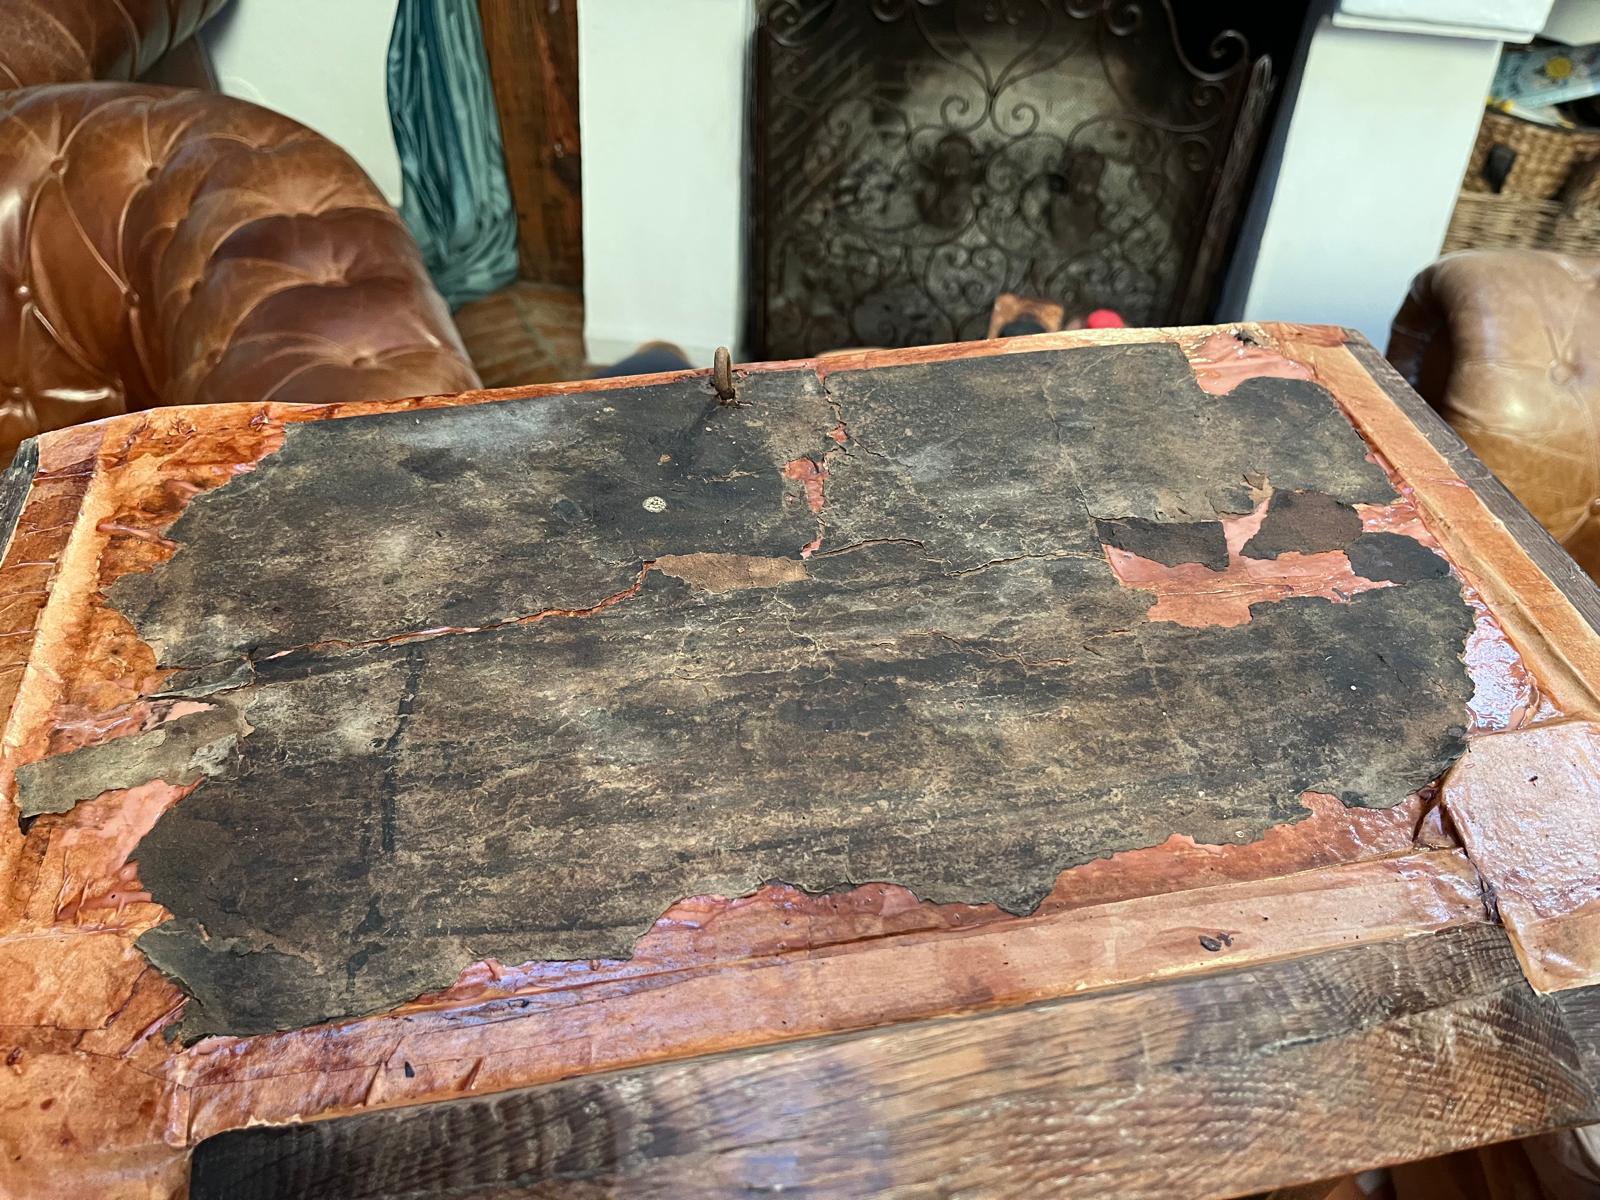
- The final cut: the excess outer edges of the kraft paper are trimmed away with a Dexter blade, with the paper gently tensioned toward you, strictly along the contour of the oak frame. Cutting paper directly over the gaps themselves is absolutely forbidden!
Working with the alcohol requires patience and a step-by-step approach, since the alcohol evaporates rapidly, changing the adhesion as it goes. We don’t touch the small wrinkles left by the damp cellulose by hand — the alcohol drives the evaporation process, and as it dries, the kraft membrane will tighten on its own, like the skin of a drum.
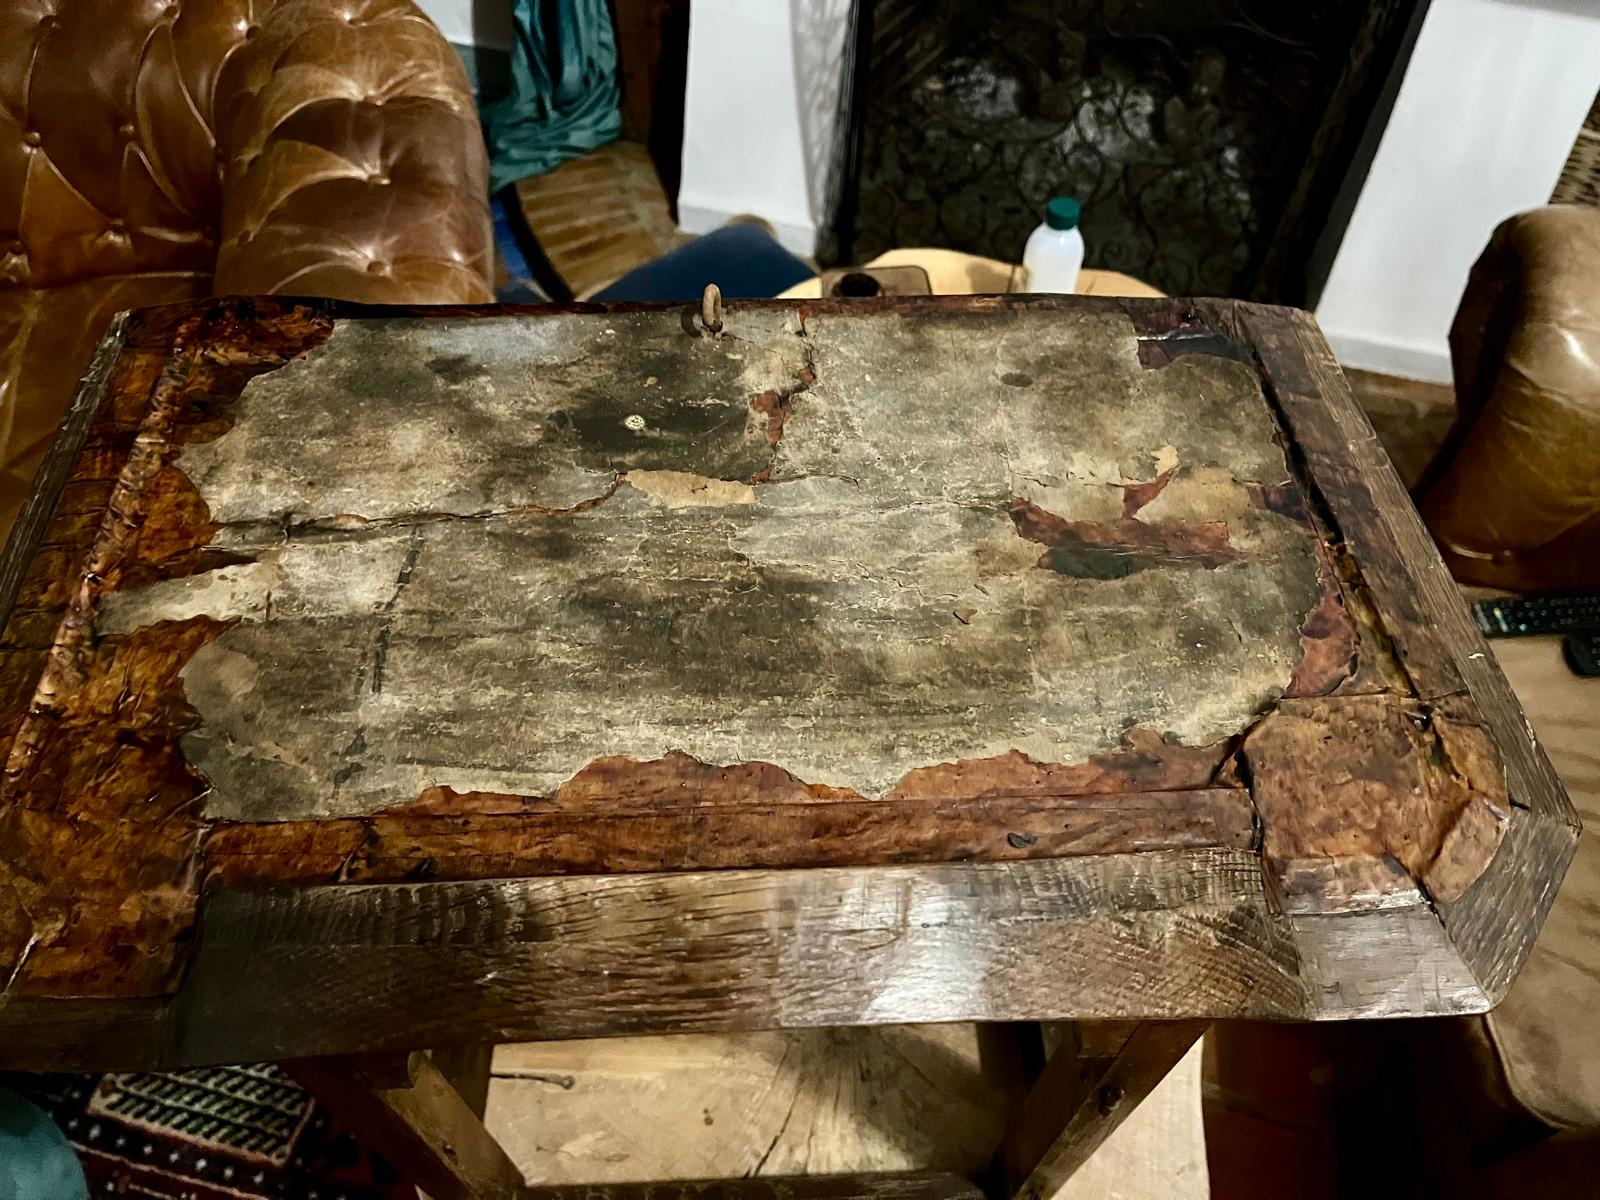
By finishing the kraft paper, while still damp with alcohol, with glazed patches of Lakeone water-based stains No. 2 and No. 14, we achieve a perfect visual blend between the layers. The difference in color is obvious, but it isn’t a flaw — it’s honest, transparent museum-grade restoration.
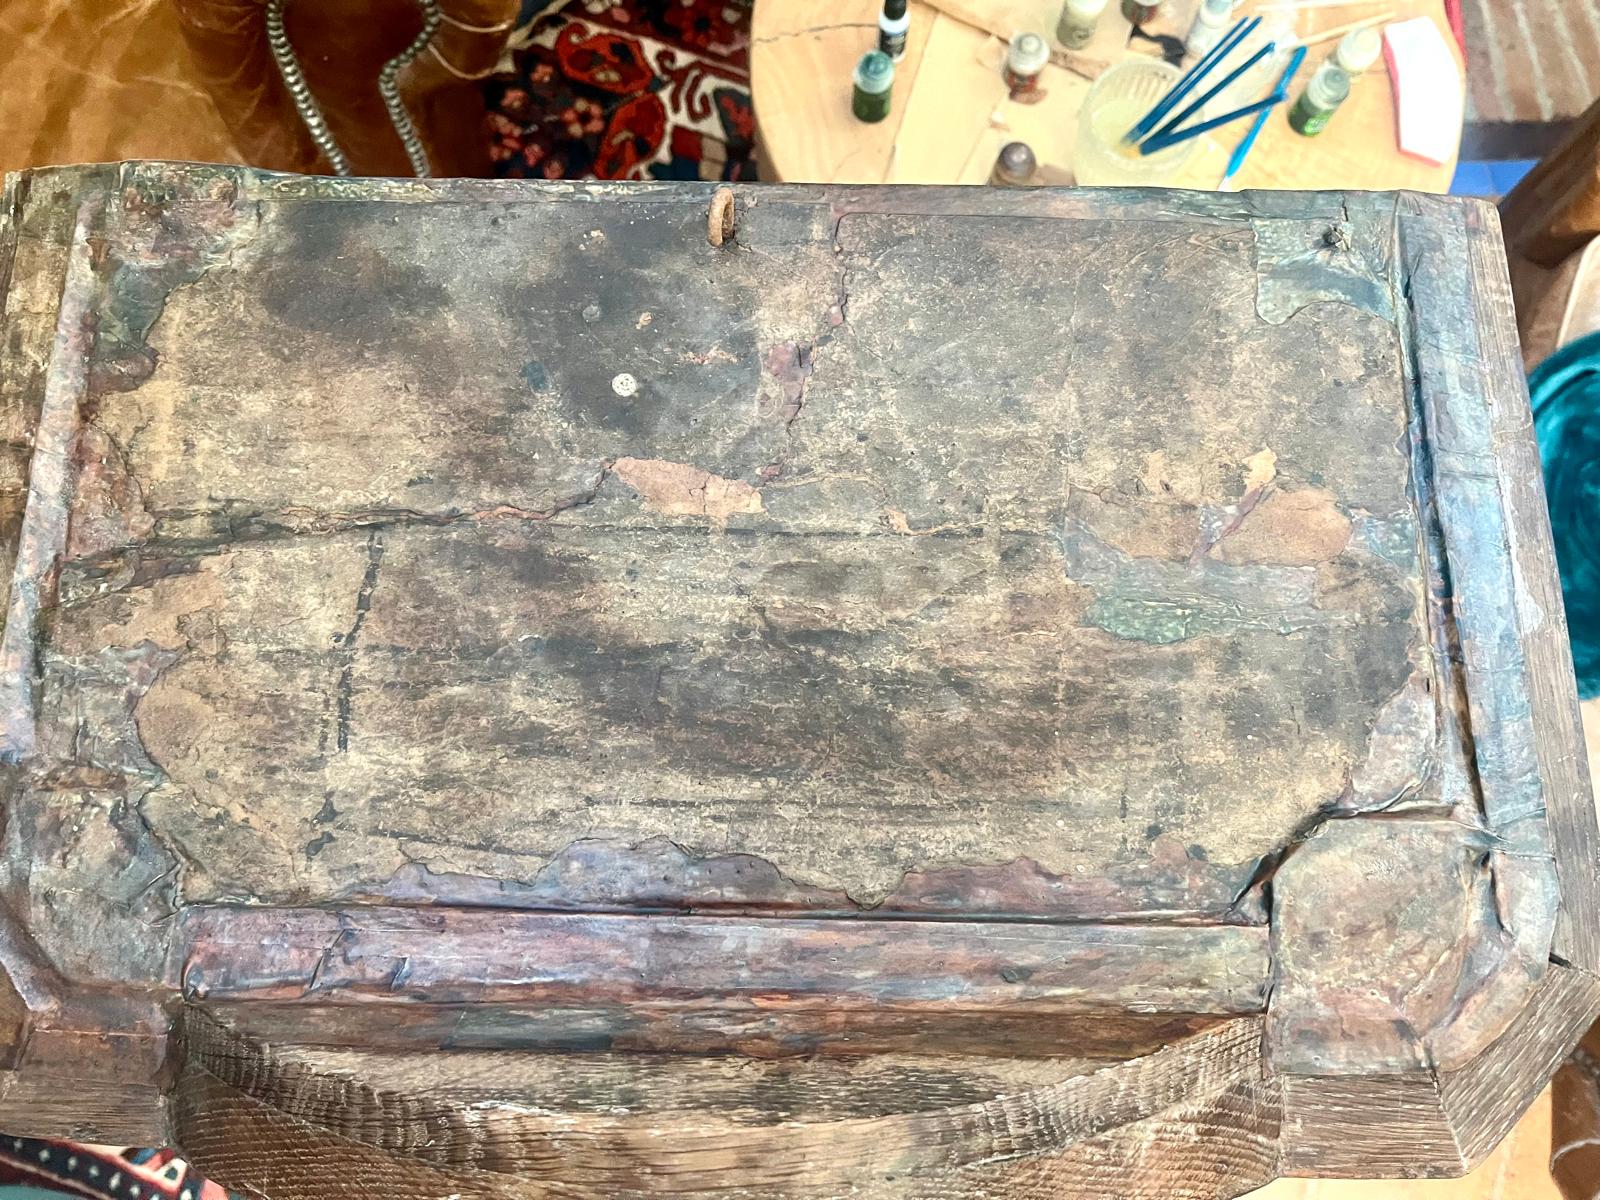
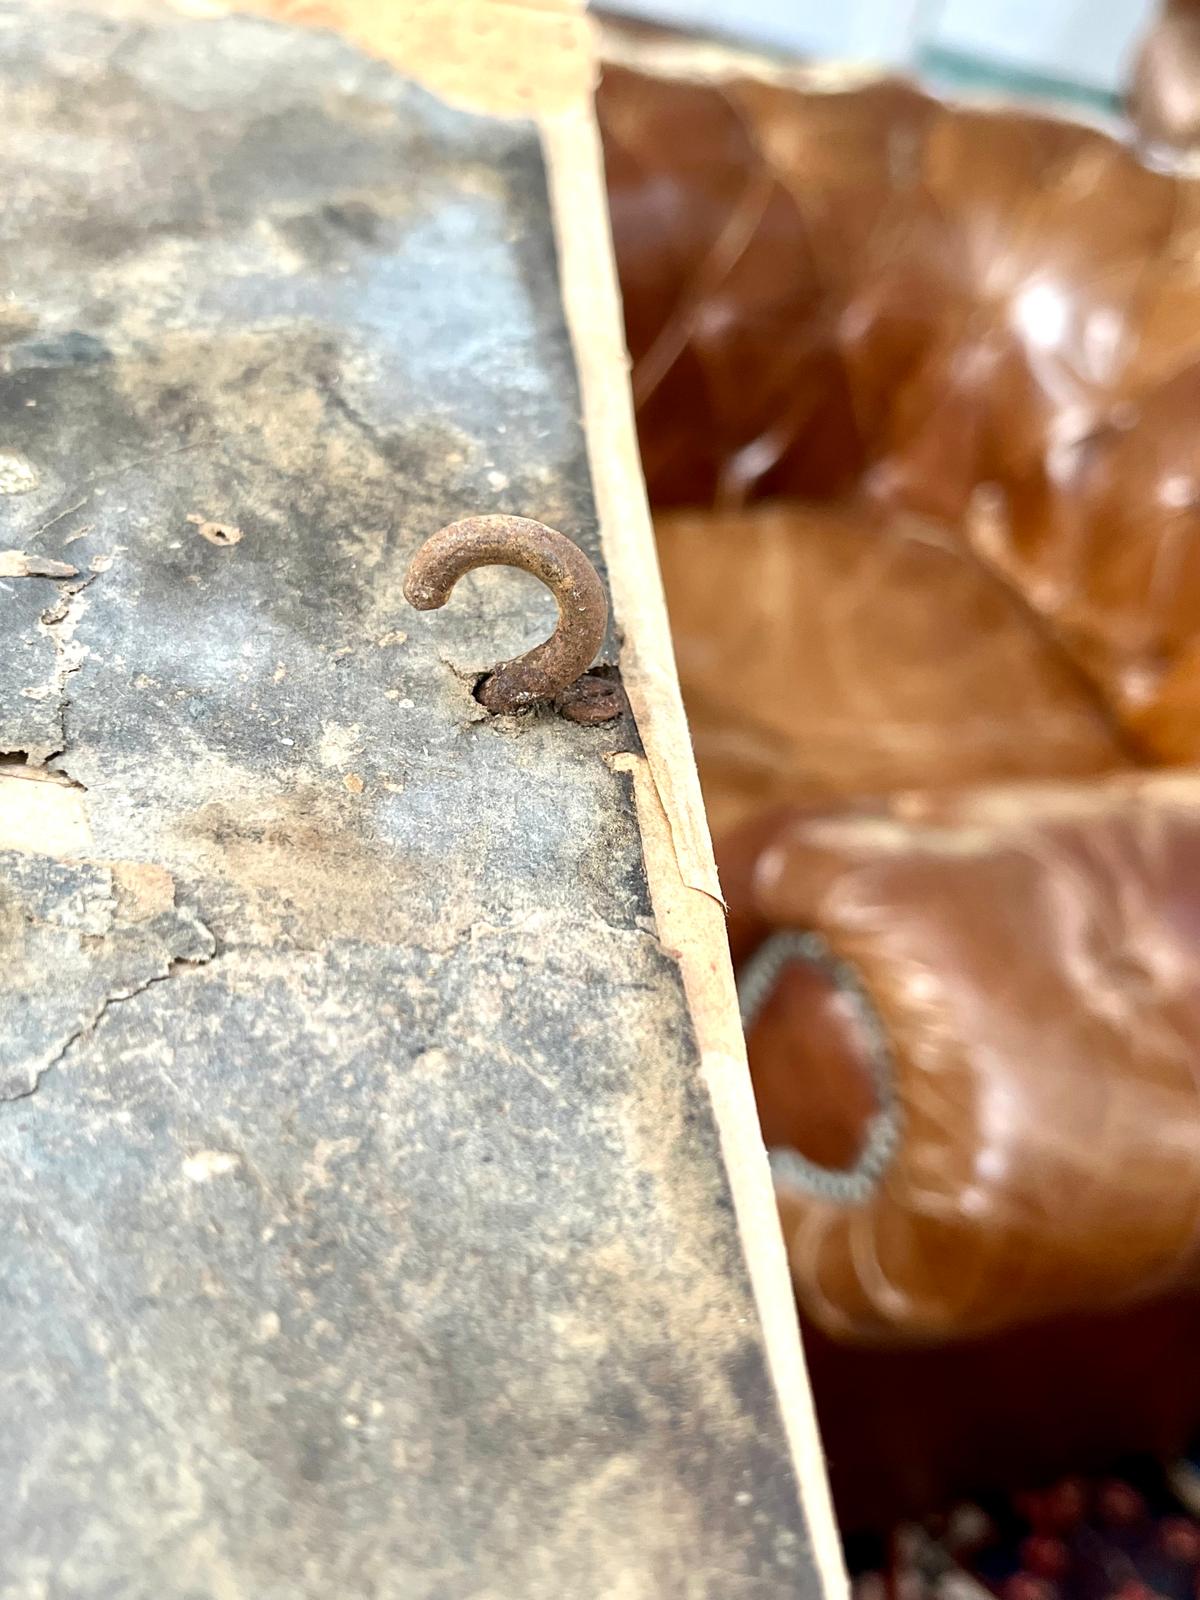
⚓ The final discovery: a genuine Baroque safety anchor
The hook on the hood’s roof is an original Baroque safety anchor — an anti-tip-over system!
Let’s break down the physics and the harsh reality of the 18th century: why, without this hook, the Paulissen clock would have been doomed.
- A colossal shift in the center of gravity: a Liège-school grandfather clock is a very narrow, tall, slender oak case. And yet an enormous mass is packed right at the very top, in the hood: a heavy brass movement, a bronze bell, and two hefty cast-iron weights that, once wound, hang right under the roof! The top of the clock becomes critically heavy.
- The impulse of the striking train: when the right-hand train triggers the strike, the heavy hammer starts pounding the bell with real force. This produces cyclical micro-vibration and sway.
- An everyday hazard: all it takes is for someone in the house to brush the case with a shoulder, slam a heavy door, or for the living room to break into an energetic dance — and this two-meter giant, driven by its top-heavy weight, would instantly topple forward, burying both the priceless movement and the delicate blown glass of the door beneath it.
How it worked: the old masters would drive a stout forged spike or chain into the wall of the room, and this hook on the roof of the Paulissen’s hood moored the clock firmly to the brick or stone masonry of the house. It’s an eternal Baroque safety belt! The fact that we found it still fixed in place, grown right into our weathered roof shell, is an enormous stroke of luck for the clock’s provenance.